Most retailers have inventories with more than 1000 items and this can mean quite a lot of manual input when populating an inventory system such as AirPOS or an online store. We have a tool for easily generating multiple product variants while in the case of simple products, we have an item importer.
This item importer uses what are called CSV files (essentially simple spreadsheets) to list and upload multiple items at the same time. If you are a first time user of our importer tool you can learn how to use it here.
With our import template downloaded and opened in a spreadsheet editor such as Excel, Numbers, Google Sheets etc let's take a look at the fields that are important when choosing to import simple products to sell online. Once again our importer is not suitable for creating products with variants, these should be created using the variants tool. Find out how here.

We're going to add a few items to the AirPOS Hardware store using the importer, including the Newland Barcode Scanner, the Sumup Air card reader and It is critical not to change the headers in the AirPOS import template. Note also that you should not add columns to the template, in order for it to work successfully it must be kept in our standard format. If you change the template layout your import will fail.
Most of the fields will be self explanatory so we will focus on the fields that are important for sending imported items to Shopify successfully.
These start with Category. Here you enter the category your item will appear under on the AirPOS POS. This category will also be added to Shopify as a tag which you can then use to create 'Collections' which are Shopify's version of categories. We'll show you how to do that later. Note that if you don't add a category to the importer AirPOS will add the item automatically to a category called 'unassigned' and you will be able to assign them to a category later.
Next the Sell Online column is important. If set to Y the imported items will be immediately added to your Shopify site when the integration is in place, if this is not what you want to happen as you need to work further on the items in AirPOS before posting them to Shopify then enter N in this field. It's easier to complete all of the required parts in AirPOS before syncing to Shopify.
Weight will determine the shipping costs ultimately on Shopify. You can enter the weight of your items here in Kg and this will be synced to Shopify when you finally set the items to Sell Online.
Description is obvious but is very important for your products to be understood by your users but also for your products to be found in search engines. A more detailed description will likely lead to more sales and ultimately more relevant traffic to your site. If you need complex formatting on your description such as bolding text, italics, bullet points or more we'll do this formatting later in Shopify as an importer shouldn't be used to create formatted text.
If you have images already online you can add a link to the image in the Image Filename field, AirPOS will then take this image and add it to the product. Note that you need a full URL in this field such as https://www.airpos.co.uk/images/product.jpg
The final two fields relate to stock in that you can enter a Stock Number (in stock_amount) for the item you're importing as well as setting a stock warning level (in warn_level) for this item whereby AirPOS will send you an email warning to restock when the item reaches this amount left in stock. Find out more about our stock level warnings here
With the import sheet correctly populated we'll use the AirPOS importer in the backoffice to import the items as shown below:
Imports can take a while, you might like to do something else in the meantime but don't worry you'll get a confirmation email when your import is finished.
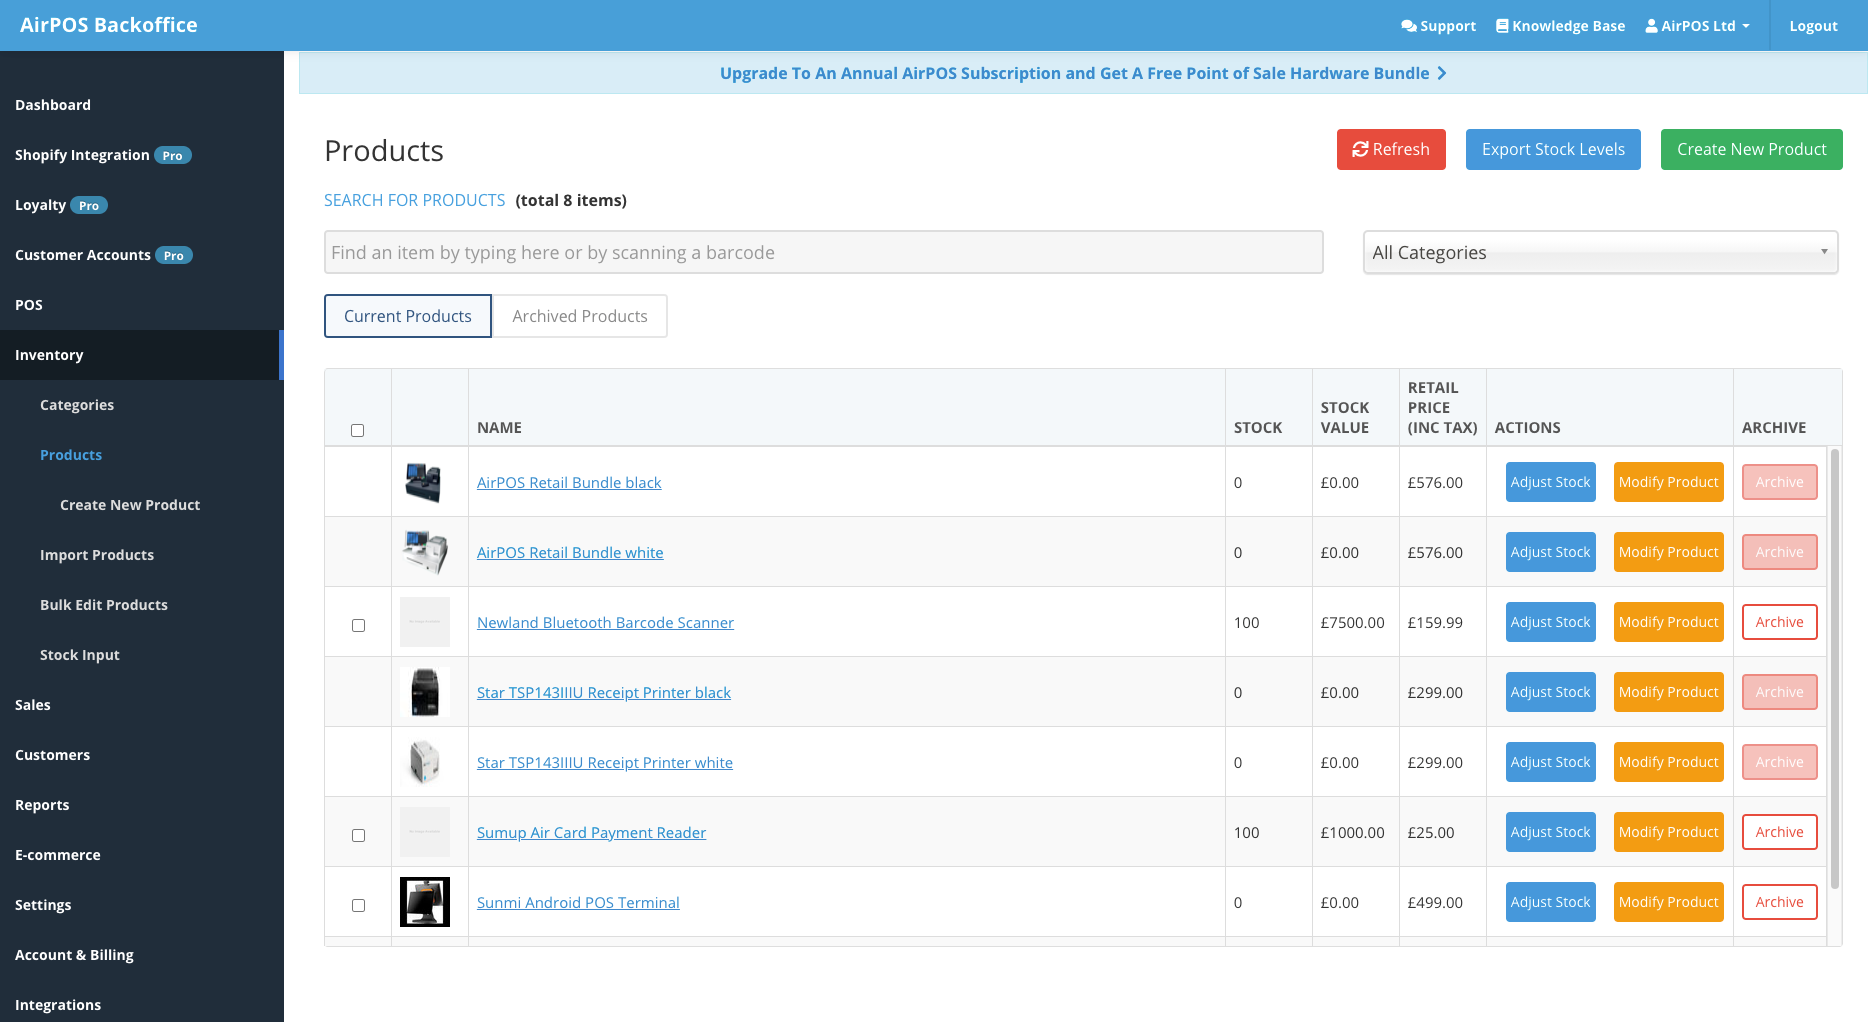
In our case as we only imported three items the import was almost instant and our inventory list now features the successfully imported items.
