Welcome to AirPOS. This section will take you through the steps to setup your AirPOS account, inventory and hardware.
Getting Started - Configuring your Hardware
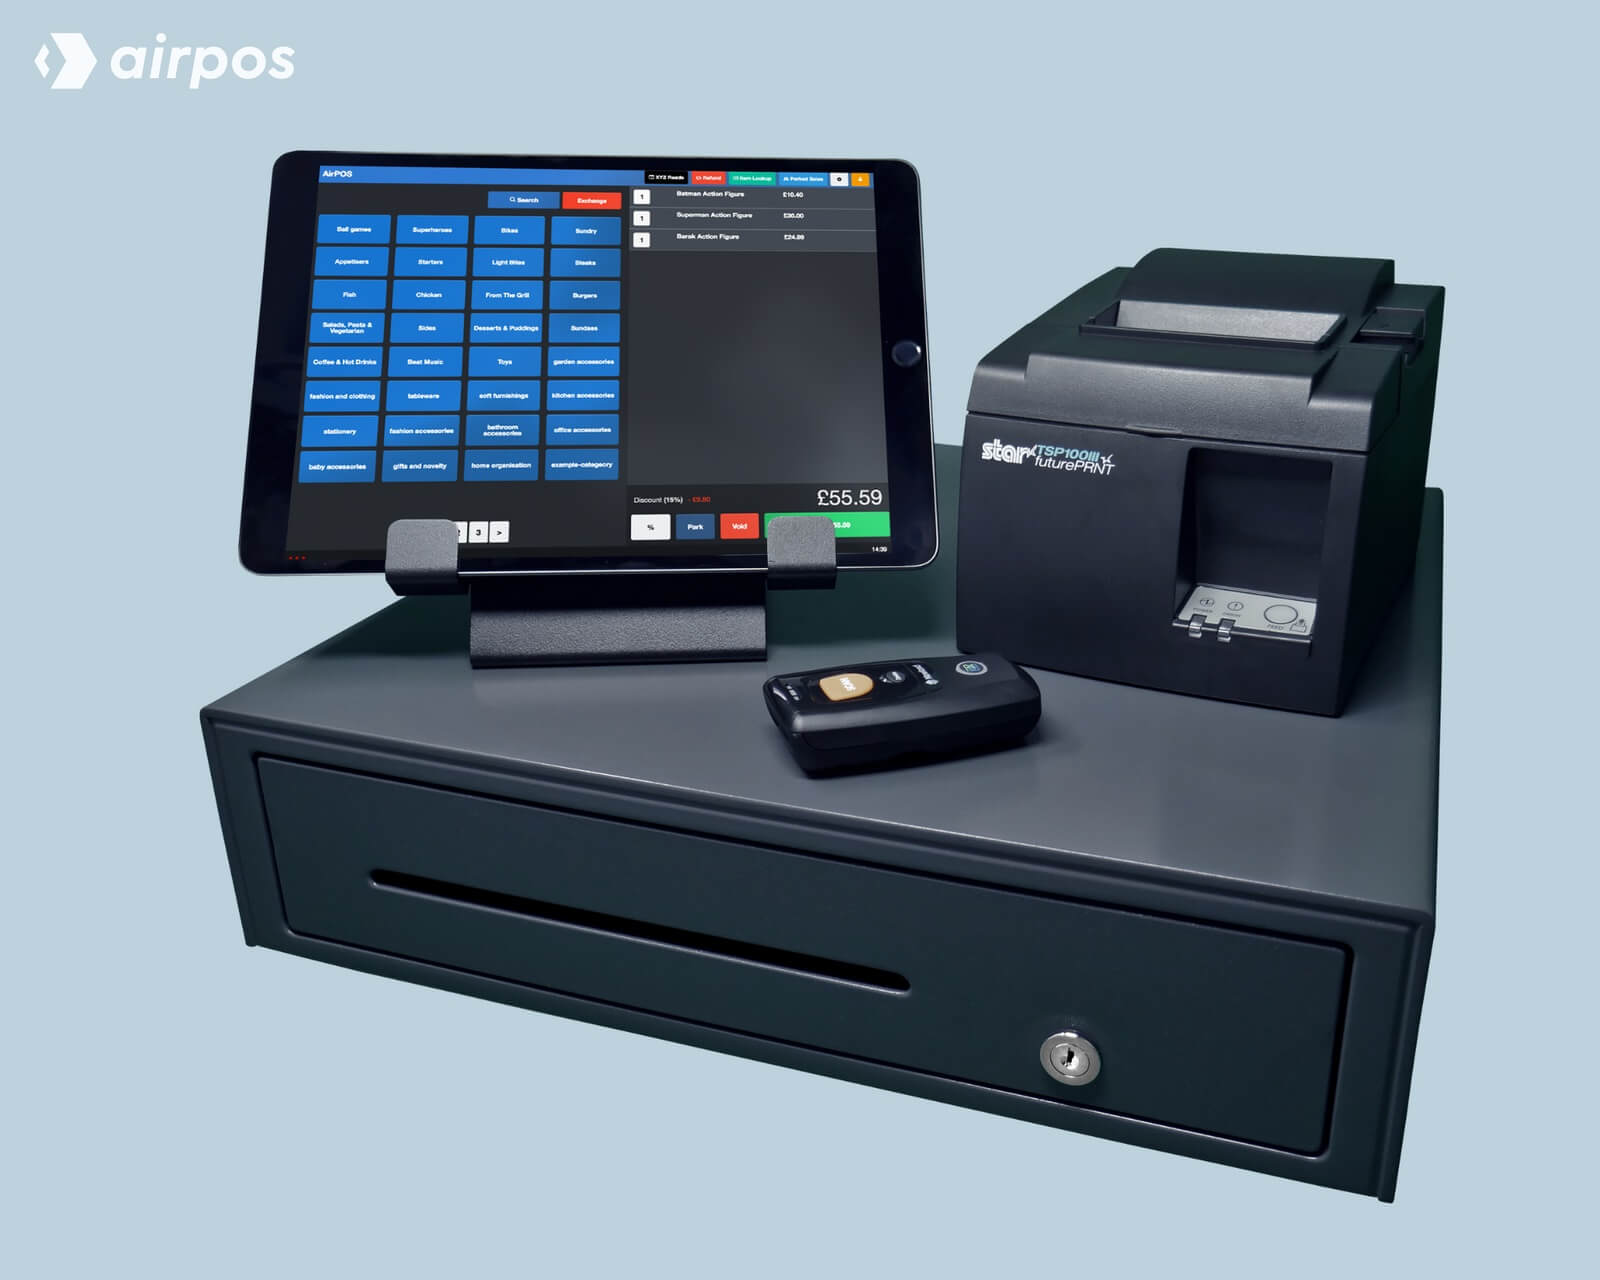
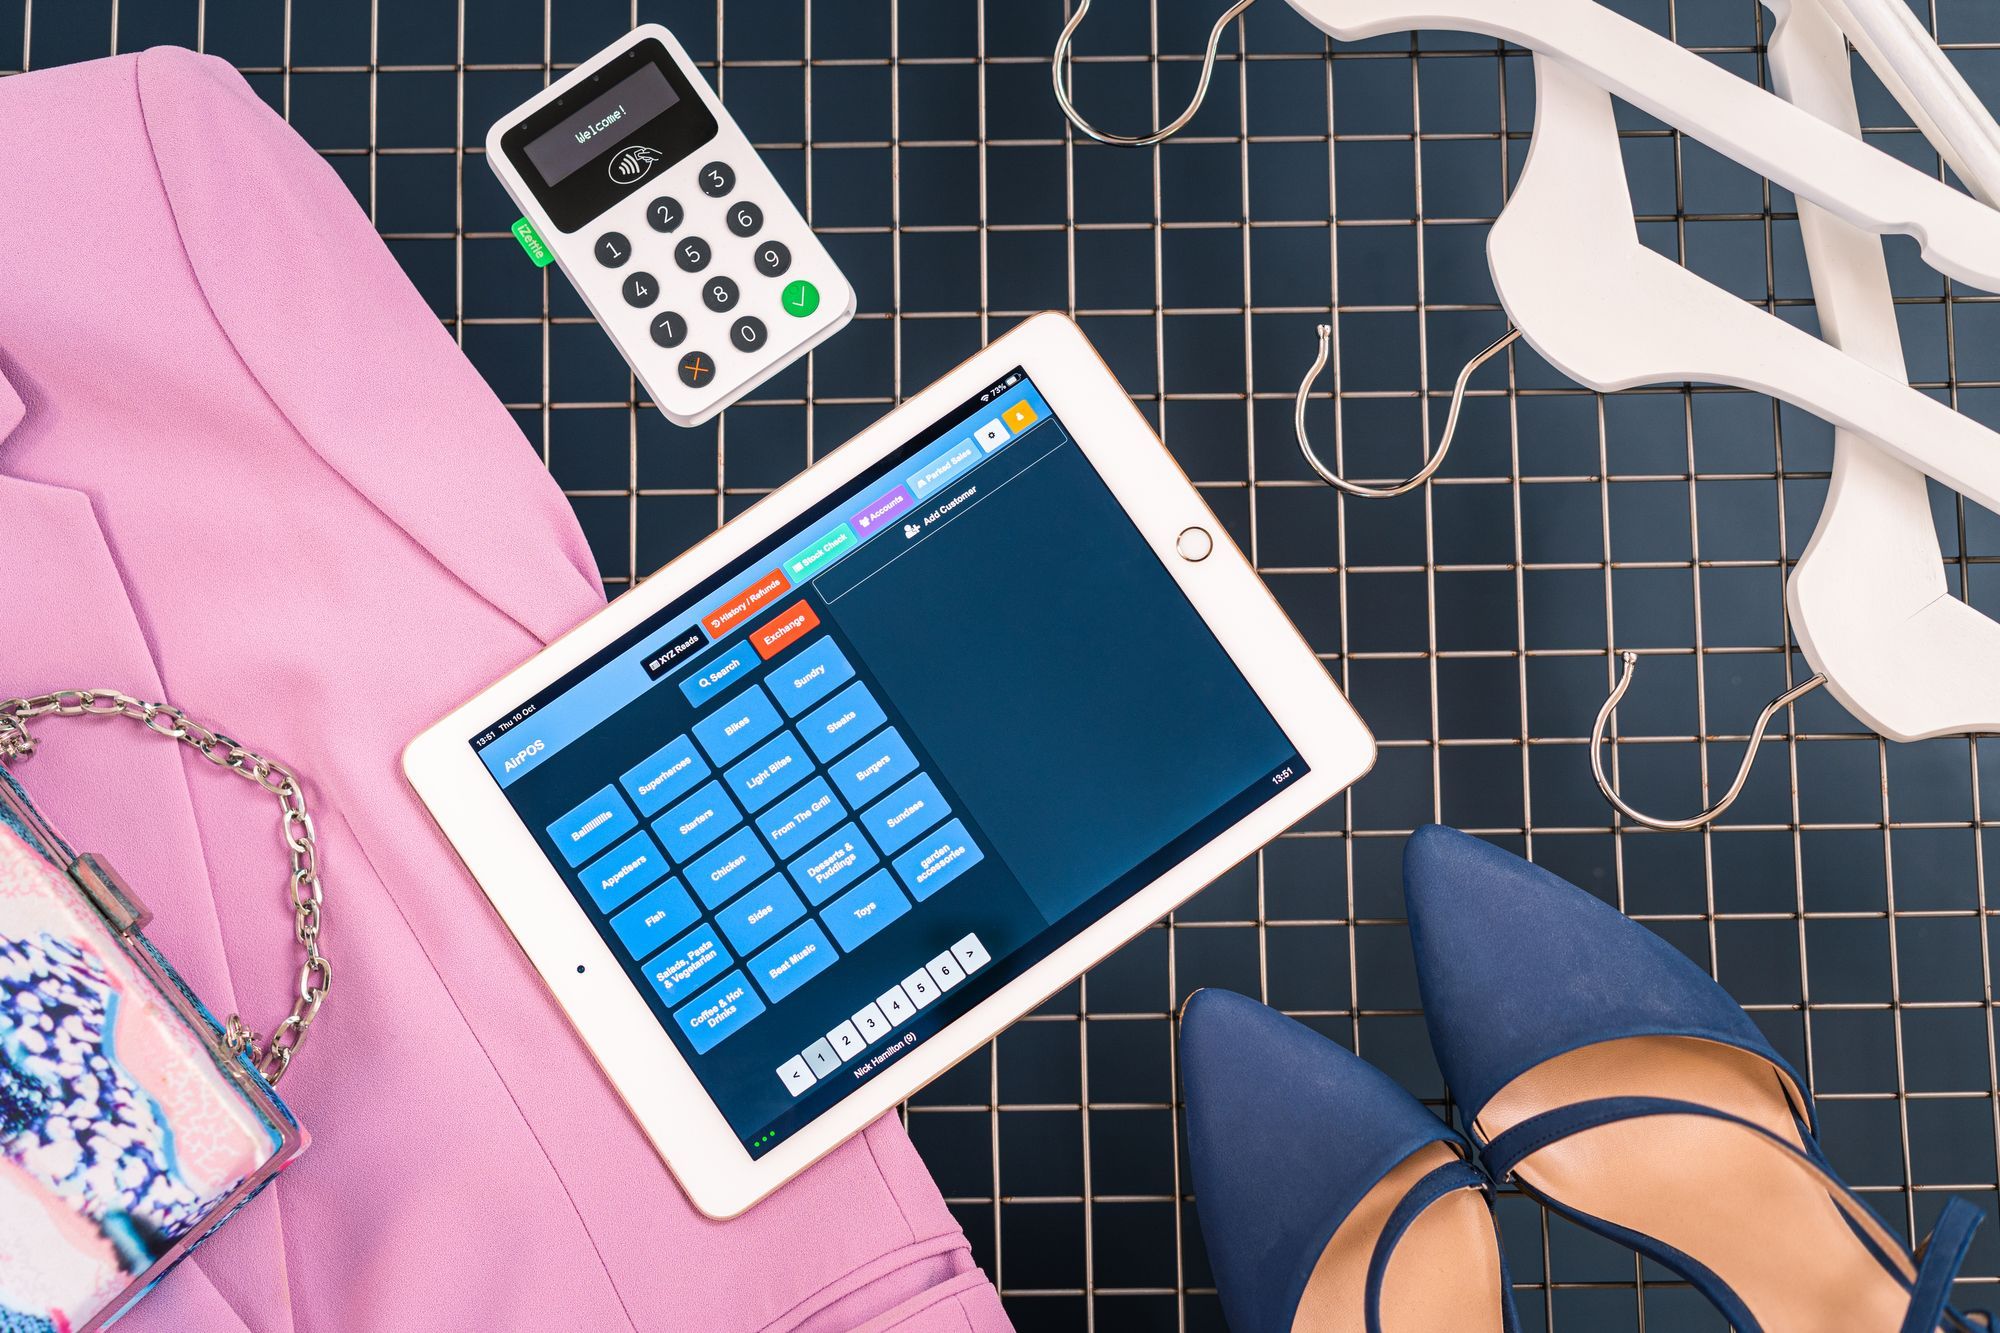
In this section we’ll help you get your device, printer, cash drawer and barcode scanner connected and working for you with AirPOS AirPOS Retail Pro Bundle Setup Guide on AndroidThe Retail Pro Bundle Hardware includes a cash drawer, receipt printer, Newland Bluetooth barcode scanner and secure locka…
Getting Started - Signing up with AirPOS
Take a look at a quick overview of AirPOS, move on to “signing up for AirPOS” below for full details on how to get started with AirPOS.
Getting Started - How to Setup or Modify Tax Rates through the Backoffice
Setting up tax rates is an important task and it is advisable that it be one of the first performed in setting up your AirPOS installation. It is also recommended that products not be added without a tax rate attached (even if it is only set at zero).

Getting Started - How To Setup Your Locations through the Backoffice
By design AirPOS is flexible in serving both small vendors and also larger, multi-site operations as required.

Getting Started - How to Setup Your Employees through the Backoffice
After you have created a location, it then makes sense to determine what staff members are situated in those specific locations.

Getting Started - How to Add & Setup Your POS Devices through the Backoffice
To Create a new POS device, click on POS from the left panel of the Backoffice and select devices. You will see a list of all (if any) devices that you’ve setup. Press the ‘Create a Device’ button and simply fill in the Name of the Device and what Location it’s situated in.

Getting Started - Adding your Inventory
Adding Products in the AirPOS BackofficeIn the following document, we give you a quick overview of how you can add products to your new AirPOS back office. There are 2 ways to add products, one product at a time, or for those of you with large product lists, using the

Getting Started - Installing the AirPOS POS App
How to Install the AirPOS App on WindowsYou’ll be brought to your backoffice dashboard which looks like the screen shot below where you’ll see a button ‘Download AirPOS App’.AirPOS Knowledge BaseDavid DoyleHow to Install and Uninstall AirPOS on iPadHow to Install and Uninstall the AirPOS POS App
Getting Started - How to Design Your Receipts through the Backoffice
Your receipt settings are located in your backoffice under ‘POS’ from the menu in the left navigation. This is where you can add a company logo for your receipts, your VAT registration number if you are registered, your contact details and your returns policy.
 AirPOS Support
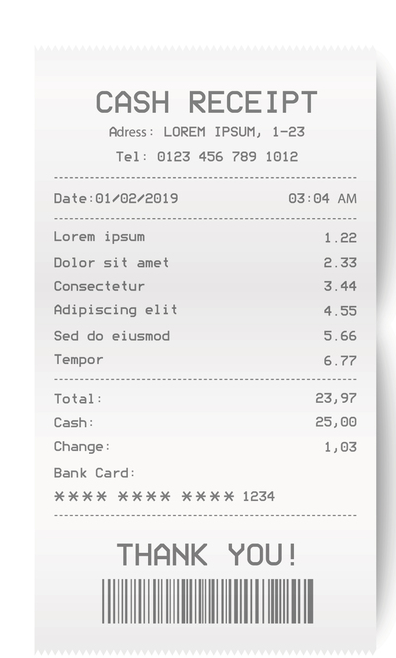
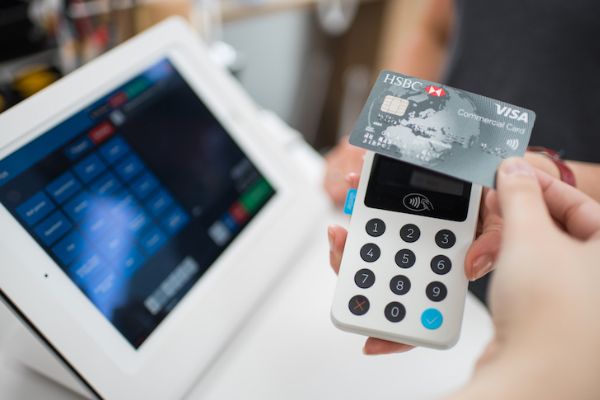
Getting Started - Payments and Integrations
Setting up your payment and other Integrations How to Setup Fully Integrated PayPal Here Payments for iPadYou will need a PayPal Business Account in order to use the PayPal Here device to take card, contactless or Apple Pay payments. If you do not already have a PayPal business account you