Getting Started - How to Design Your Receipts through the Backoffice
Your receipt settings are located in your backoffice under 'POS' from the menu in the left navigation. This is where you can add a company logo for your receipts, your VAT registration number if you are registered, your contact details and your returns policy.
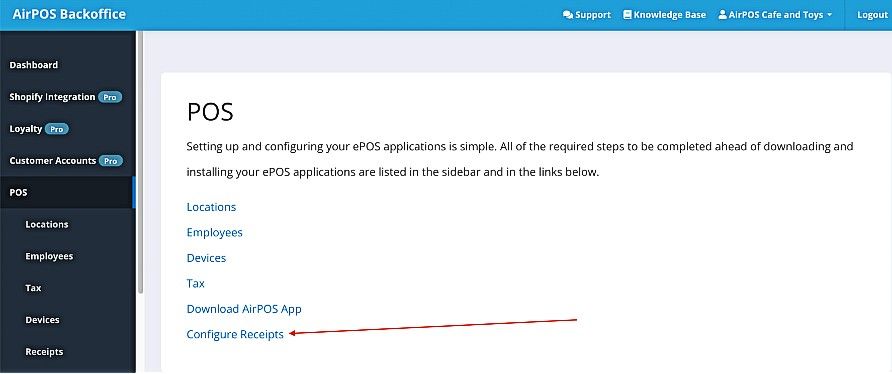
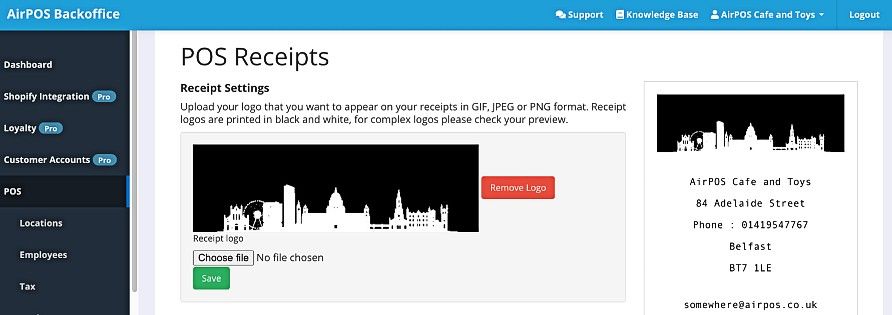
When you select 'Configure Receipts' under 'POS' you'll see a screen similar to that below...
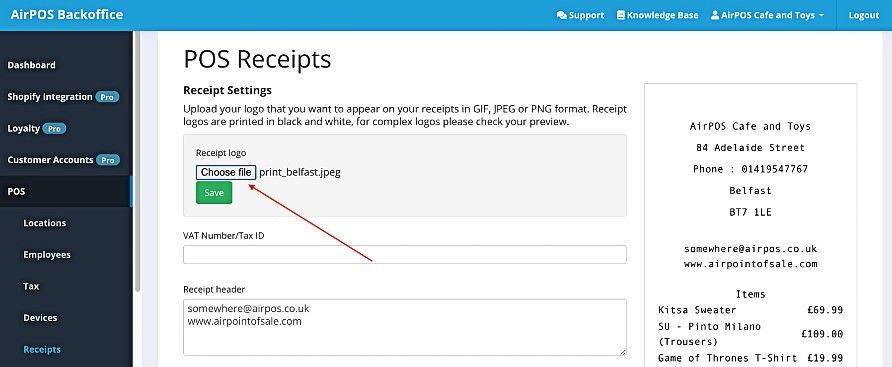
If you are using a Star printer with an iPad or an Android tablet and you have a logo already prepared and saved on your computer you can upload it here and it will appear on your receipts. For Windows the logo needs to be uploaded to the printer using the printer's own software.
Your logo can be in GIF, JPEG or PNG format and while it will be resized you should try to limit the size of the uploaded image. 450 to 700 pixels in width is a good size. Receipt logos are printed in black and white and will be previewed in this screen when uploaded. Press the 'Choose file' button as shown above and select your logo image from your computer and press the green 'Save' button. You'll see a preview of your logo on the right.
There's a place where you can enter a VAT registration number if you are VAT registered for your customers. In the header you can enter contact information such as your email address, web site URL and phone number.
In the footer you can enter a returns policy. Try to keep the line in the footer to no more than 45 characters in width to avoid it being truncated due to the paper width.
Your location address that appears on the receipt will be the address entered under 'Locations' also found by going to 'POS' from the menu on the left of the backoffice. The company name for the receipts is picked up from the blue horizontal navigation bar at the top right of the backoffice so you should avoid entering the business name in the first field of the location address as it will then appear twice.
If you have more than one location, the address of the location to which the POS device has been assigned is the one that will appear on the receipt.
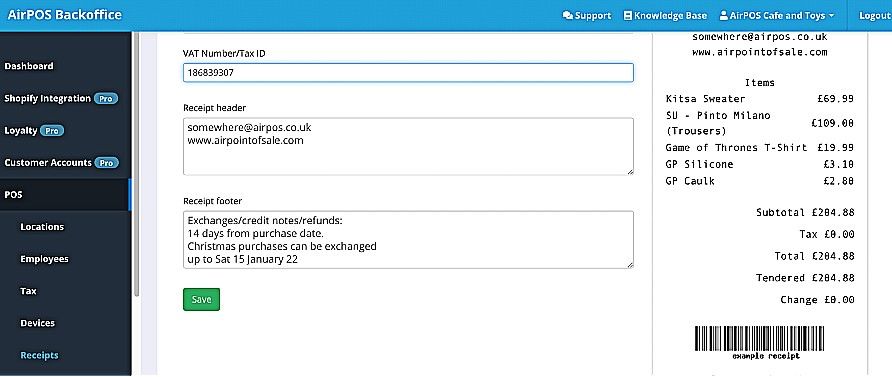
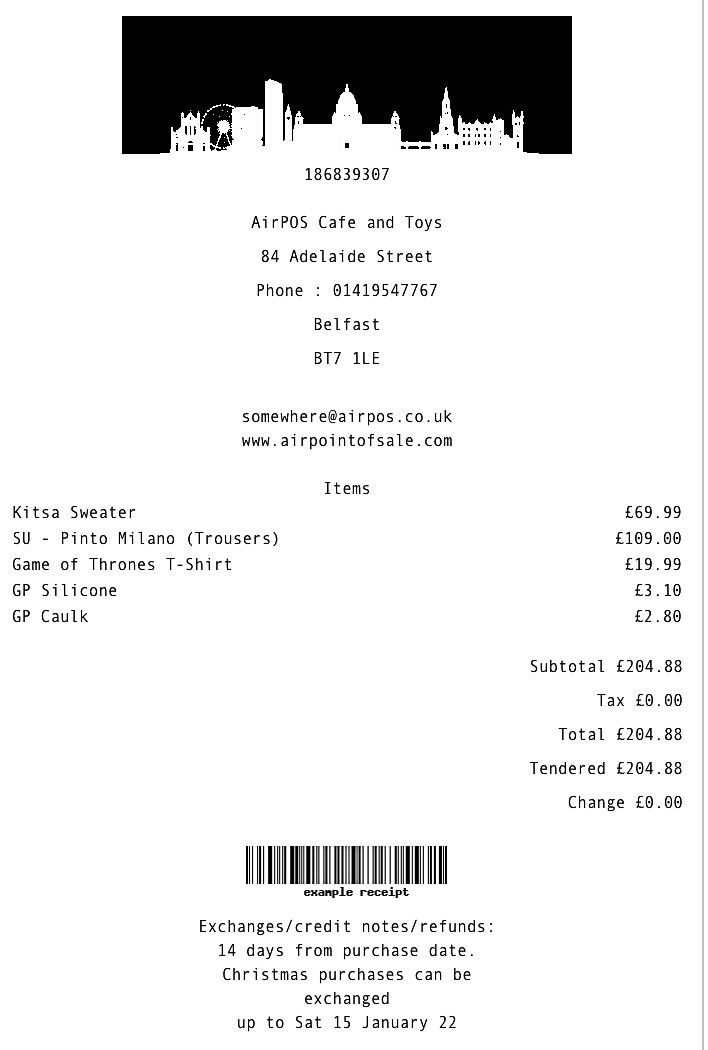
Finally press 'Save' and you can preview your receipts on the right.