
How to setup your Xero Integration
We're thrilled to announce that we've made significant improvements to our Xero integration process, making it faster and simpler for our valued customers! We’ve added the ability to send more data, including shipping, tax rates and tender types to Xero making reconciliation of your sales easier than ever. In this article, we'll guide you step by step through the integration process, ensuring that you know exactly what to do at each stage.
Let's get started!
Step 1: Beginning your Integration
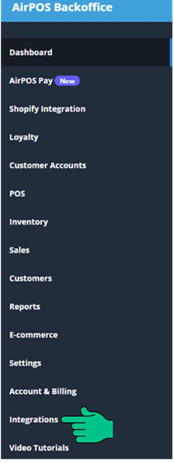
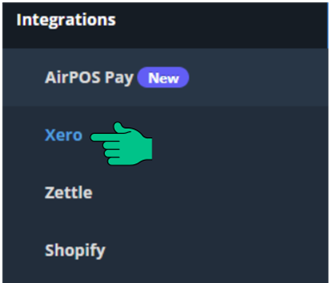
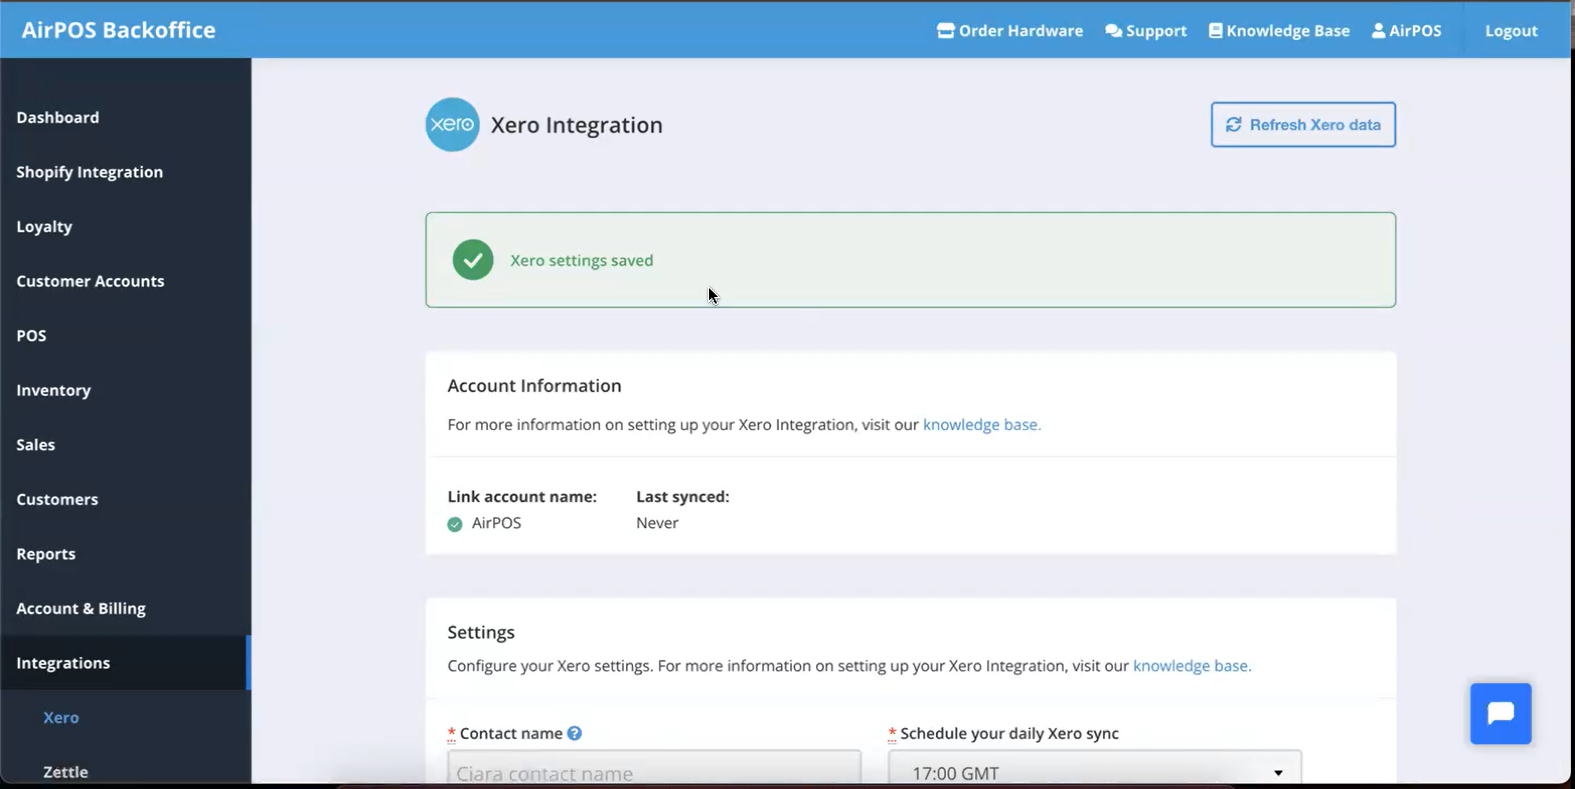
To begin your Xero integration, navigate to your Backoffice and select the 'Integrations' section in the left-hand column. Once opened, click on Xero to initiate the integration setup.
Step 2: Connect your Xero Account
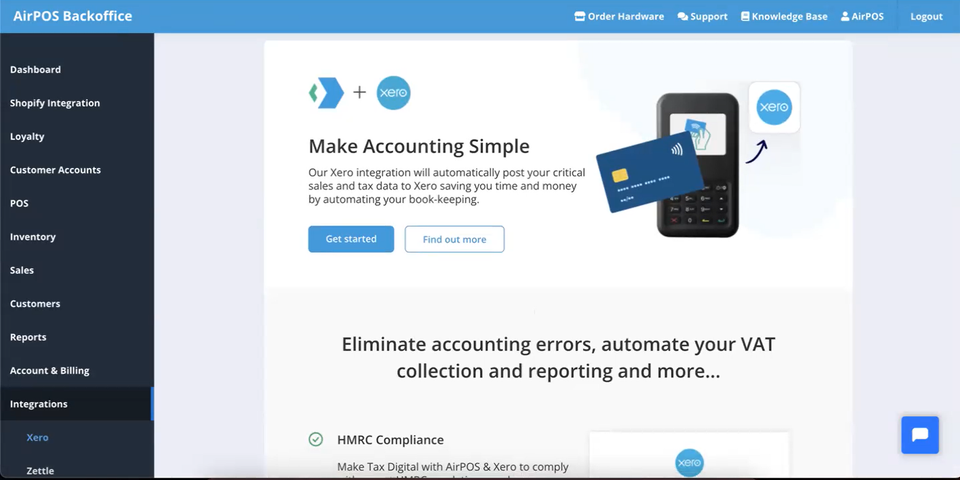
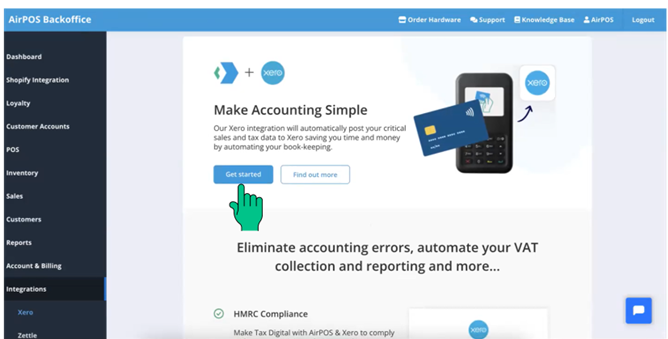
In order to proceed, you need to connect your Xero account to your AirPOS account. This connection allows seamless sharing of information between the two accounts. To begin click the 'Get started' button which will then bring up a Xero Login page.
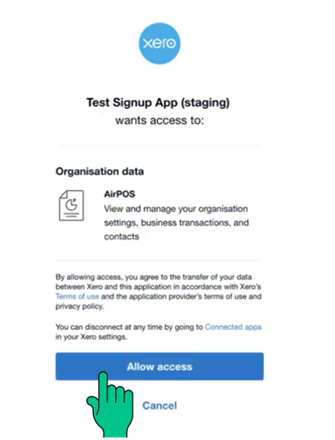
Simply log into your Xero account from the window that appears to start this process. Once logged in, you'll receive a request for Xero to access your AirPOS data. Click 'Allow Access' to move on to the next step.
Step 3: Xero Settings
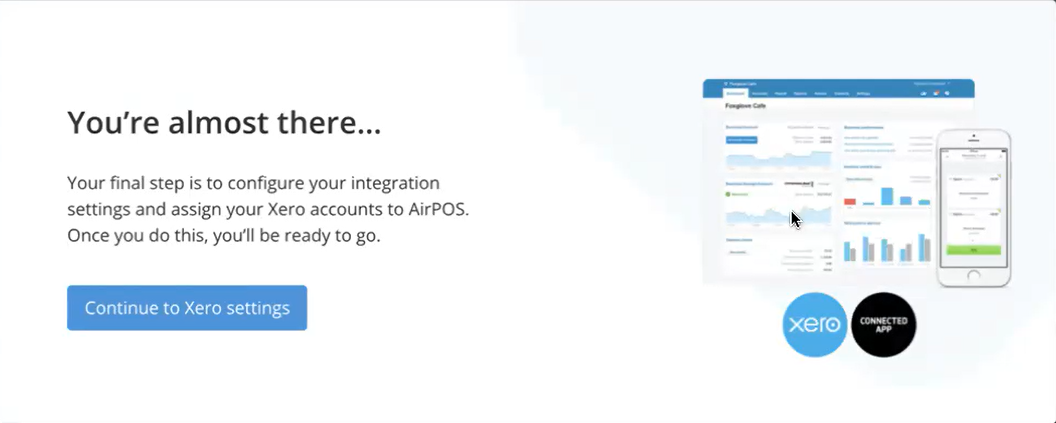
After granting AirPOS access to your Xero account, the next step is to set up your 'Xero Settings.' Click 'Continue to Xero Settings' to begin this process.
Once you've clicked 'Continue to Xero Settings,' you'll see a new page that resembles the image below.
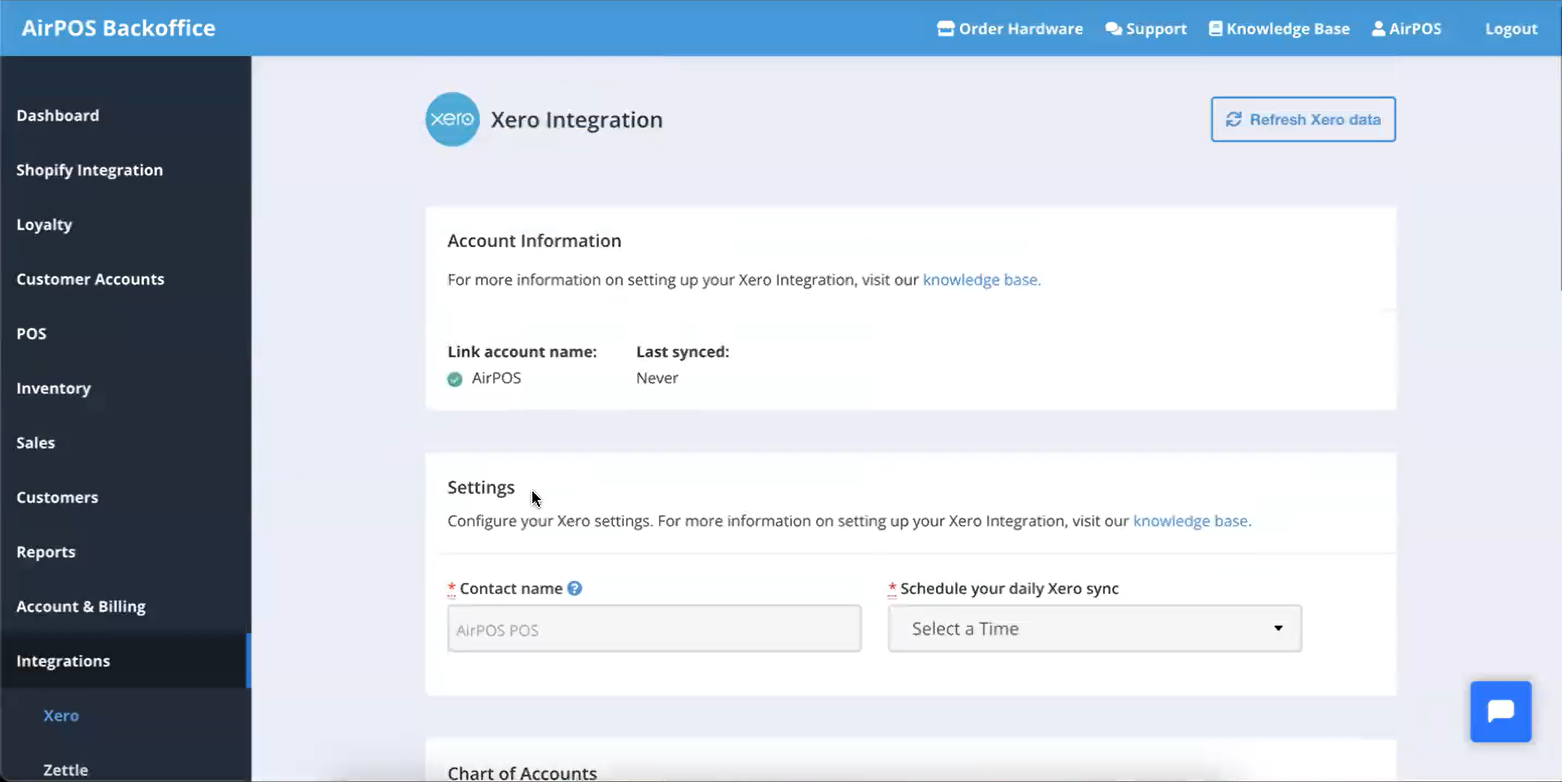
The following sections of this article will guide you through each section of this new page, explaining what's required in each one to complete your integration successfully.
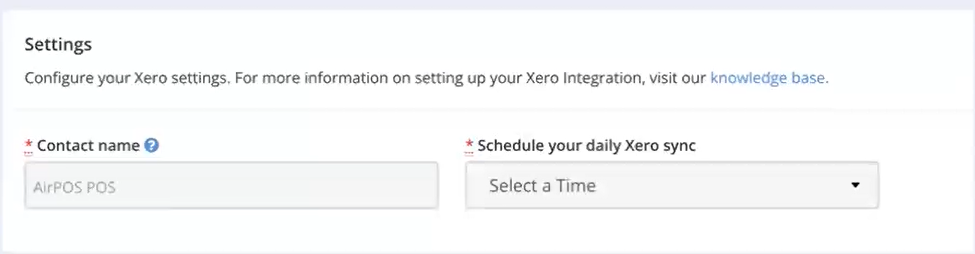
Section 1: Settings (Customer name and Xero sync)
In the 'Customer name' field, simply enter your name to complete this section. For 'Schedule your daily sales sync,' choose a time from the dropdown list that aligns with your business needs, such as the end of the trading day or midnight.
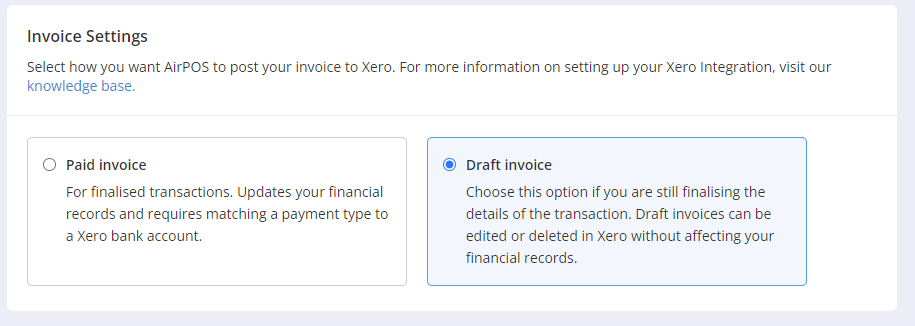
Section 2: Invoice settings
We offer two straightforward options for sending your invoices to your Xero account: "Paid" or "Draft."
- Paid Invoice Option: Selecting this option will automatically send your invoices to Xero as paid. This streamlines your workflow, reducing the need for manual sorting and payment tracking in Xero. It's a convenient time-saver.
- Draft Invoice Option: Opting for the "Draft" option sends your invoices to Xero as drafts. This choice provides you with greater control over your invoices. You can easily edit or remove them without affecting your financial records. While it offers more flexibility, it may require a bit more hands-on management on your part.
We've designed these options to suit your invoicing preferences, so you can choose the one that best aligns with your needs.
Section 3: Chart of Accounts
This section deals with matching your sales accounts to Xero using our convenient drop-down boxes. Select the appropriate Xero account codes for both 'Transactions' and our new 'Shipping' tender types to proceed.
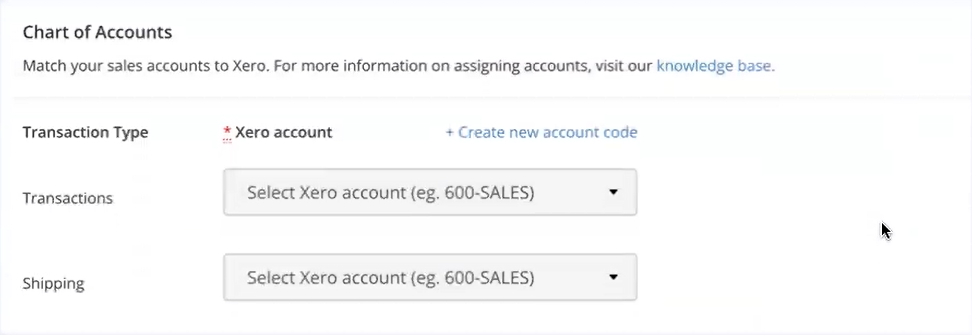
You will already have a number of account codes setup in Xero that allow you to receive money. The default account code for revenue in Xero for example is 200 - Sales. If you select this code AirPOS will automatically post your sales data as an invoice under this account code once a day. The invoice will feature your sales for that day and any adjustments including your float.
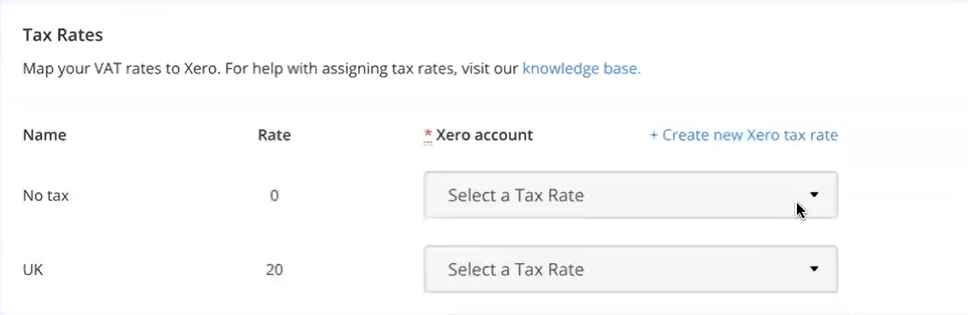
Section 4: Tax Rates
In this section, you'll match the tax rates you've created in AirPOS with the corresponding tax rates in your Xero account. For example a tax code of 20% VAT in AirPOS would be matched against the 20% (VAT on Income) tax code in Xero and so on. Your sales will be differentiated according to the rates of VAT applied to the products sold. For example you will see total sales of products sold at standard UK rate VAT at 20% and for those such as children's clothing which is rated for VAT at 0%.
Also, If you forget to match certain tax rates, don't worry! Our integration will alert you, ensuring everything is aligned before allowing you to update.
If you add more tax rates to your AirPOS account, this page will update automatically, allowing you to quickly update your account without restarting the integration process.
You can also create new Tax rates in your Xero account by clicking the link located at the top right of this section. This will take you directly to the page you need in Xero to do this, saving you from having to navigate there yourself!

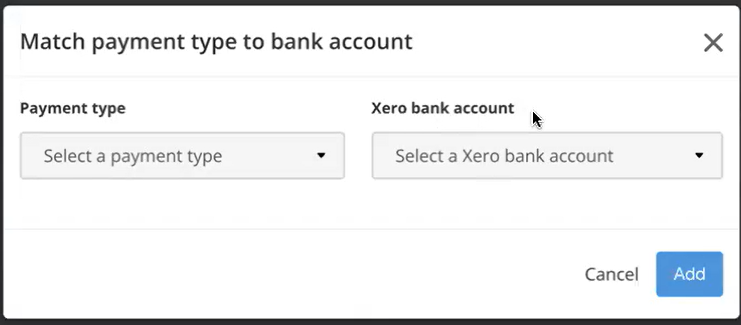
Section 5: Define Payment Types
Now, let's define your payment types. Start by selecting the payment types you accept in your business and matching them with the appropriate Xero bank account. Click 'Match payment types' to begin.

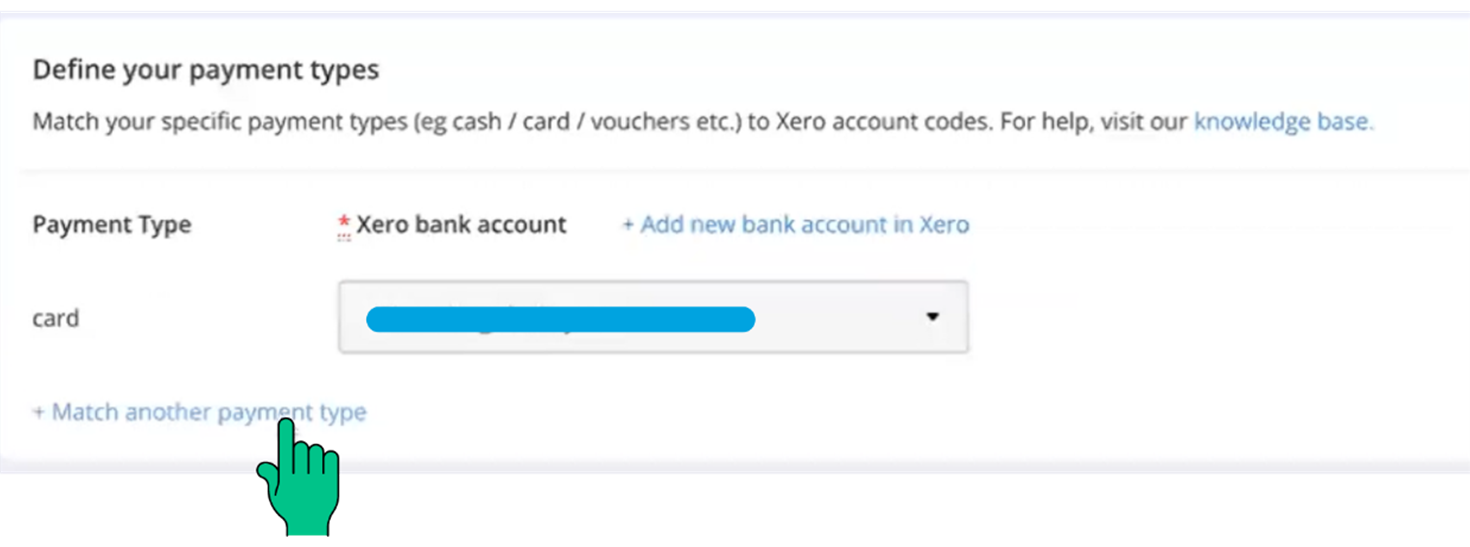
You'll be presented with two options: 'Payment type' and 'Xero bank account.' Simply choose the payment type you use in your business from the drop-down list and match it with the desired bank account that has been set up in Xero. Once correctly matched, click 'Add' to complete this step.
Since most businesses offer multiple payment methods, you'll need to add and match your other payment types as well. Click the 'Match another payment type' link located below the payment type you just added.
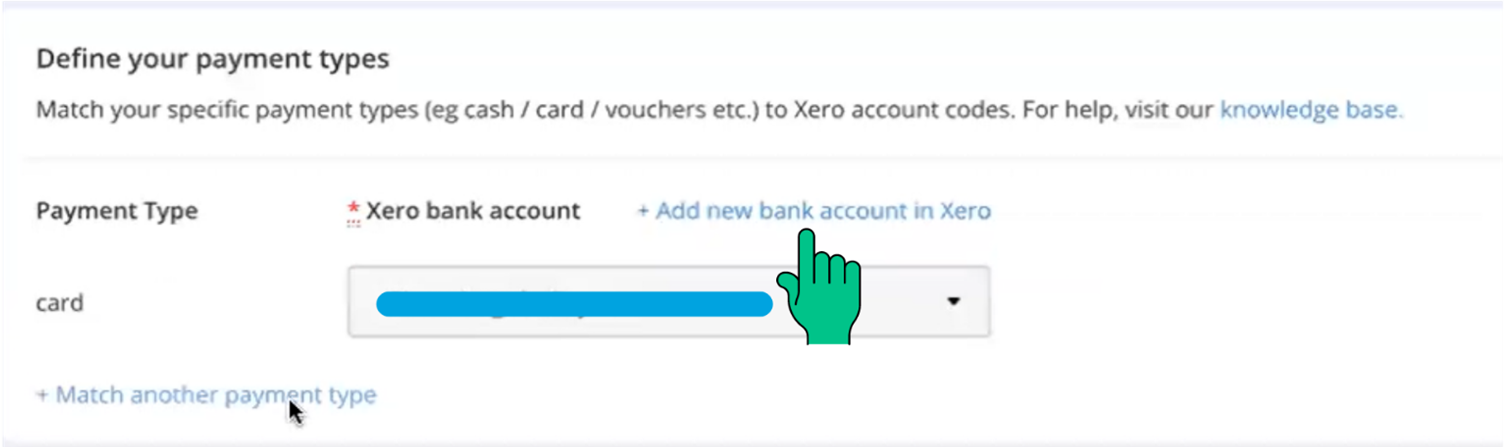
If you need to add another bank account in Xero, don't worry! We've provided a quick link that takes you directly to the right place in your Xero account. Simply click on 'Add new bank account in Xero' to go there instantly.
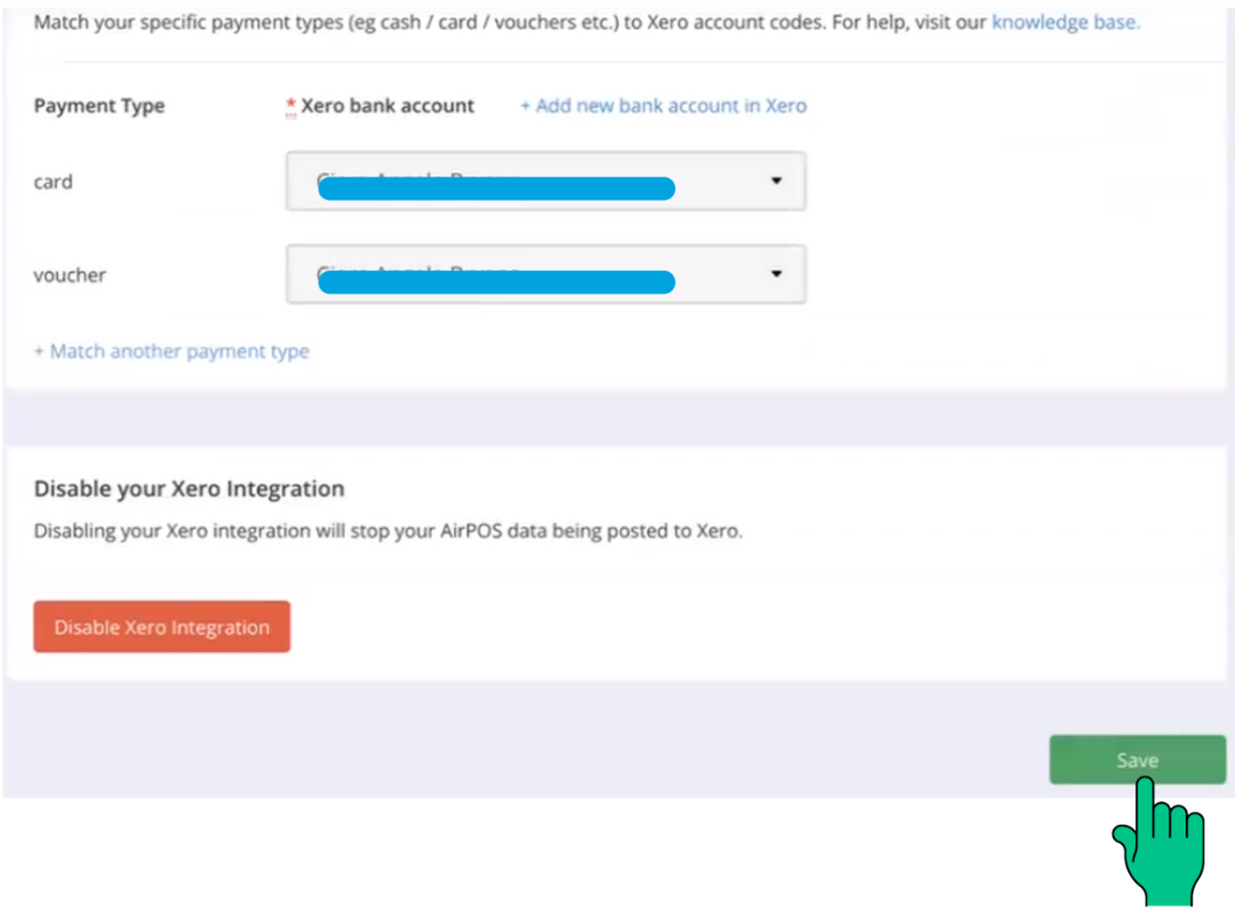
Save Your Details
Now that you've completed each section of the Xero integration, it's time to save your data. Click on the green 'Save' button located in the bottom right corner of the screen.
You'll know your information has been successfully saved when a green bar appears at the top of your screen with the text 'Xero settings saved,' confirming the completion of the process.
Congratulations! You've successfully completed your Xero Integration with AirPOS! Your AirPOS account is now seamlessly sending information to your Xero account, enabling easier business tracking and financial management. We hope you found our new integration process quick and easy to use!
Important please read!
Please DO NOT disable your Xero integration at any time! If you are encountering issues with your integration please contact support before attempting to disable your integration.
Notes and Additional Points About The New Integration
- Previously, when you sent an invoice from AirPOS to Xero, it would arrive as a draft invoice. This meant that customers had to do additional office work to mark them as paid. But now, things have changed! With our new integration, invoices are sent as 'Paid' directly, saving you time and effort.
- In the past, if you deauthorized your connection to AirPOS from your Xero account, you would encounter an error that required our tech team's assistance to resolve. However, we have made improvements! If your account becomes deauthorized, our team will notify you, and you'll be able to easily reconnect your account through the AirPOS Backoffice without any hassle.
If you have any questions or require assistance with your Xero integration, please don't hesitate to contact us. You can reach our support chat by clicking on the small blue box located in the bottom right corner of your screen.

Alternatively, you can email us at Support@airpos.co.uk