Getting Started - Signing up with AirPOS
Introduction to AirPOS
Take a look at a quick overview of AirPOS, move on to "signing up for AirPOS" below for full details on how to get started with AirPOS.
Signing up for AirPOS
To sign up for AirPOS is very simple. Go to our website, and on the home page, enter your details (Email Address / Company Name / Password) to begin the onboarding process. Make sure to use an email you have access to, and remember to save your password, you'll need this anytime you want to login to your AirPOS back office.
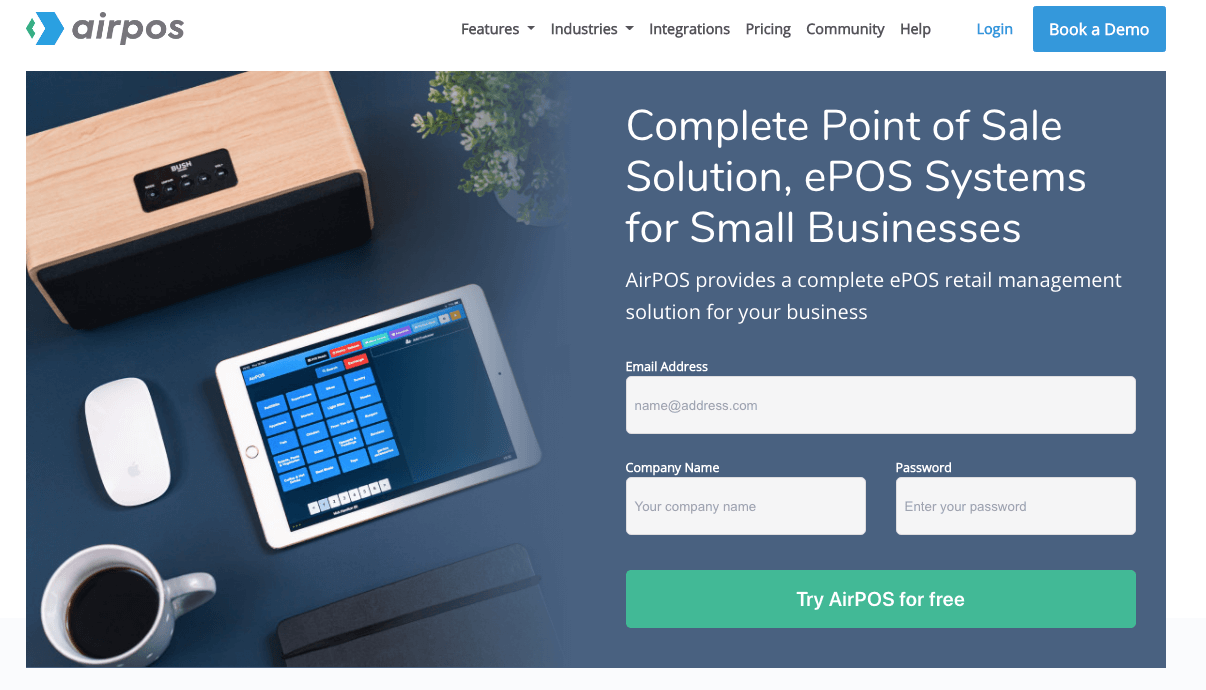
When you sign up you'll automatically be given a 14-day free trial to test our product. We highly suggest setting up a time for a demo with our onboarding team to make sure you can use the product fully and that it fits your business needs.
Onboarding Process
When you first sign up you'll be taken through a process we call onboarding, this basically let's you get started with the basics with our software. The process is fairly simple it consists of the following steps.
Step 1 - General Details
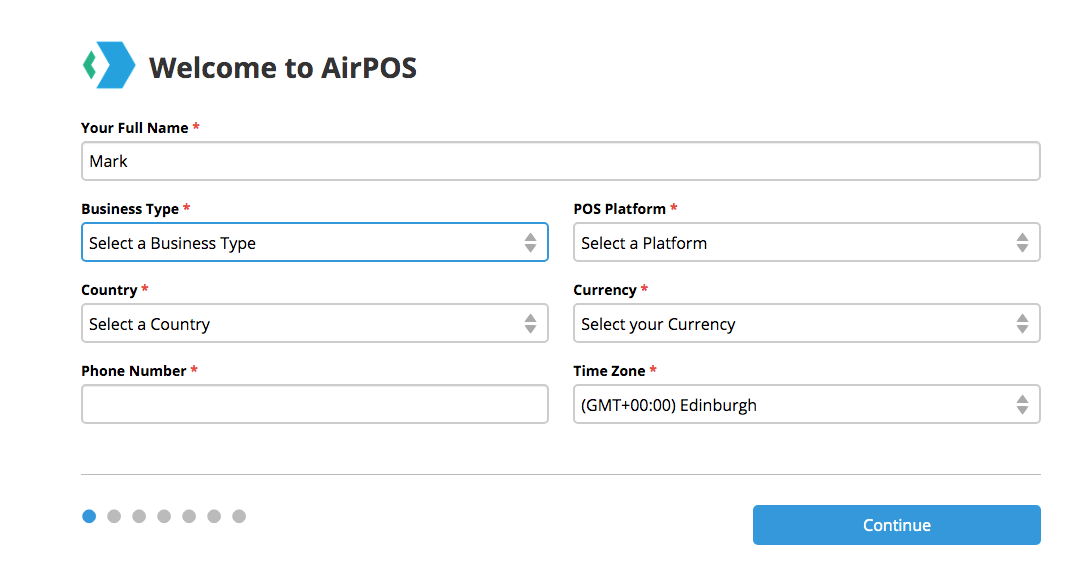
Complete the general details section:
- This will include your full name,
- Your business type (if your business type is not present, select one that is close to what you do),
- Select your country (where your business is located),
- Add your phone number (this is important as it allows us to reach you for support),
- Select the platform you wish to use. This is the operating system for your POS software and will be iOS, for iPad, Android or Windows.
- Choose your local currency (what currency your location will be making sales in). In the currency box, the available currencies are those supported by PayPal. The currency symbol is not printed on receipts and will only be visible on the POS and in the back office to the user. If your currency is not in the list you can select 'US Dollars' or 'Pounds Sterling' as a generic symbol.
- Finally, select your Timezone from the drop down list and press 'Next'.
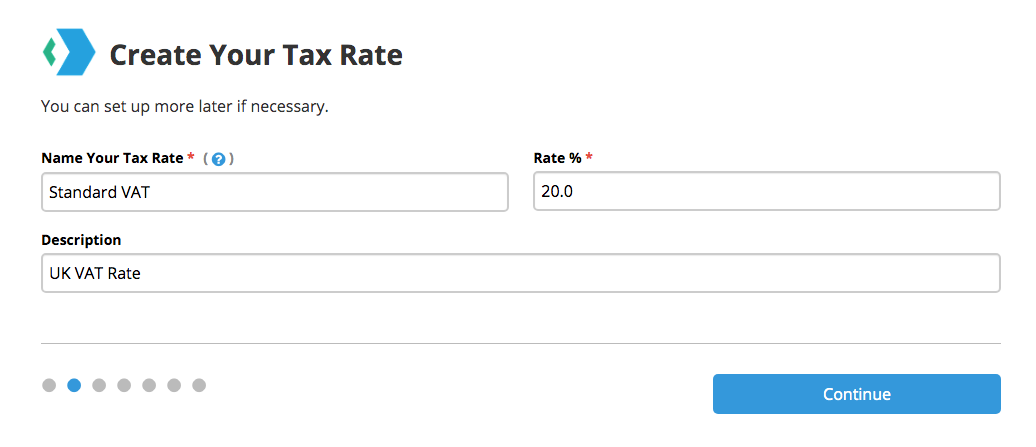
Step 2 - Tax Rates
This will bring you to a screen where you set up your tax rates. The default is 'UK VAT Rate' which is standard VAT at 20% but this can be changed. When you've created your tax rates press the next button. You can edit this or add more tax rates later.
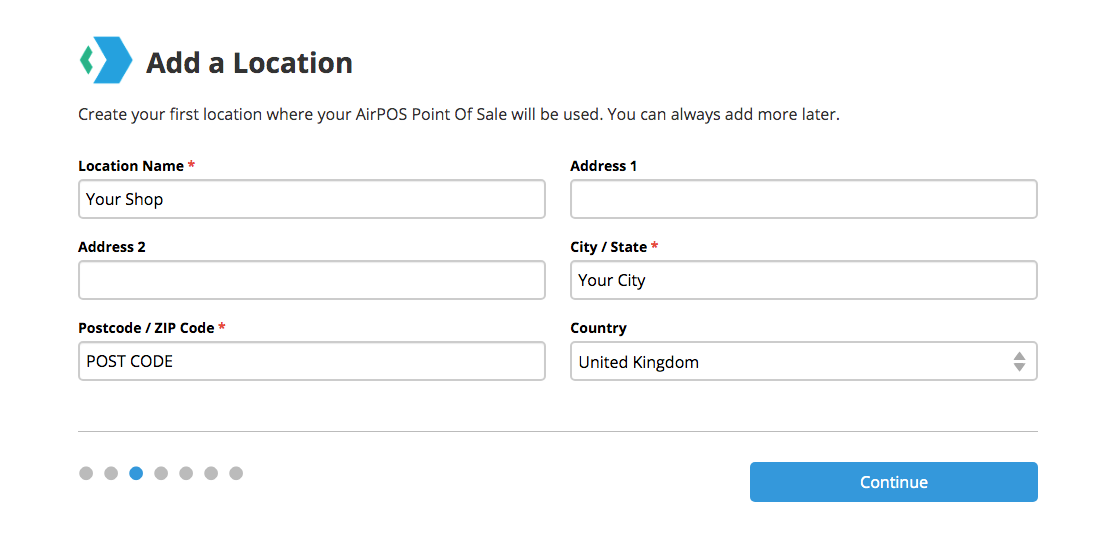
Step 3 - Store Location
In this step, you'll set up your physical store location. This is where you name your location and enter the address of your location. For the purposes of issuing sales receipts the company name, you entered in the first signup screen is picked up by the system so when naming the location if you give it the same name as your company name it will appear twice on the receipt. The address you give for your location will be printed on receipts issued from any device assigned to that location below the company name.
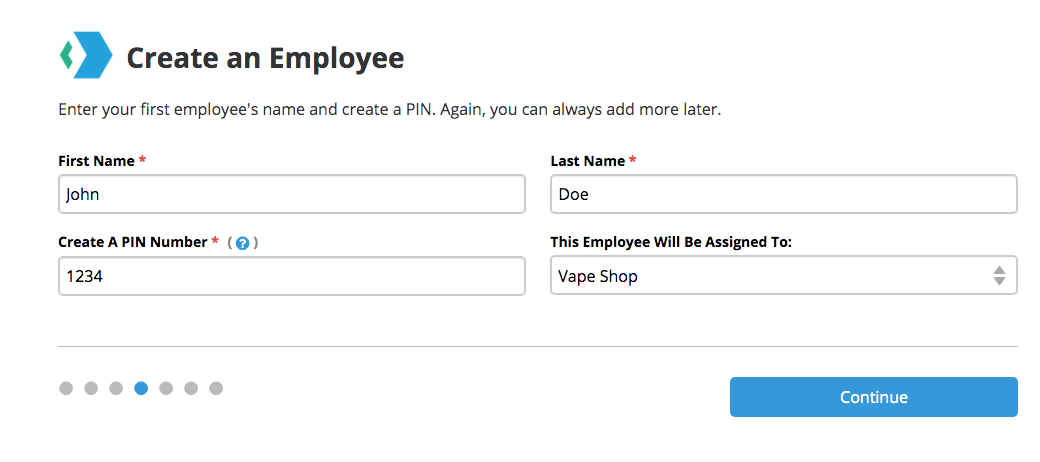
Step 4 - Adding your first employee
In the next screen you'll set up your first employee, if you're a sole trader, this will be yourself. Just enter their name, give them a PIN number (make note of this for later) to log on to the till, assign them to a store location and press 'Next'.
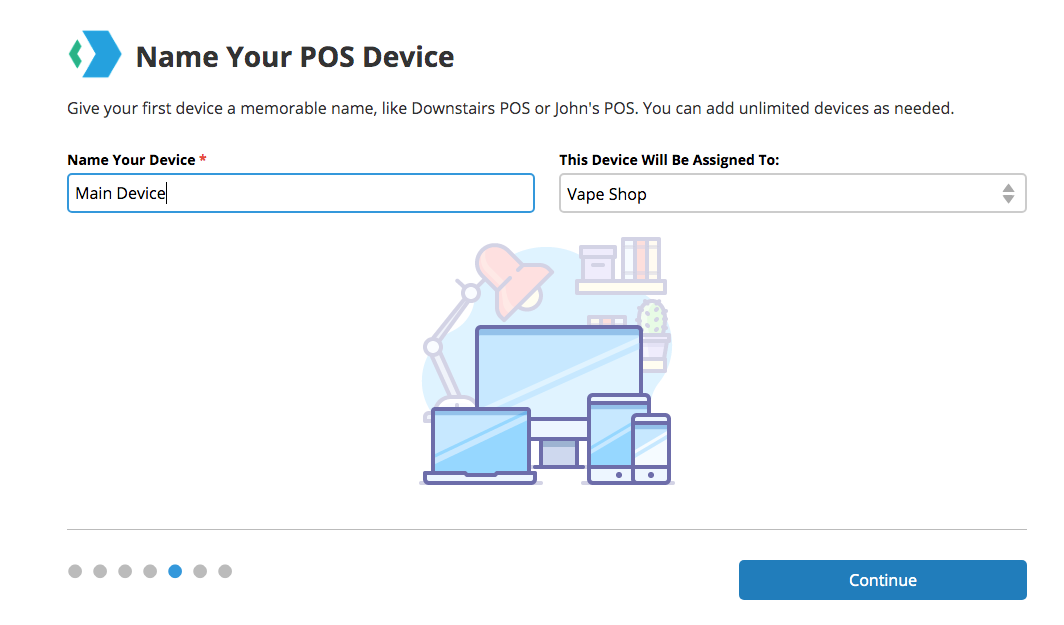
Step 5 - Name your till / device
This will take you to the screen where you name your Till / Device and assign it to a location.
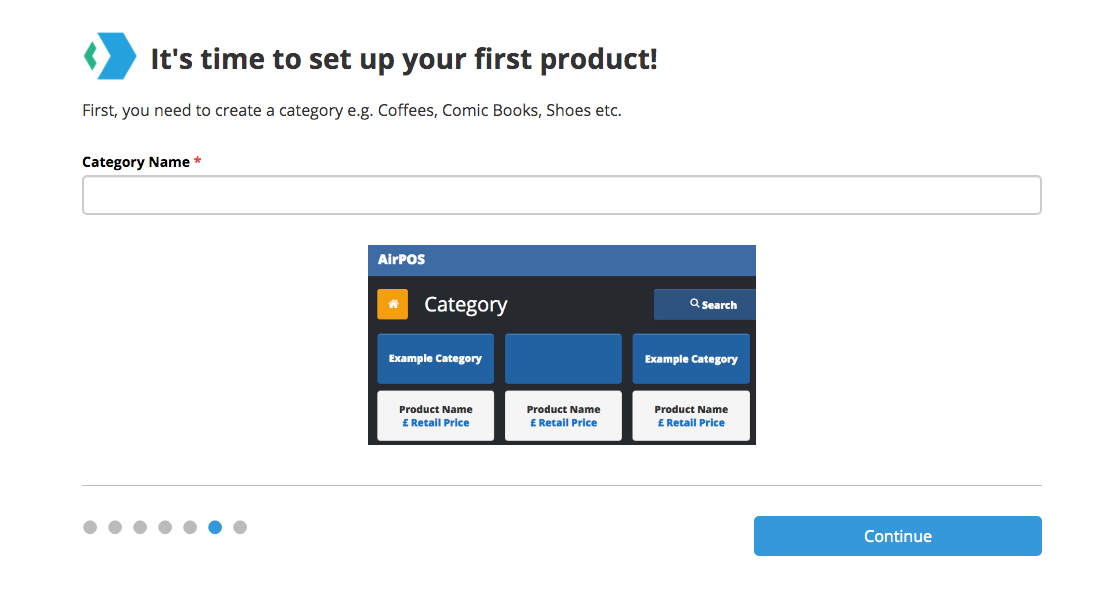
Step 6 - Create a product category
Press next and you'll be prompted to create your first product category. Our system allows you to create multiple categories, and then assign products to each category. For example if you are a clothing store, you may want to set up the category, "men's jeans" and later the single product "blue jeans".
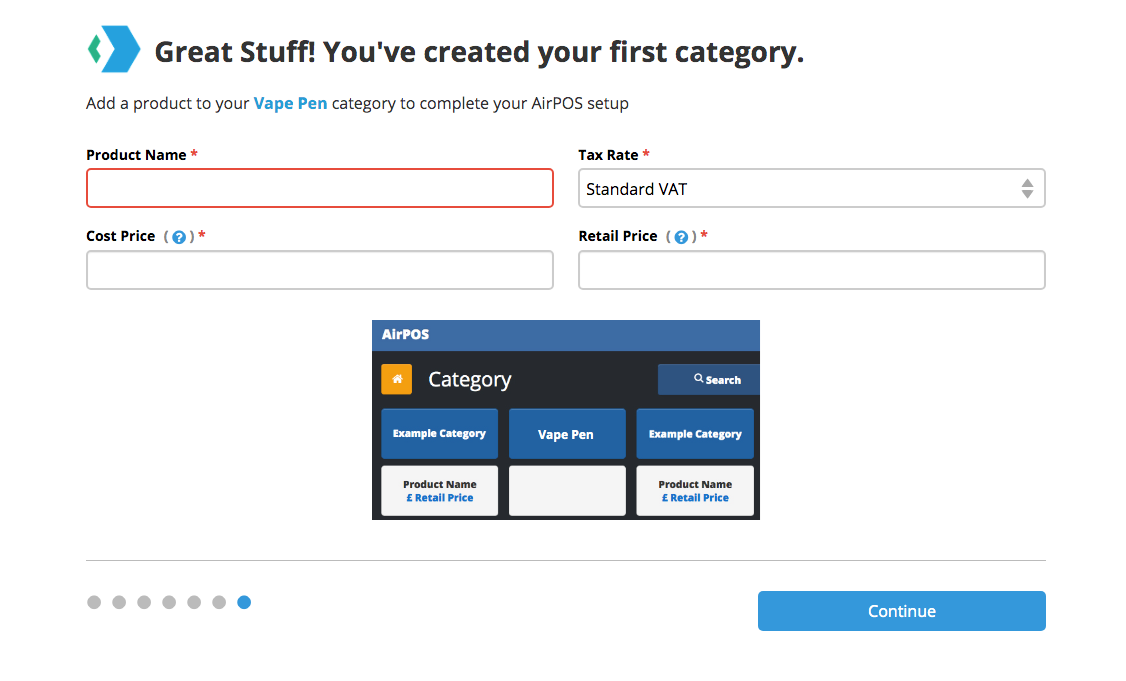
Step 7 - Adding your first product
Press next and now you will be able to create your very first product, hooray!
Create the product name, select the tax rate (you will only have your standard tax rate for now), choose a cost price (cost of the product for you to buy), and then the retail price (price you are selling it to a customer).
Press "Continue" and you'll have finished the onboarding process and can now access your AirPOS back office.
We recommend you take a look at how to add a full list of products to your site.
General Notes
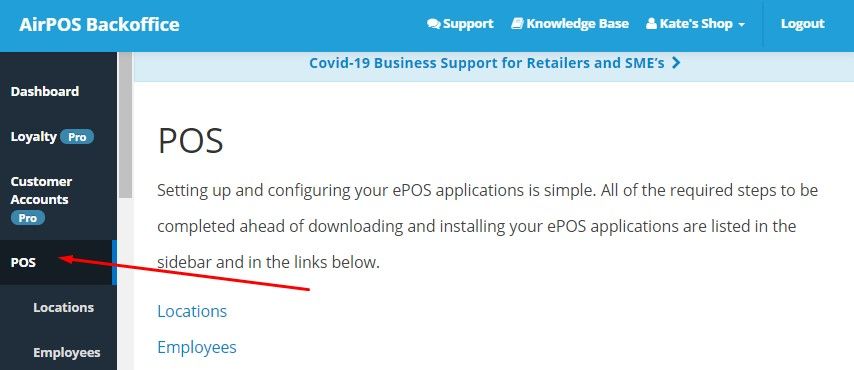
In the back office if you tap on your company name at the top right of the screen and tap or click on 'Edit My Account' you can edit the company name, the email address and password, timezone and close your account.

If you tap on POS from the left navigation margin you can add and edit your employees, locations, tax rates and devices.