Printers & Scanners with AirPOS on Windows
In this section you can learn how to connect your receipt printer to your Windows machine to use with AirPOS.
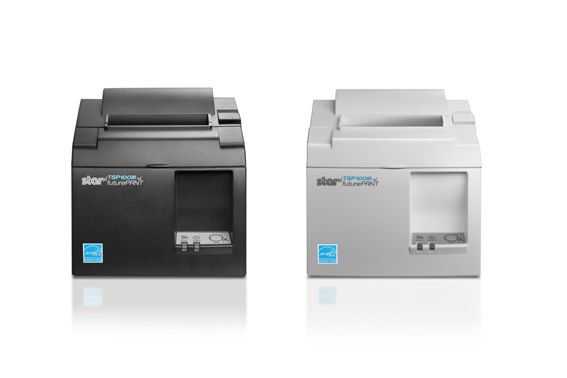
Connecting the Star TSP143IIIU USB Receipt Printer on Windows
How to Connect the Star TSP143IIIU USB Receipt Printer on Windows with AirPOS
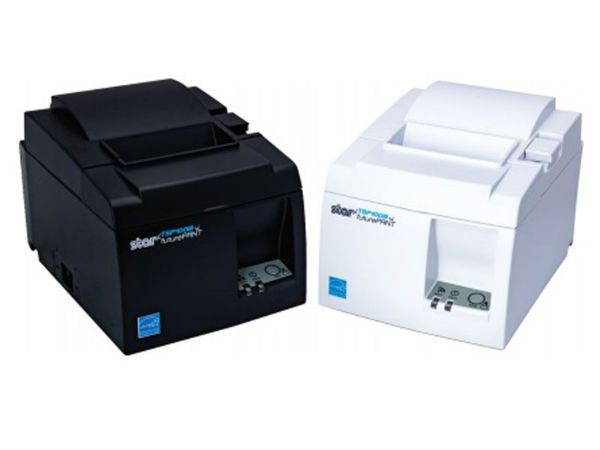
How to Setup the Star TSP100iii LAN Printer for AirPOS on Windows
Connect the printer to the mains power. Using an Ethernet cable connect the printer to your router. While holding down the ‘FEED’ button turn theprinter on using the switch on the left hand side of the printer.
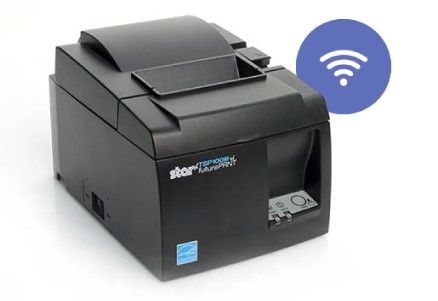
How to Setup the Star TSP100IIIW Wi-Fi Printer for AirPOS on Windows
Straight out of the box this printer when powered up exists on it’s own network and is not connected to the internet. The first task is to get the printer configured on to your own Local Area Network (LAN)
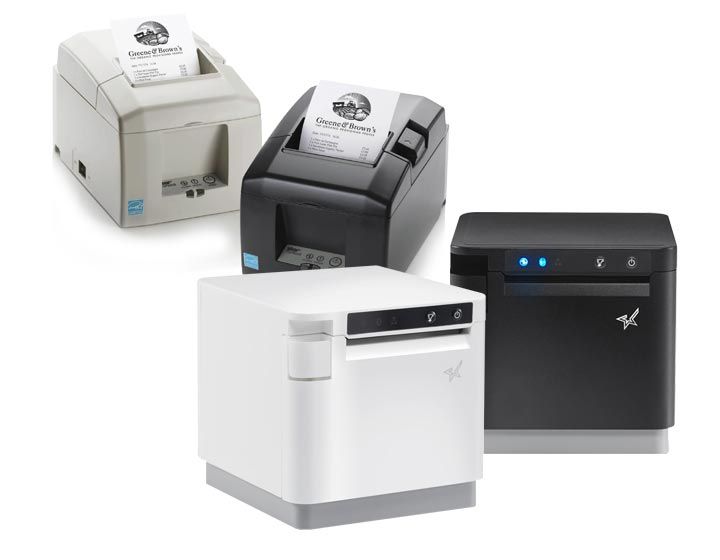
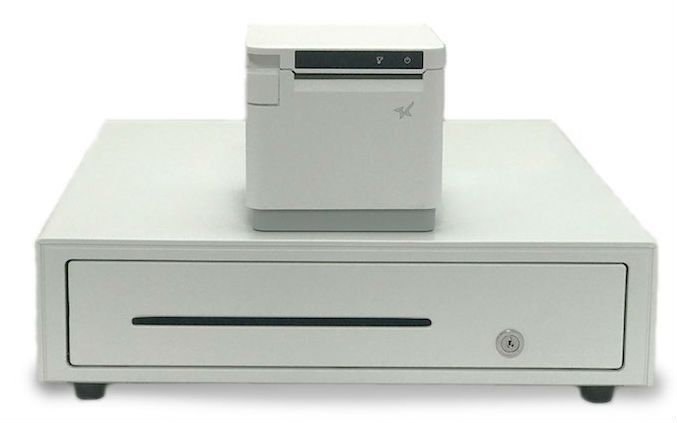
Setting up MC-Print3 Printer for AirPOS on Windows
This package includes the Star mc-Print3 compact, versatile receipt printer and a Star CB-2002 cash drawer which easily connect together.
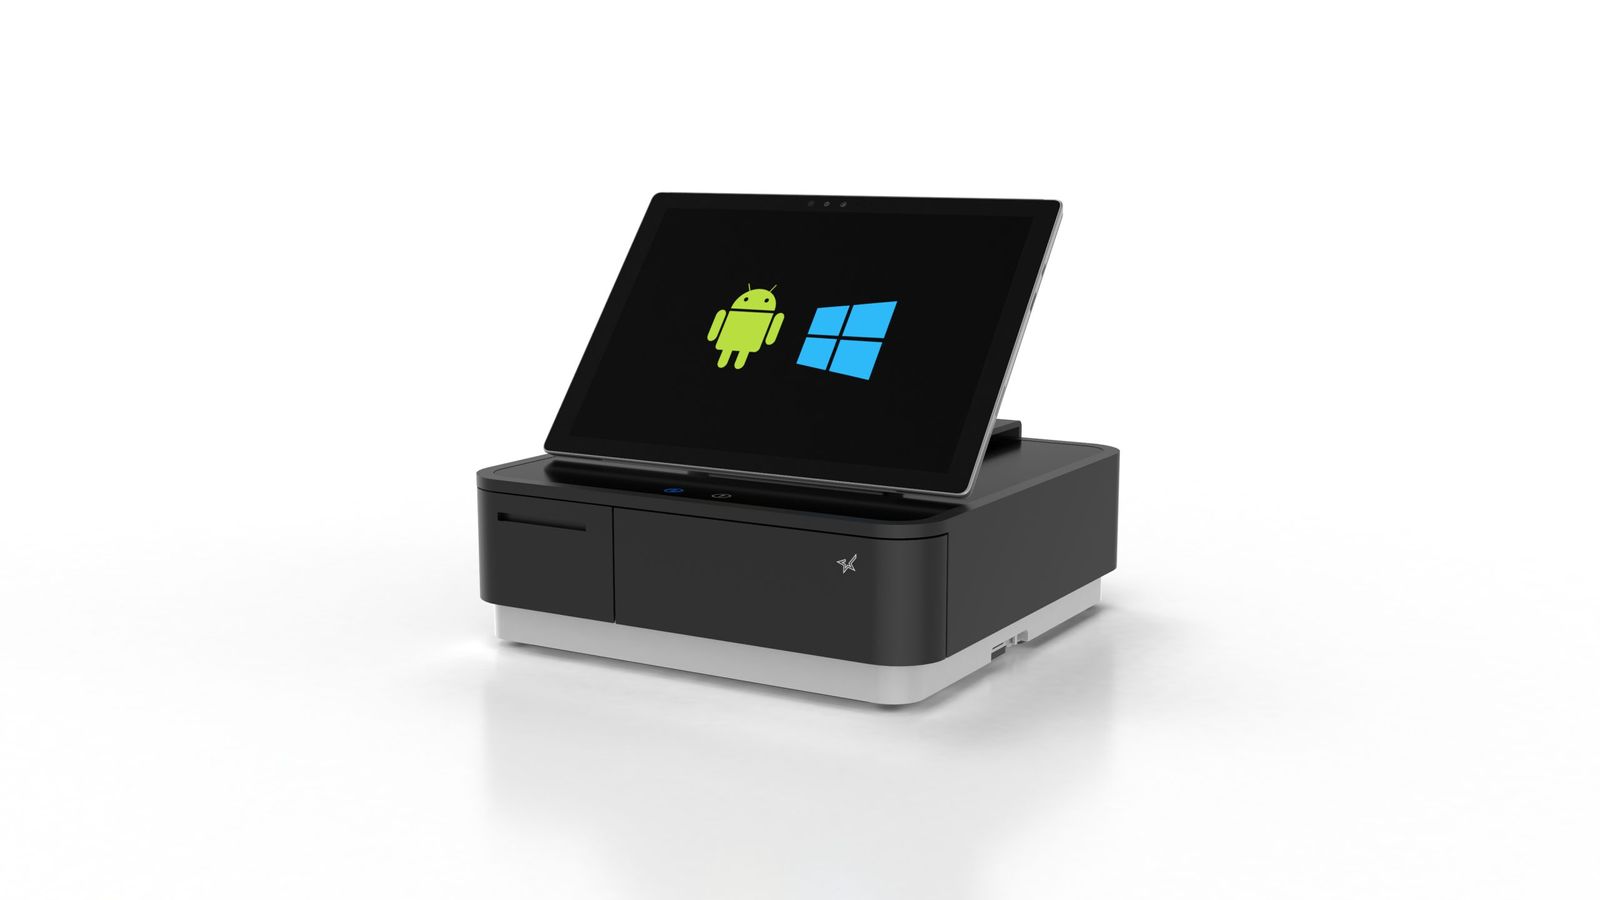
Setting up the Star mPOP Combined Printer and Cash Drawer on Windows
The Star mPOP combined cash drawer and printer can be connected to your Windows tablet or desktop with a USB cable.
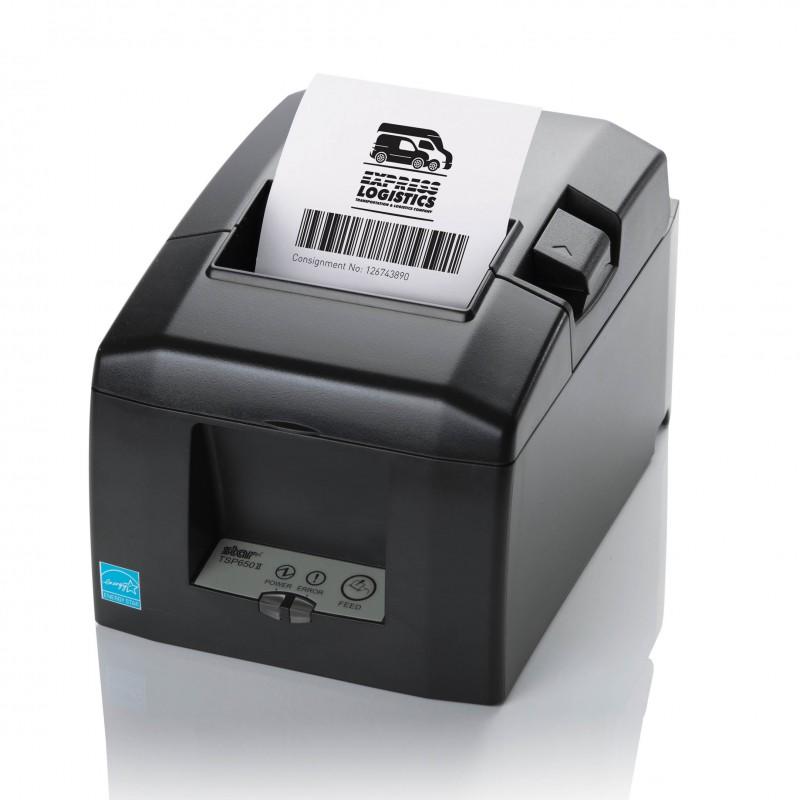
How to Setup Star TSP650 LAN Printers on Windows for AirPOS
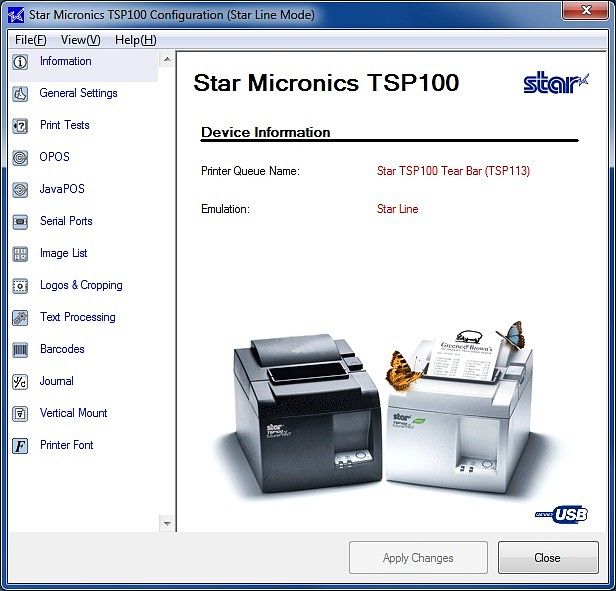
At present you will have to go through the following process first. The factory default mode of the Star TSP650 Series Printers is Star Line Mode. The printer needs to be set to ESC/POS Emulation.

How to Setup The Star TSP650 USB Printer on Windows
The first step is to set the printers dip switches. For this you’ll need a small Phillips screwdriver. Switch the printer off. Underneath the printer is a small base plate fastened with a small Phillips screw as shown below.
About Laser Barcode Scanners on Windows and Android
Barcode scanners will usually operate in what is known as “keyboard wedge”. The term wedge comes from the fact that the hardware device typically sits, or wedges, between the keyboard and the PC or device.
Adding a Logo for Receipts on the Star TSP100 Printer on Windows
You can download the driver and Configuration Utility from the following link.