At present you will have to go through the following process first. The factory default mode of the Star TSP650 Series Printers is Star Line Mode. The printer needs to be set to ESC/POS Emulation. It is necessary to enable this setting to ensure printouts are parsed accurately. If not, some applications may use Star Line Mode parsing, resulting in corrupted printing, the cutter not working and the cash drawer not kicking. This is quite straightforward.
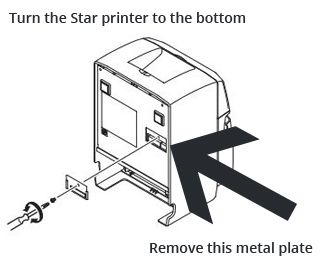
- Two sets of DIP switches are provided at the bottom of the Printer behind a small plate.
- Make sure the printer is switched off then remove the plate by unscrewing it from the printer as seen below..
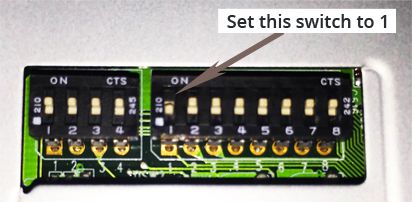
- In the set of eight switches change the first switch to OFF using a small pointed tool such as a pen or flat-bladed screw driver. The printer will be in ESC/POS mode as soon as you switch it back on.
For further information you can download the manual for your printer by clicking on the following link
Star TSP-650 Series User Manual
and specifying your operating system and interface type (USB, Bluetooth or LAN).
Connect the printer to your router by Ethernet cable
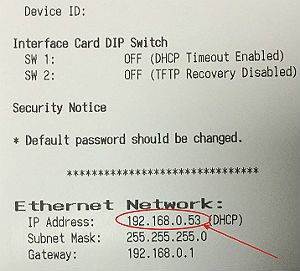
While holding down the feed button switch the printer on. After a few moments it will print out a list of settings including at the bottom of the self print the IP address as shown here.
Next the Printer needs to be added to your list of Devices and Printers.
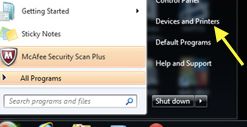
From the Start Menu on your Windows machine select Devices and Printers;
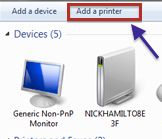
On the horizontal bar select Add a Printer;
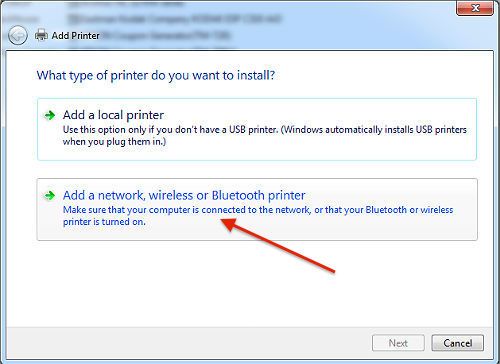
Select the printer type; in this instance choose the Add a network, wireless or Bluetooth printer option. Windows will search for available printers.
After a few moments the search bar will turn solid green and your printer will hopefully be highlighted in blue as shown here with the IP Address which should match the IP Address you obtained from the printer’s self print.
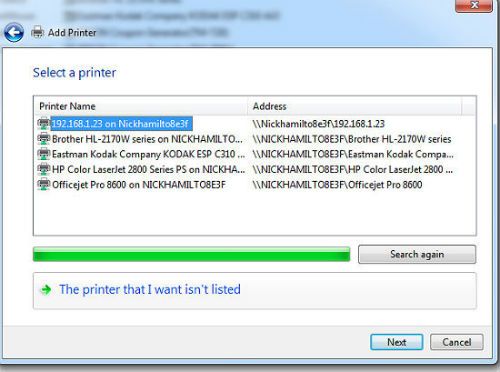
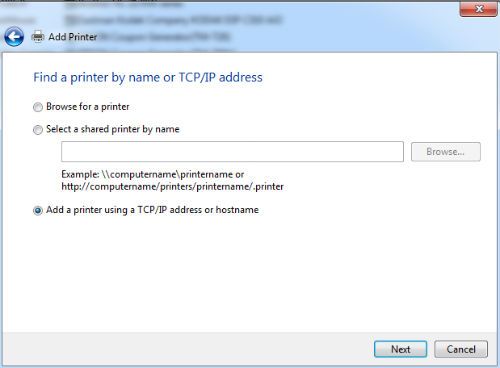
If the printer highlighted does not display the same IP address then click on The printer I want isn't listed. A new window will popup. Tick the option to Add a printer using a TCP/IP address or hostname and press Next.
A new window will open and in the box beside Hostname or IP address type in the IP you obtained from the printers self print. Press next.
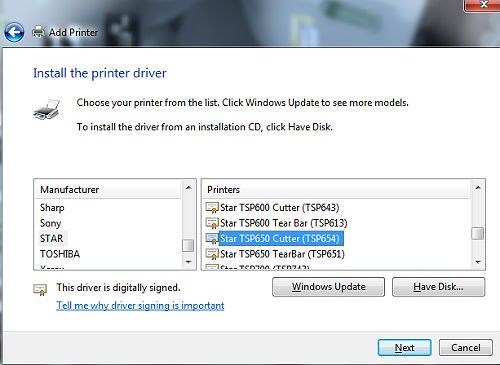
In the new screen scroll down the list of manufacturers and select STAR. Scroll down the list of printers and select Star TSP650. Click next. Click next again on the screen that appears with Use the driver that is installed option selected;
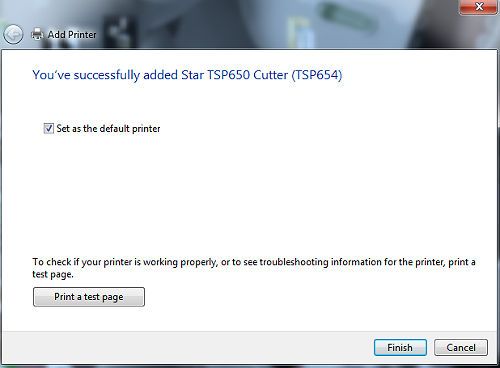
Click next on the following two screens with your printer name pre populated in the first and 'Do not share this printer' selected by default in the second. On the next screen, with 'Set' as the default printer ticked, run a test print and press 'Finish'.
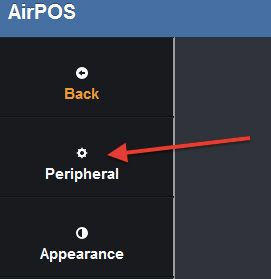
Your printer is now setup on your Windows machine and it remains only to configure it on AirPOS. Open the AirPOS application and click or tap on the settings cogwheel at the top of the screen. From the left margin select 'Peripherals'.
Log on to AirPOS.
Go to the settings button on the top right of your screen;

On the resultant screen select peripherals as shown below;
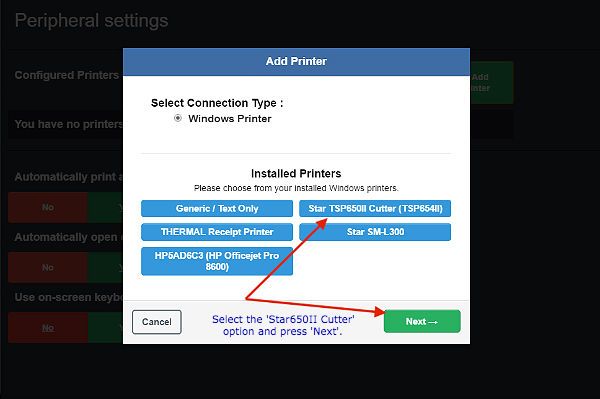
When you press the green 'Add Printer' button the screen will change to show all printers connected to your Windows machine in a blue box. Select the the 'Star TSP6450II Cutter' option as shown below.
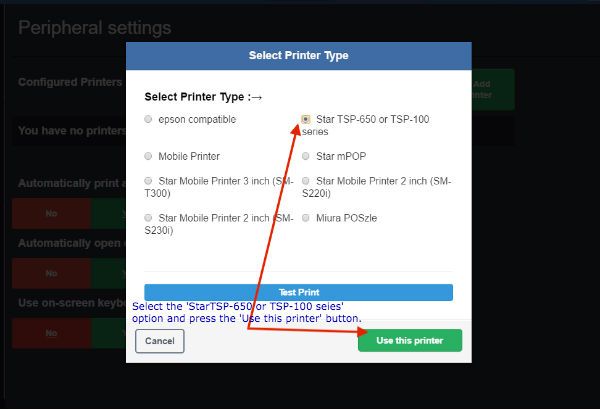
...and press 'Next'. The printer type popup will appear. Select the 'Star TSP650 or TSP100 series' option and then press the green 'Use this printer' button to save your selections.