
How to Setup Most Network Printers on AirPOS for Windows
General Setting up and Configuring your Printer on Windows
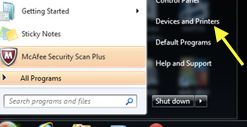
The first step is to set the printer up in Windows. From the Start Menu on your Windows machine select Devices and Printers.
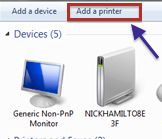
On the horizontal bar select ‘Add a Printer’;
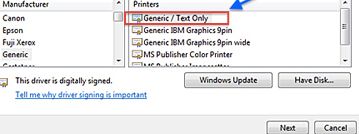
Select the printer type;

Click on next and from the 'resultant' screen select the manufacturer of your particular printer or simply select Generic from the drop down list and then click next and click next again on the screen that appears with ‘Use the driver that is installed’ option selected;
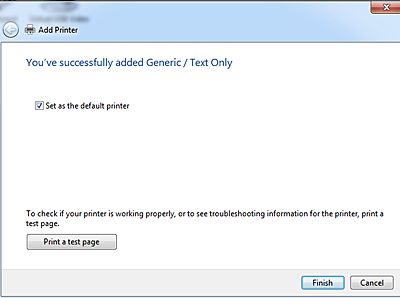
Click next on the following two screens with your printer name pre-populated in the first and ‘Do not share this printer’ selected by default in the second. On the next screen, with ‘Set as the default printer’ ticked, run a test print.
Finish and close and log on to AirPOS. Go to the settings button on the top right of your sales screen;

On the resultant screen select peripherals as shown below;
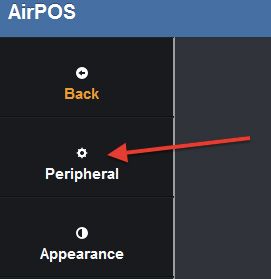
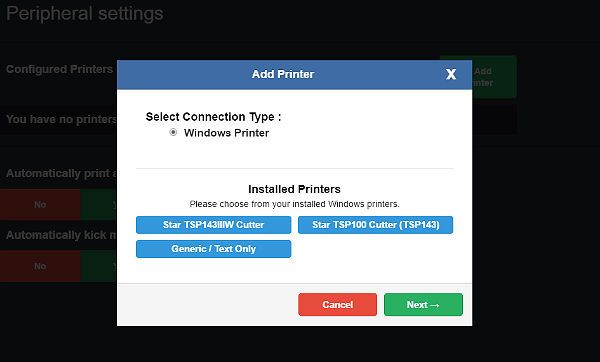
Your printer is now setup on your Windows machine and it remains only to configure it on AirPOS. Open the AirPOS application and click or tap on the settings cogwheel at the top of the screen. From the left margin select 'Peripherals'. When you press the green 'Add printer' button, any printers attached to your Windows machine will be displayed in a blue box. Tap on the printer you want to configure in AirPOS and press the 'Next' button.

A new popup will appear in which you select the printer type. Tap on the type of printer you wish to add and then tap on the 'Use this printer' button to save your selections and install the printer.
NB: If you are setting up the Star TSP100 on Windows please refer to the article at the following link.