
Adding a Logo for Receipts on the Star TSP100 Printer on Windows
This needs to be done using the printer's own software (Configuration Utility) which is downloaded with the printer driver.
You can download the driver and Configuration Utility from the following link.
http://www.starmicronics.com/support/default.aspx?printerCode=futurePRNT
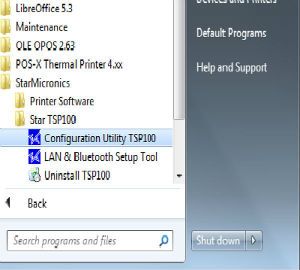
Scroll down until you see 'futurePRNT Software Full' and click on it to Download. Once downloaded and installed navigate to Start > All Programs > StarMicronics > Star TSP100 > Configuration Utility.
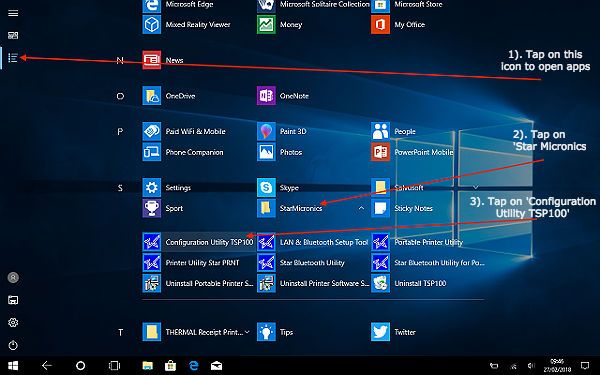
On Windows 10 tap on the icon to open apps and scroll down until you see 'Star Micronics'. Tap on that to expand the application and then select 'Configuration Utility TSP100'.
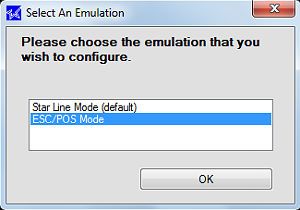
After a few seconds a window like the one below will appear. It is important that you select 'ESC/POS' Mode before you click 'OK'.
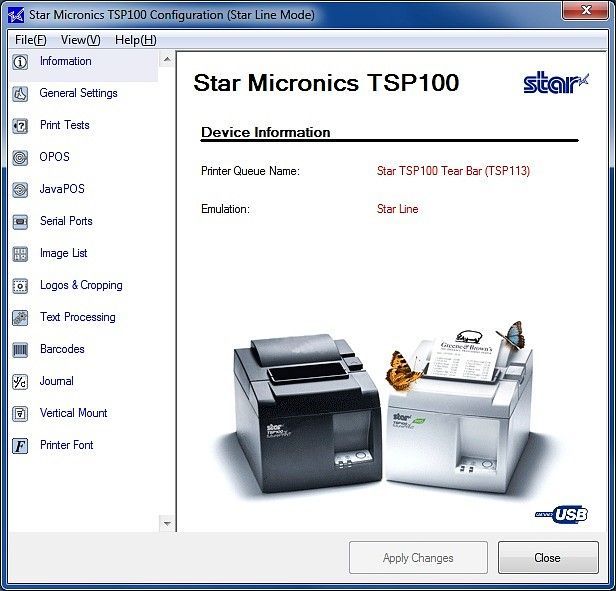
A window similar to the one below will open.
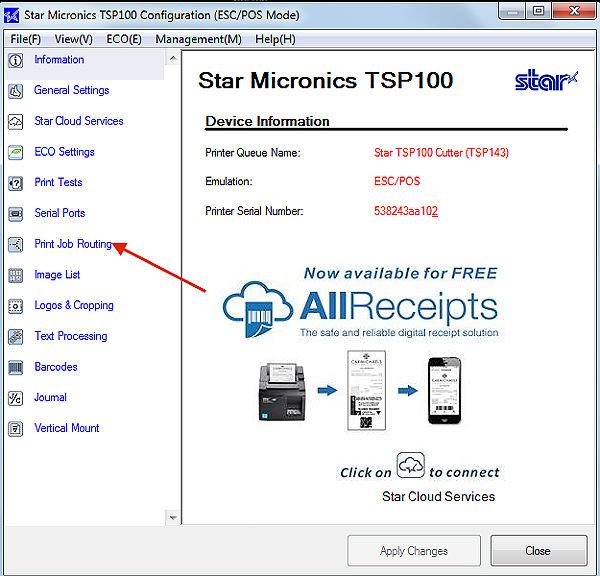
Click on 'Print Job Routing' and check the box to Enable 'ESC/POS Routing' then click 'Apply Changes'.
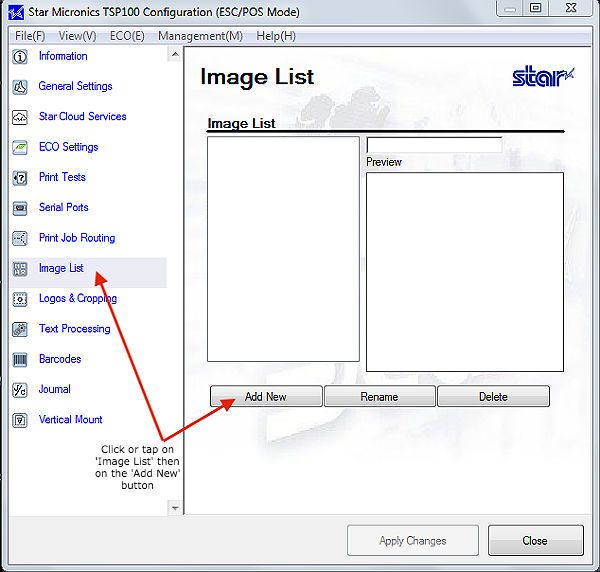
Select 'Image List'. Click 'Add New'.
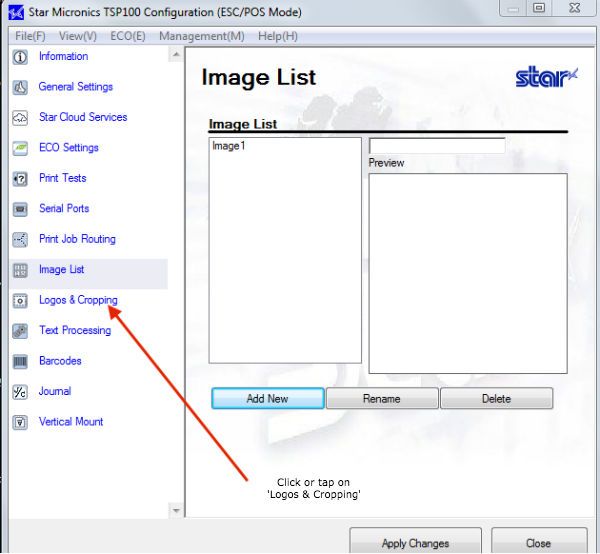
Navigate to the image that you want to print on your receipt. The image format must be bmp, jpeg or gif. Select the image and click open. Click on 'Logos & Cropping' from the menu on the left.
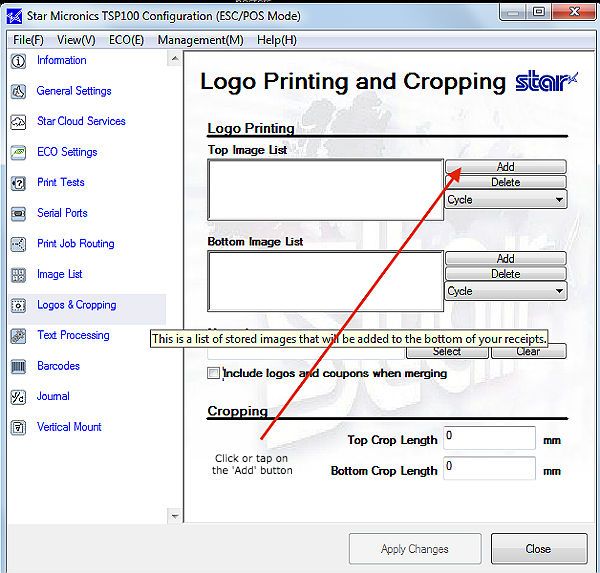
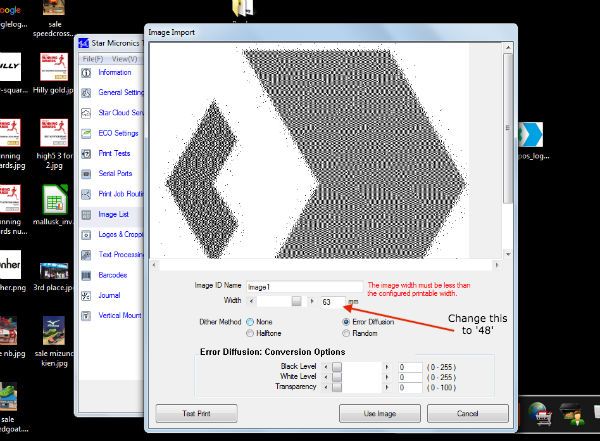
A window similar to the one below will appear. Click on the 'Add' button.
Change the 64 to 48 as in the image below and click 'Use Image'.
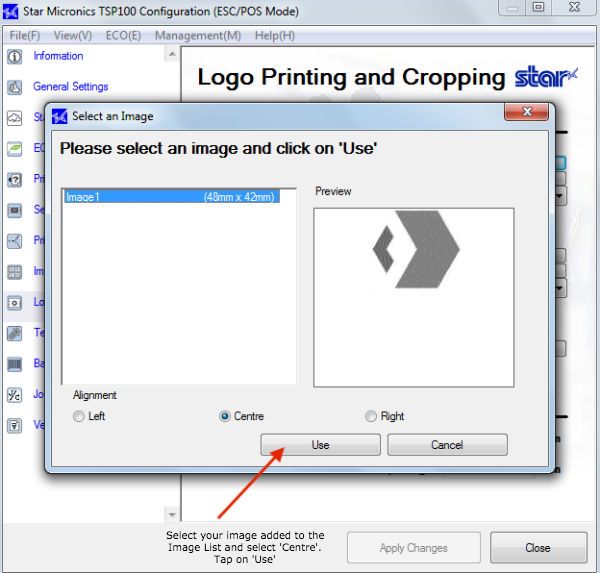
Select the 'Centre' option for alignment and click 'Use'.
And that's the logo added to the printer's own software for your receipts.