Updating the AirPOS POS Application on Windows is done from the backoffice. Do not uninstall the existing application as the update will install over it.
If you use parked sales and you have any that are still open then you should print off the orders for those in order to re-create them.
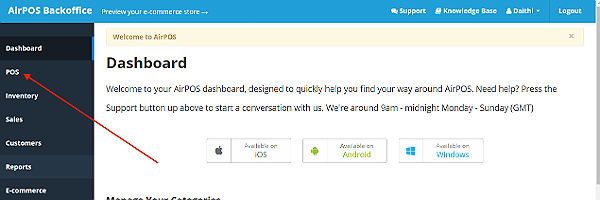
You will need to open the backoffice on the same machine you run the POS application on and click or tap on 'POS' from the left margin.
You'll see a link to 'Download AirPOS App'.
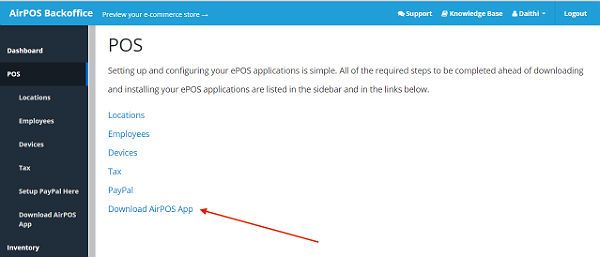
Click on that and you'll see the following screen.
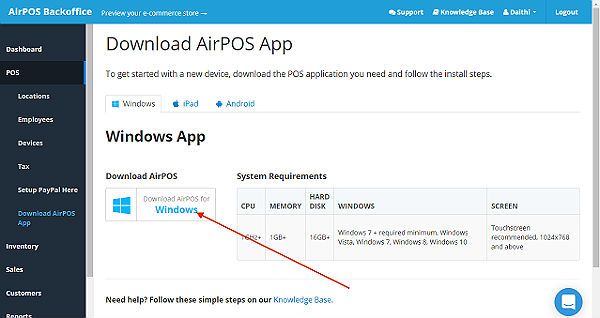
Click on the 'Download AirPOS for Windows' button and open the download when the download is complete. A popup will appear asking 'Do you want to allow this app to make changes to your device?' Click on the Yes button.
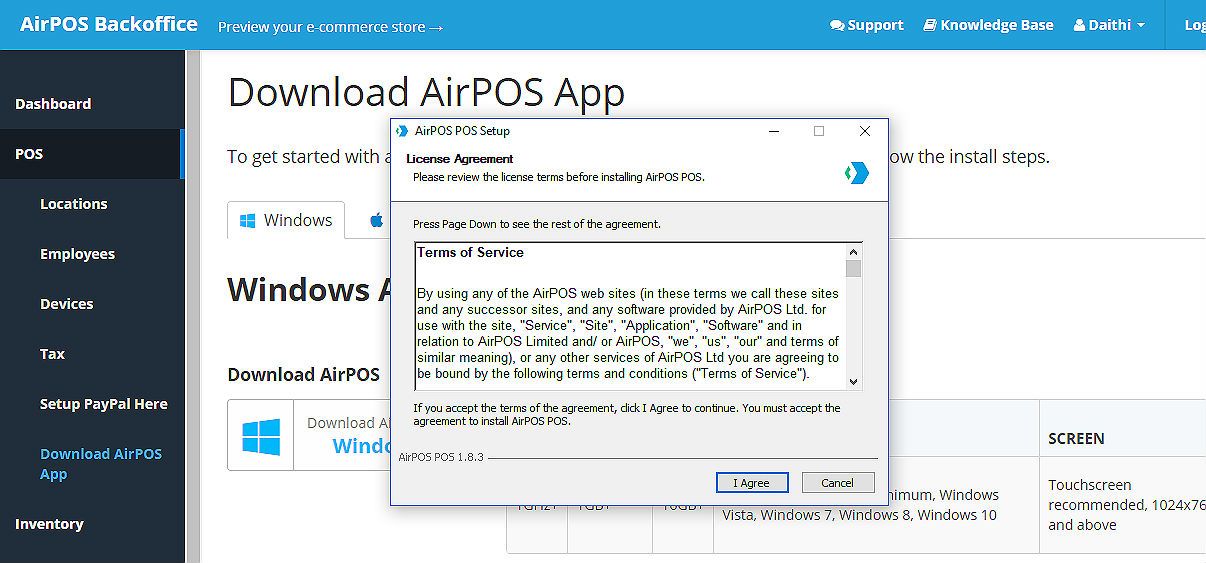
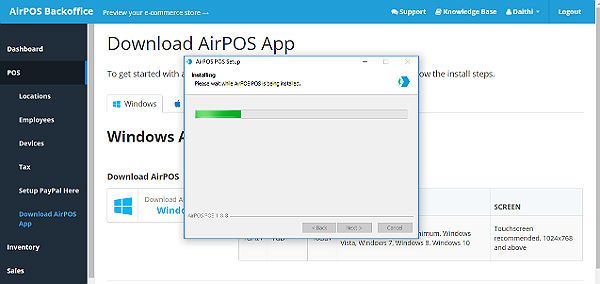
When the AirPOS 'Terms of Service' dialogue popup opens click on 'I Agree'. The application will install over the existing application. After a few moments the following popup will appear showing the progress of the installation.
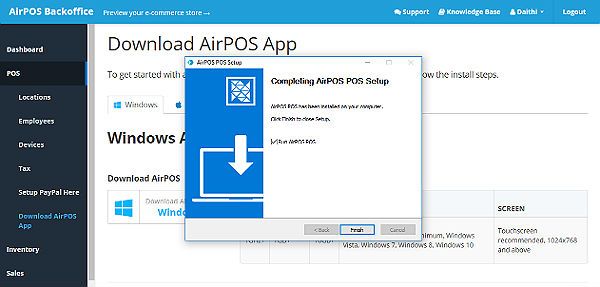
When complete you'll see the image below. Click on the 'Finish' button.
A new shortcut icon will be added to your desktop that looks like the image below.

To avoid confusion you should delete the old shortcut icon that looks like the image here.

Adding your printer
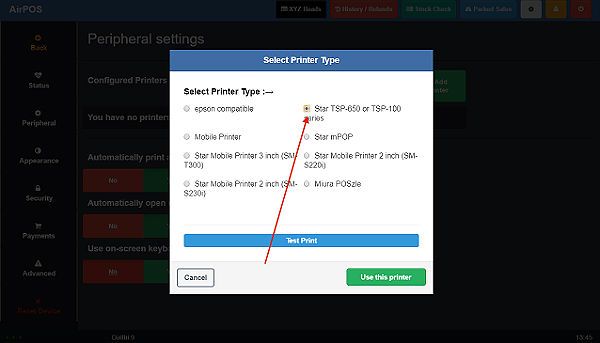
The next thing to do is to re-configure your printer with the new AirPOS app. Tap or click on the settings cogwheel at the top of the POS screen and select 'Peripheral' from the left margin. Click on the green 'Add Printer' button and you'll see any printers attached to your Windows machine in a blue box as in the image below. Tap on the one that corresponds to your receipt printer and then press the 'Next' button.
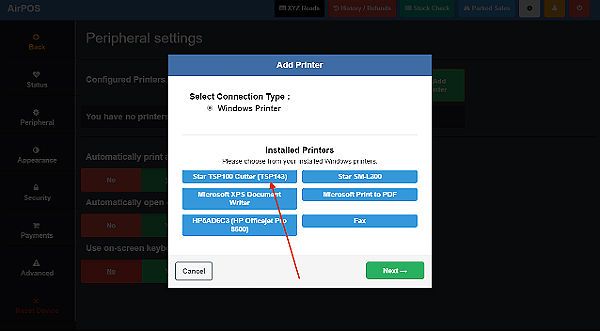
In the printer type popup select your type of printer then click or tap on the green 'Use this printer' button and that is you updated and your printer re-configured.