
How to Setup a Star WiFi Power Pack & TP-Link
The WiFi Power Pack is designed to make a Star LAN interface printer wireless. It connects via Ethernet and acts as an adaptor to send/receive the wireless signal from your wireless network. This, in turn, makes the device using the WiFi Power Pack able to connect with tablets, smart phones and other portable electronic wireless devices on your network.
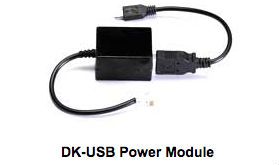
The device is powered by the printers cash drawer kick port and works with any network enabled device.
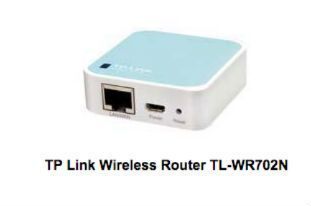
TP-LINK Set Up

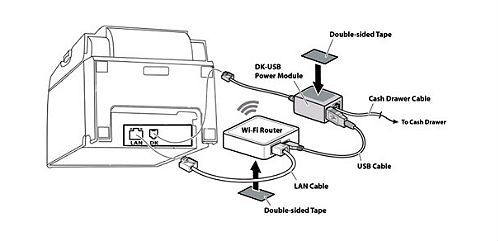
The Drawer Kick USB Power Module plugs directly into the drawer kick port on the printer by the attached cable. The drawer kick cable from your cash drawer then plugs into the back of the power pack. The wireless router is then connected by USB into the power pack micro USB port.
Next connect the TP Link Router to the printer’s ethernet port using the supplied cable and switch on the printer to power the device (see below).
Once connected and powered up the next step is to get the TP-Link setup with your Local Area Network. Connect your device to the TP-Link_Network. You will find the Network name (SSID) and password on the back of the TP-Link. Open a browser on your device and type in 192.168.0.254 which should open the web management page for the TP-Link as shown below. (If prompted for login details use the username: admin and the password: admin)
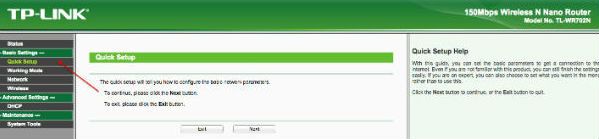
Click on Quick Setup from the left navigation panel and press the next button. The window will refresh as shown below.
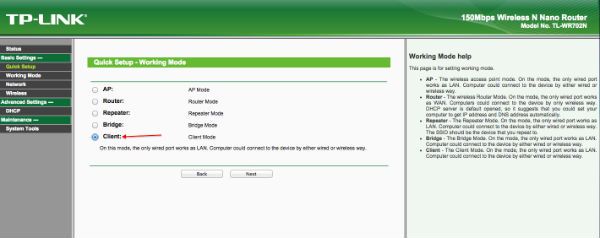
The preferred mode for wireless network printing is client mode. Select client from the list and press next. The window will refresh as seen below.

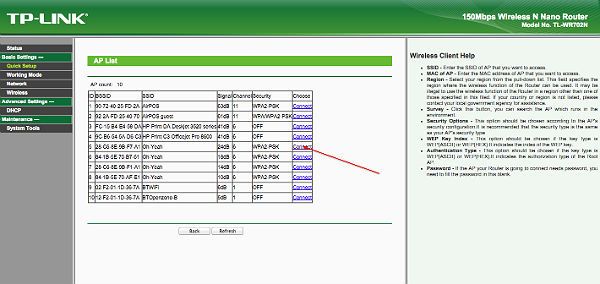
Press the Survey button to see a list of available networks. From the list displayed select your own network.
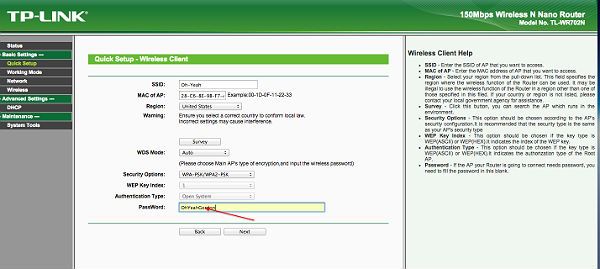
Enter the password for your network and press next.
The last stage is to reboot the TP-Link and then to put your device back on to your Local Area Network.
