
AirPOS and Shopify - The AirPOS and Shopify Integration Dashboard

After your AirPOS and Shopify integration is enabled you'll find the AirPOS and Shopify dashboard by clicking on the Shopify Integration link in the left hand navigation of your AirPOS backoffice.
Beginning to Sync Products Between AirPOS and Shopify
The first time you visit the AirPOS and Shopify dashboard it will look like this.
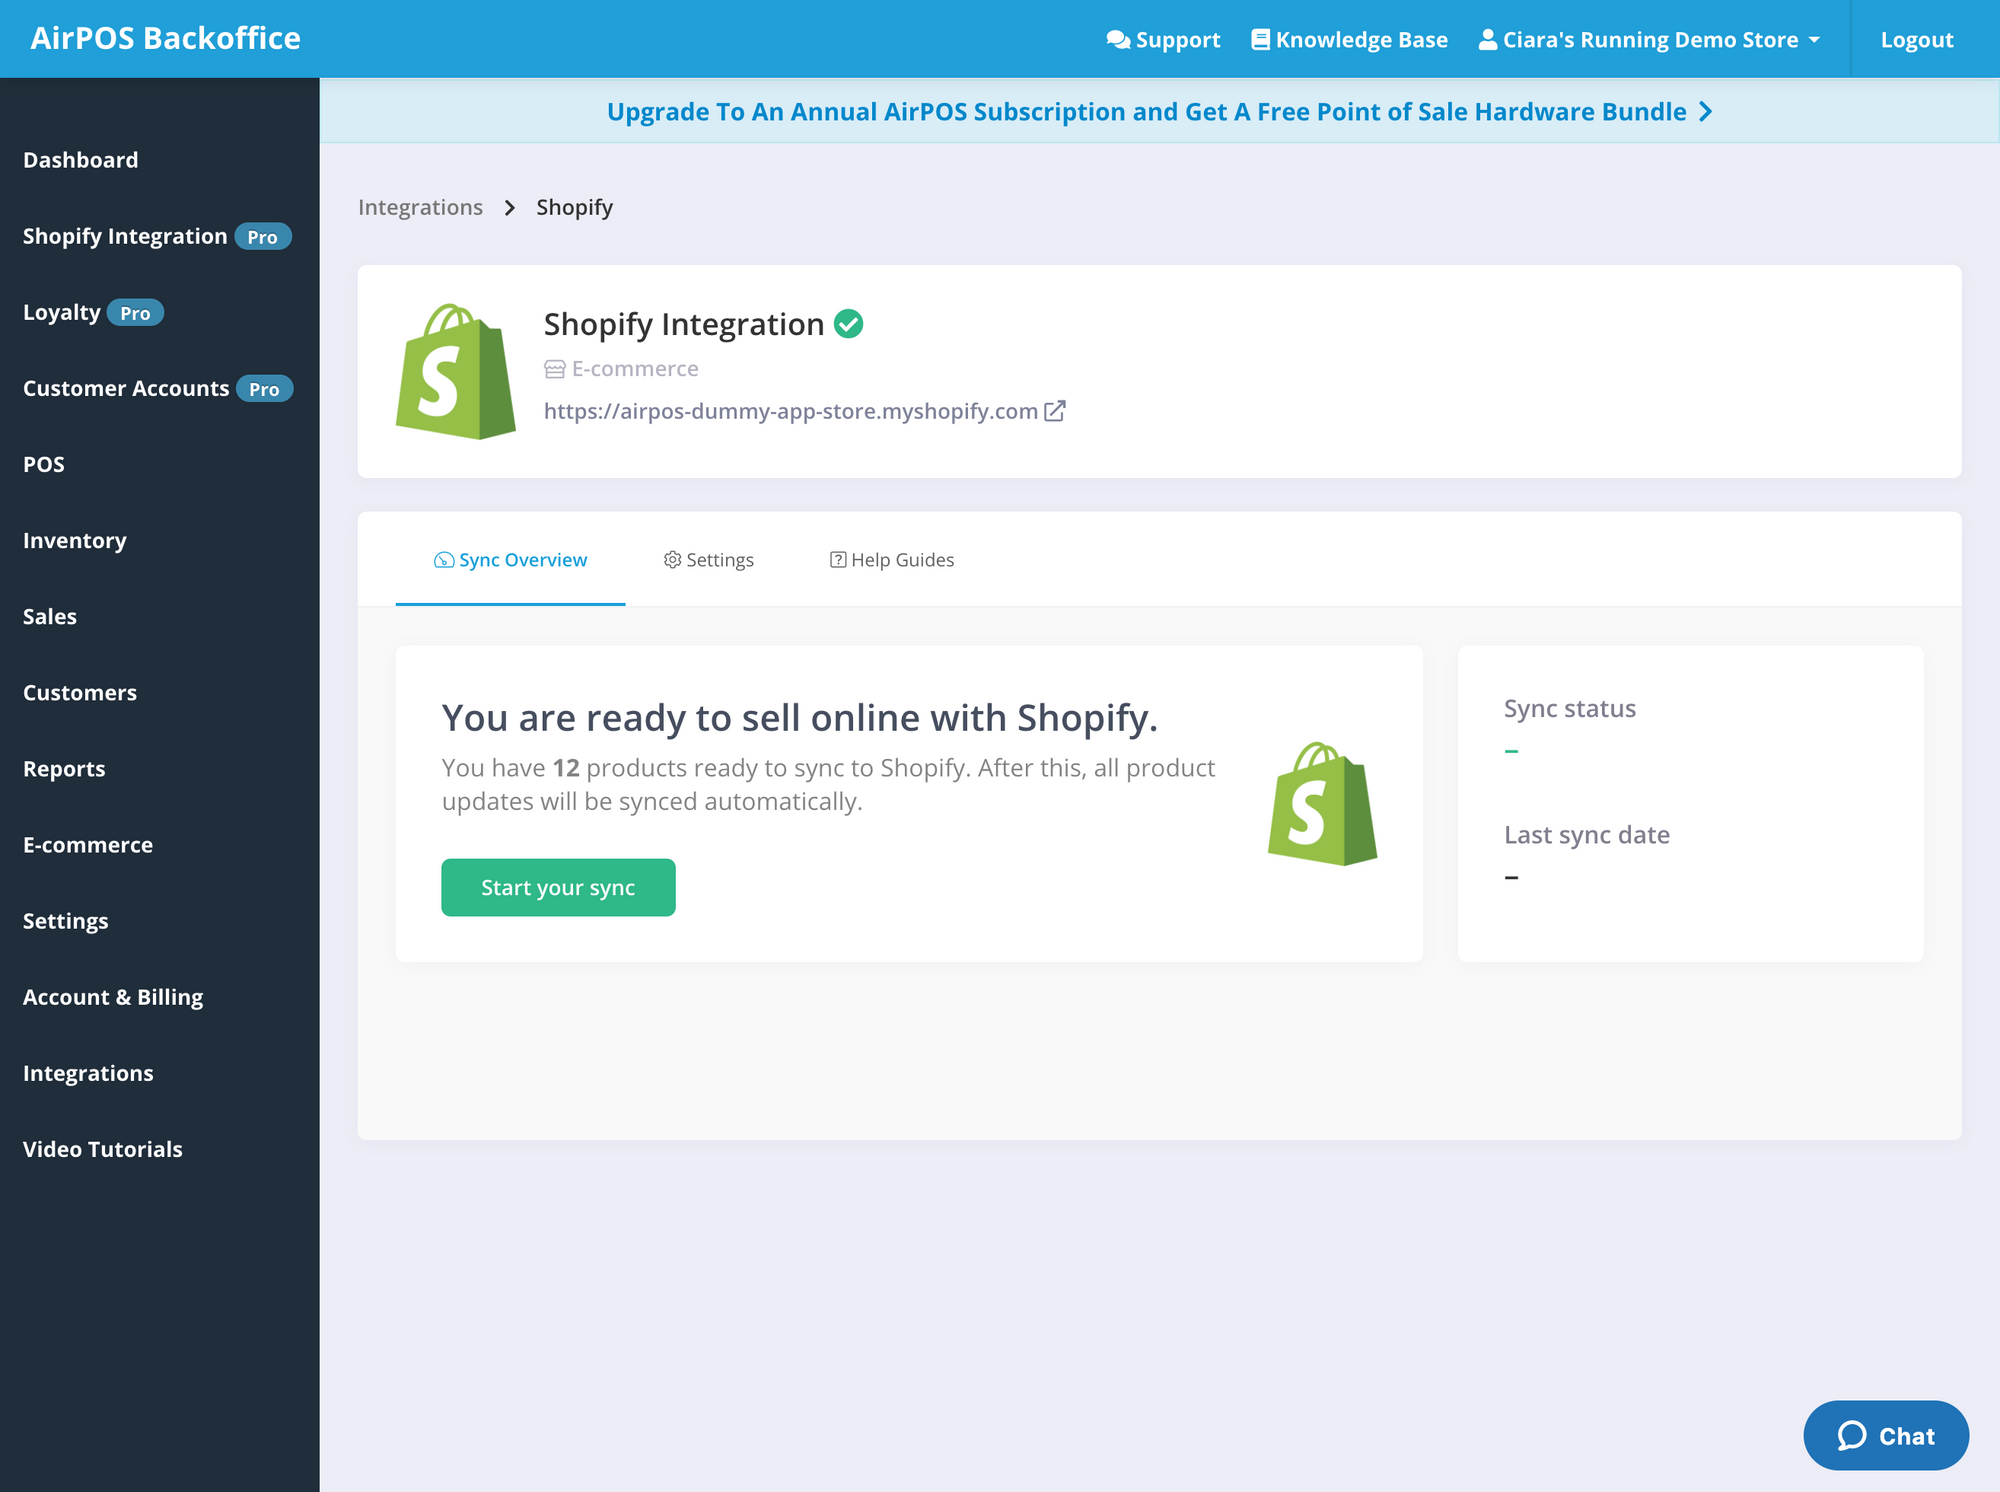
If you have products that are set to Sell Online in AirPOS you will see a count, in the example above, of 12 of products that are ready to be synched with Shopify. If you're ready to begin the sync you can press the Start your Sync button which will not only start these 12 products syncing but will mean that every product from here on that you set to 'Sell Online' in AirPOS will be automatically synced to your Shopify store.
After the initial sync completes, which might take some time if you have a large amount of products in AirPOS being transferred over to Shopify, your dashboard will change to the following:
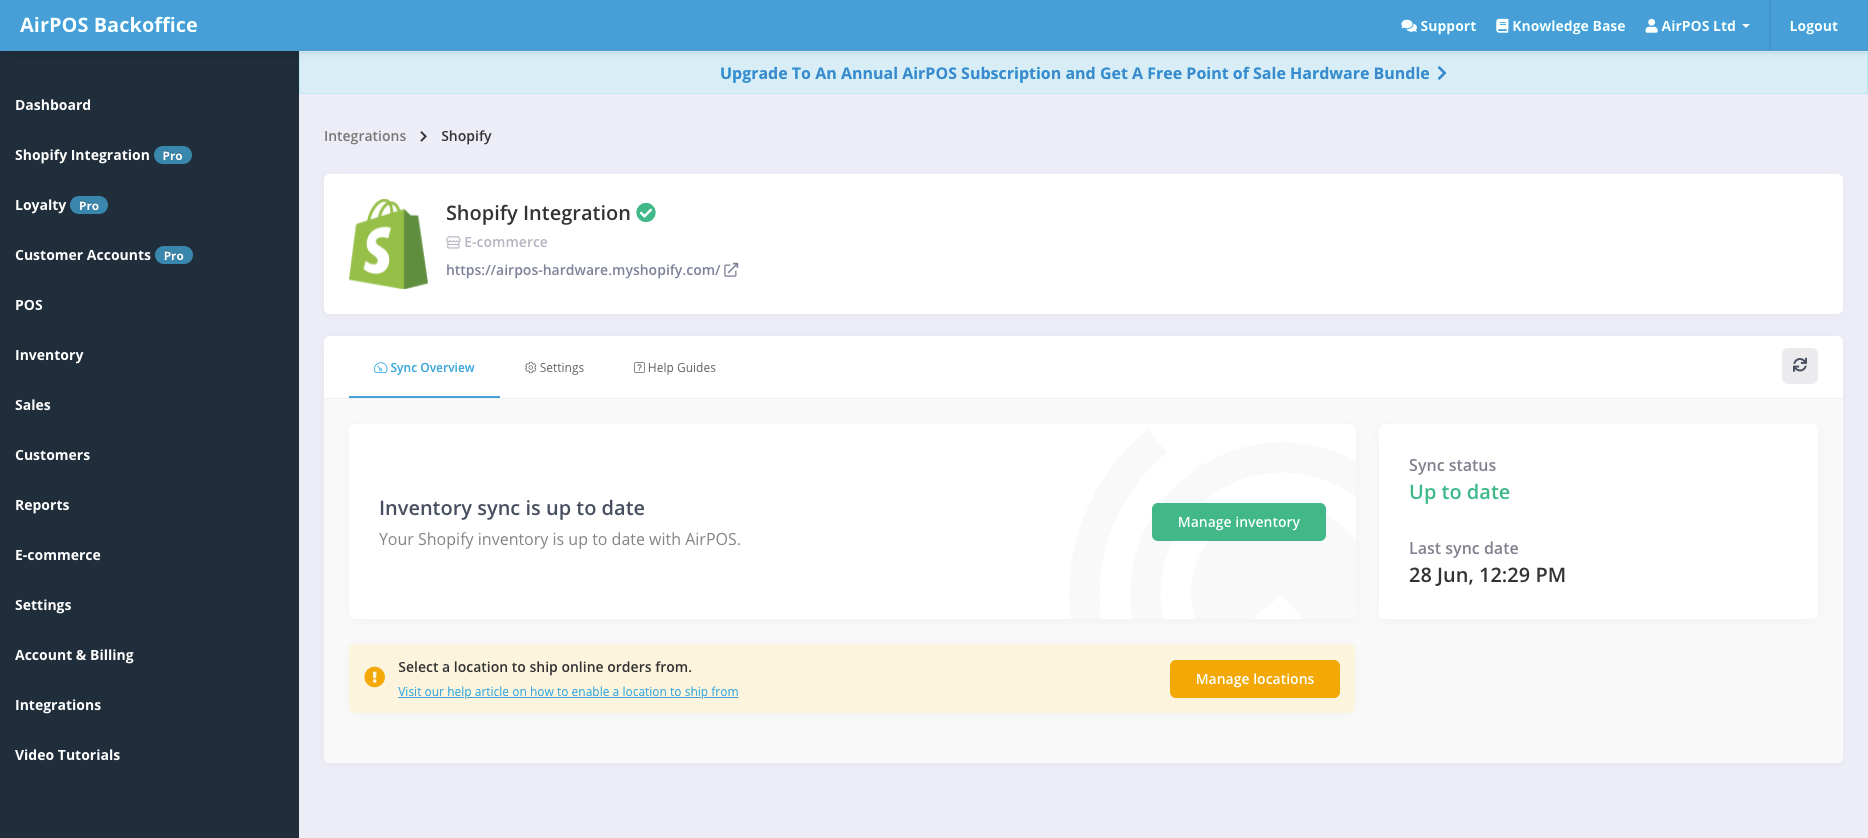
You'll notice that there is now a Sync Status and also a Last Sync Date denoting the status of your sync and also the last time a sync was completed.
Tasks To Complete
You may also notice any essential tasks that you need to complete on this screen, highlighted underneath your sync status. In the case above we have not yet set up our locations from where we want to ship online orders and therefore have a warning to do this

Where a warning appears there will be a call to action. In this case we need to go to Manage Locations to complete our task, we can press the button beside the task to get there. When these tasks are completed the warnings will cease to be shown.