
Stock Level Report

In order to obtain a report of what stock you are holding you will need to login to the backoffice of your account at
https://backoffice.airpointofsale.com
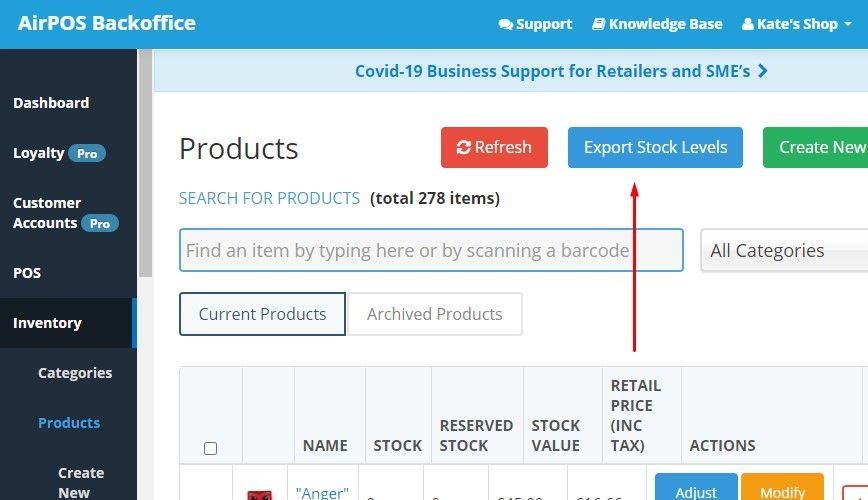
Once logged in to the backoffice click or tap on 'Inventory' from the left margin as shown below.

In the Inventory screen at the top right you'll see a button to 'Export Stock Levels'. Tap or click on that button as shown below. The button will change to say 'Generating...'.
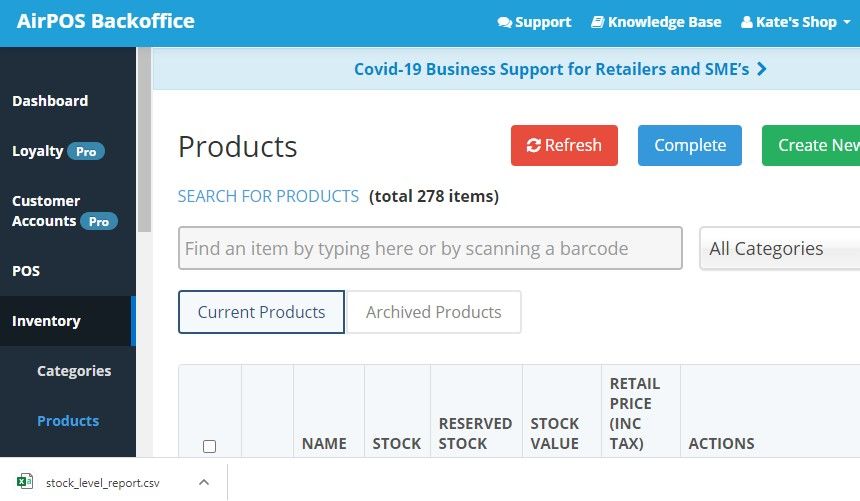
When the report has downloaded the 'Export Stock Levels' button will change to 'Complete' and the downloaded report as a .CSV file will be shown at the bottom left of the screen similar to the image below.
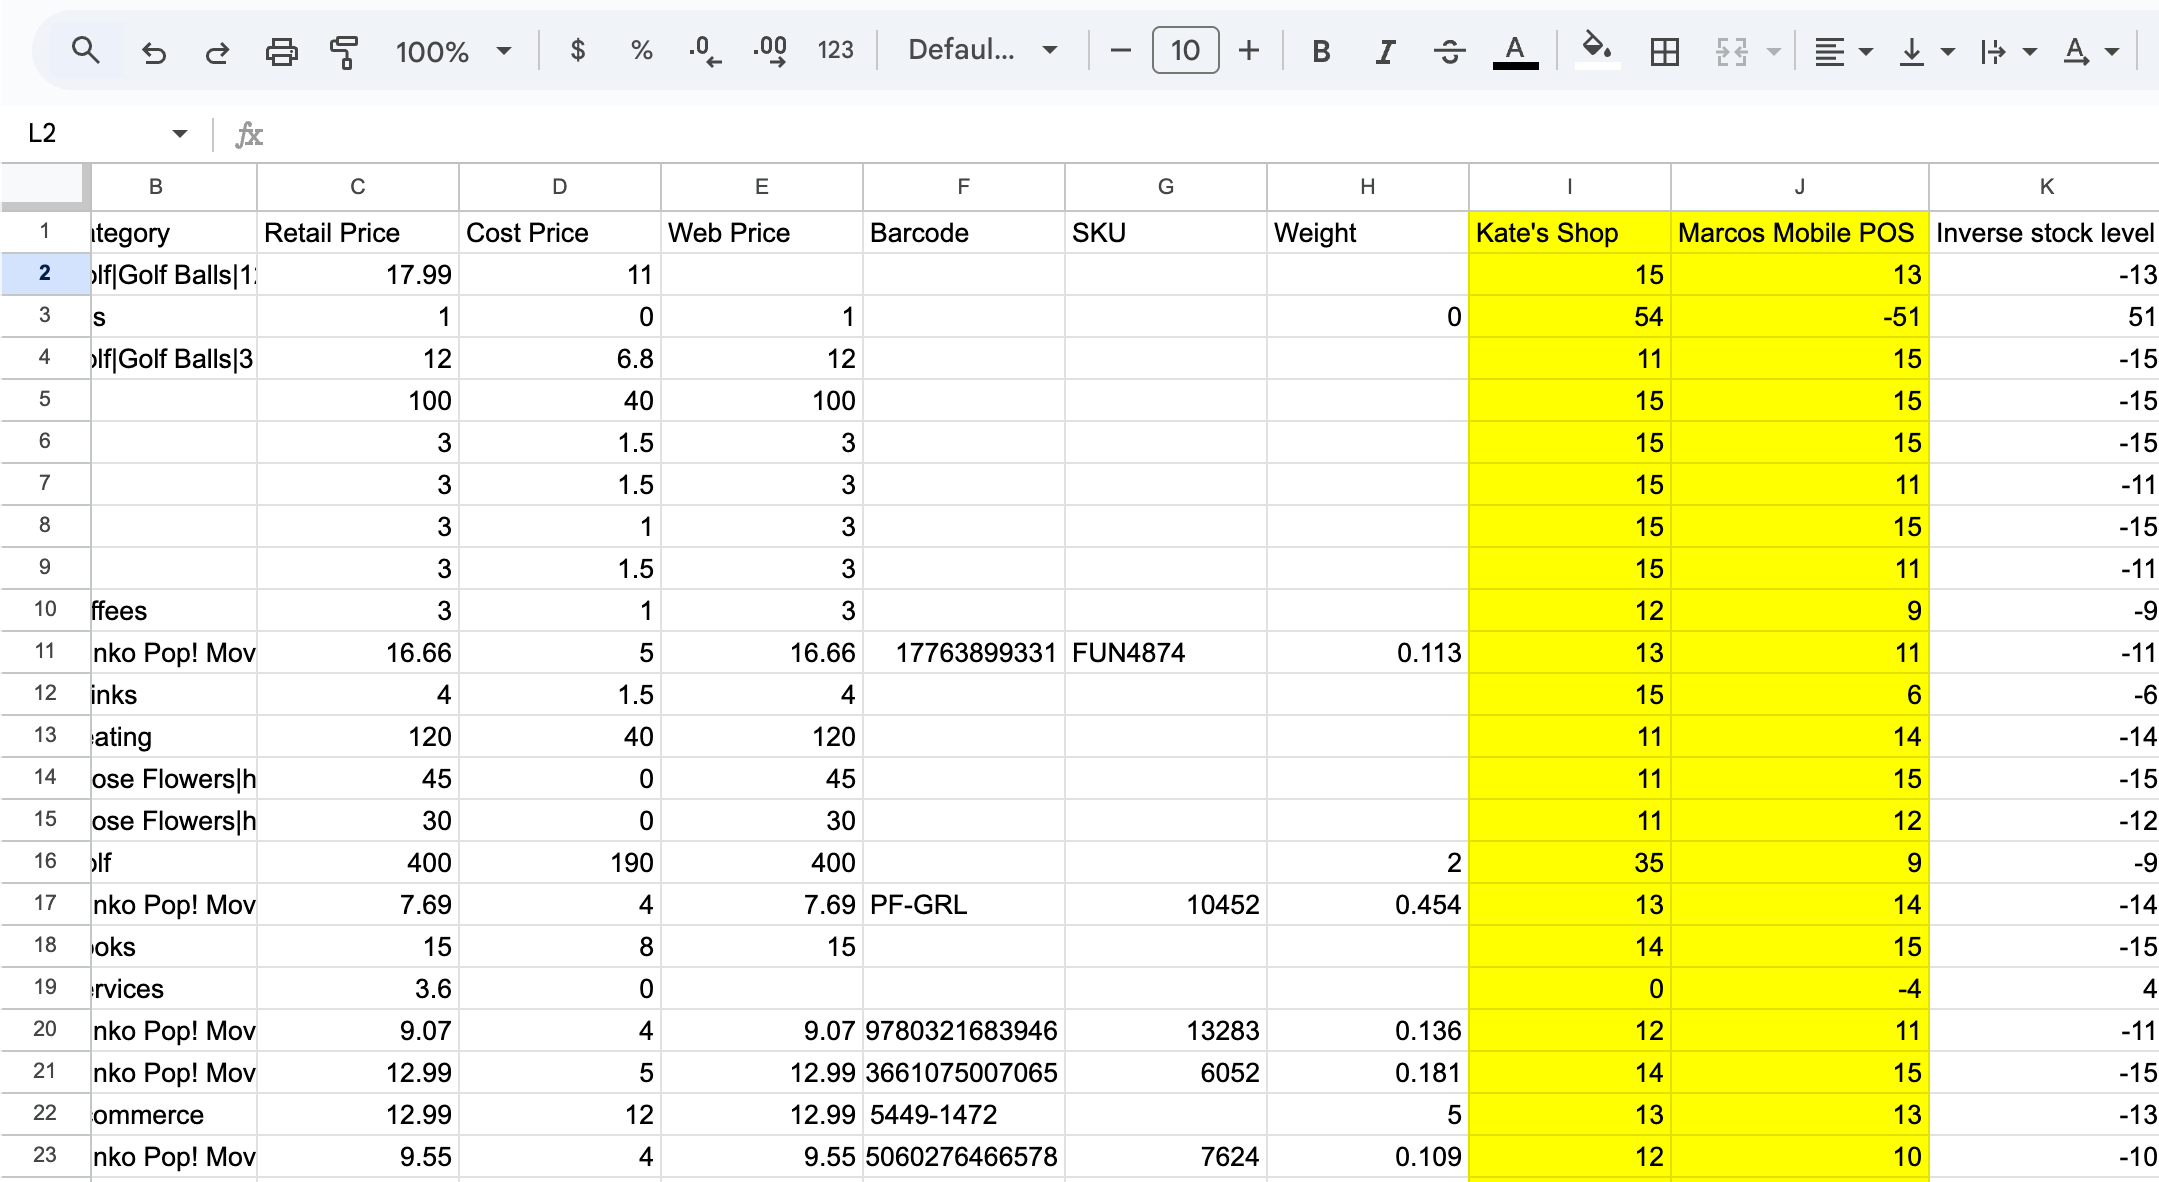
Once complete you can open this file with any spreadsheet software. The report will show various aspects of your products such as name, price, category etc. It will also show the stock held at each location for each product as shown in the highlighted columns in the example below.
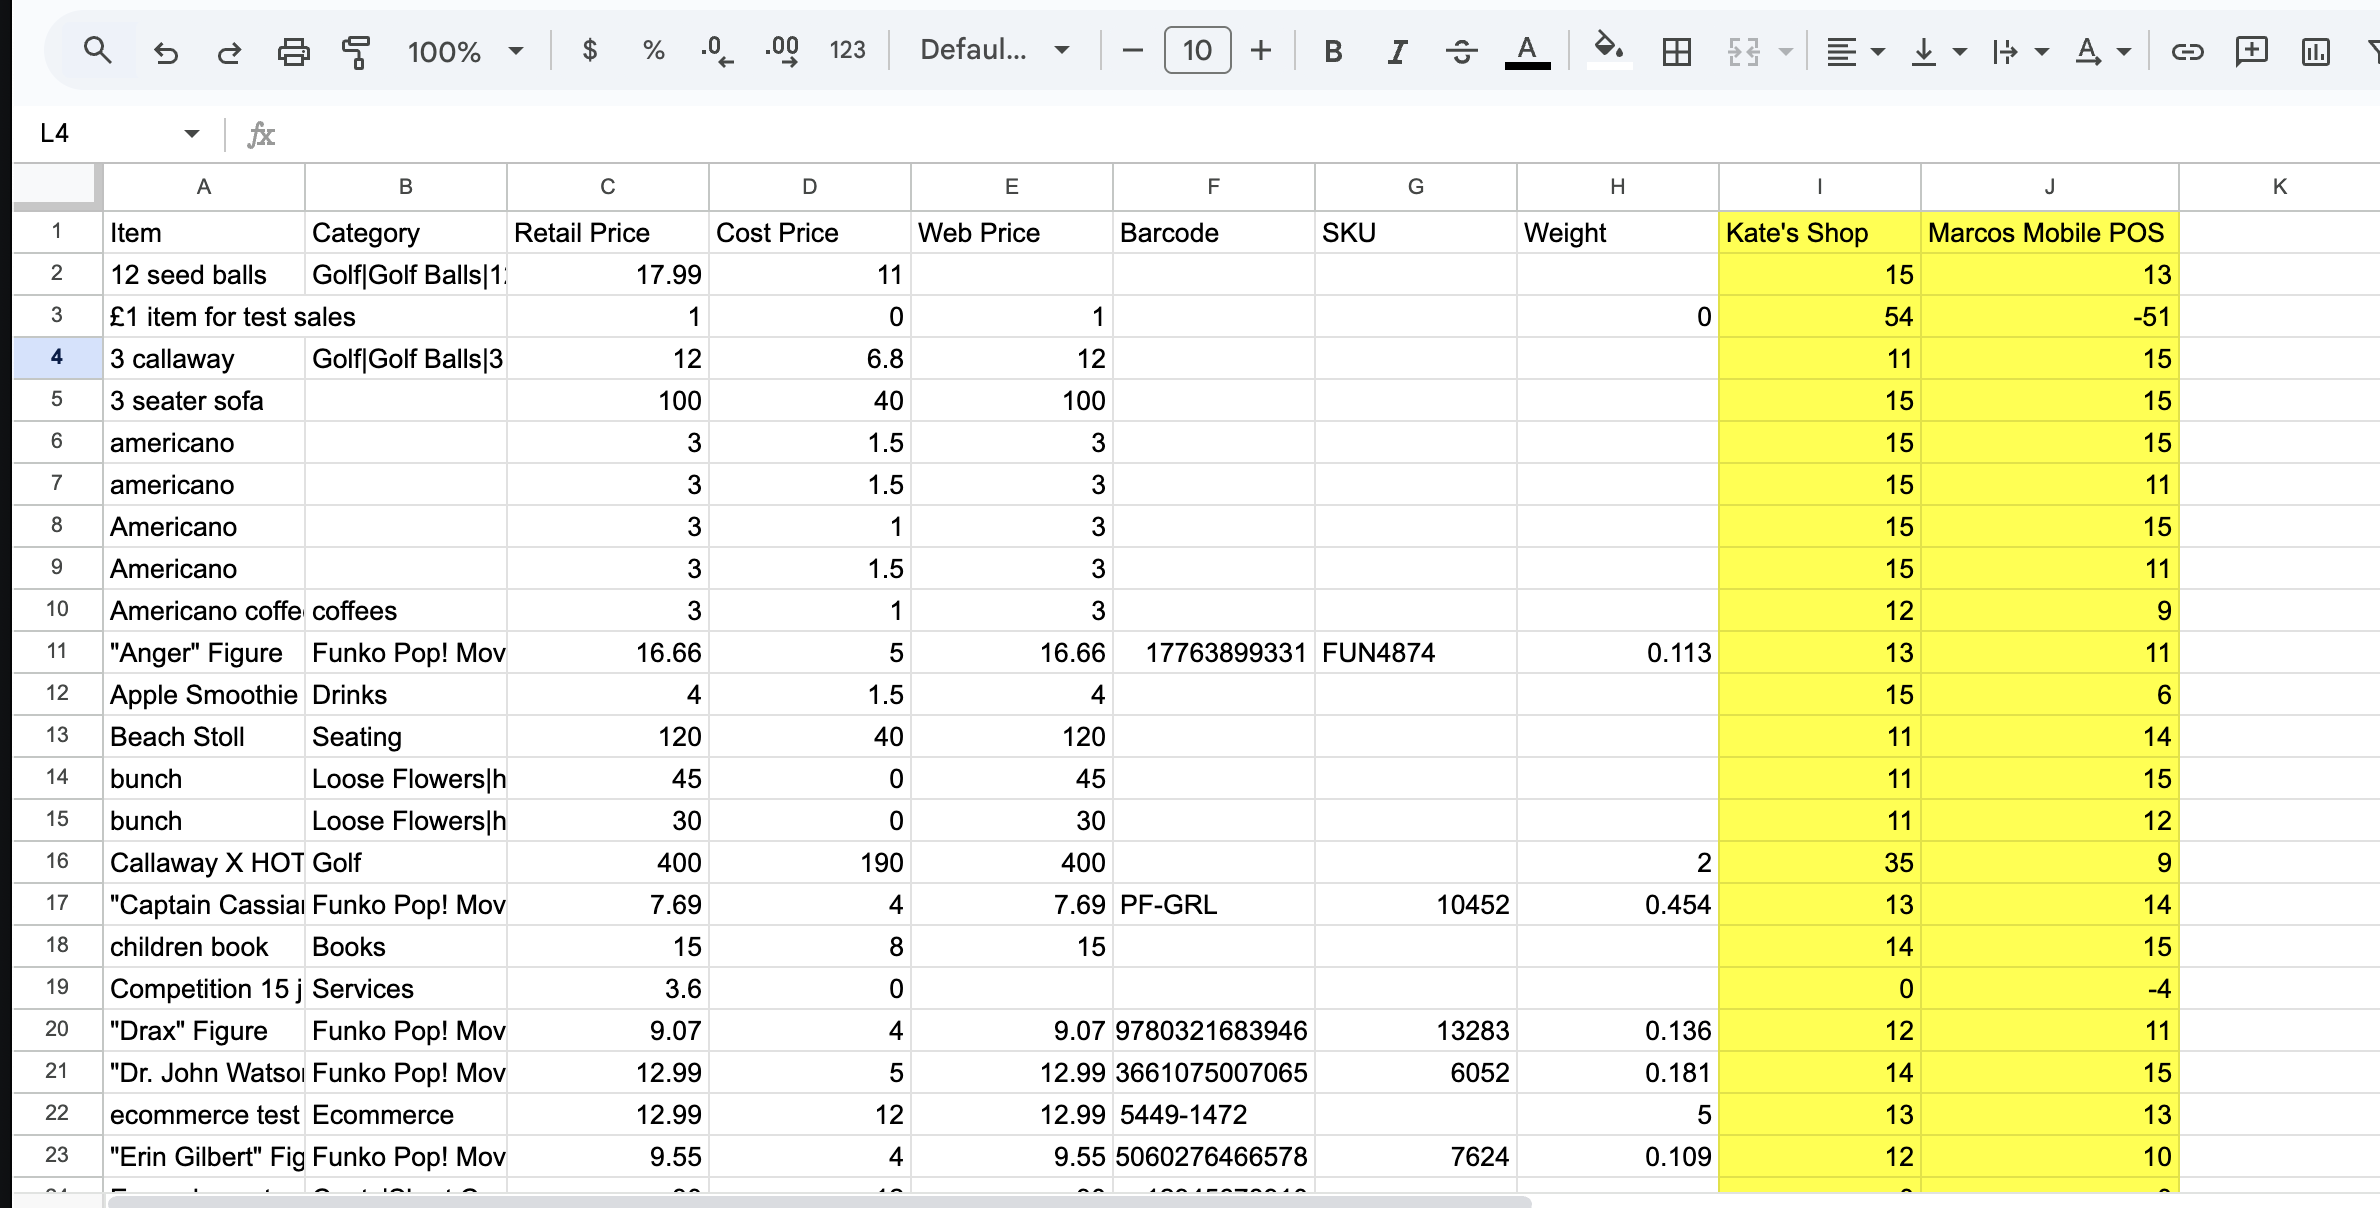
In this example there are two locations, 'Kates shop' and 'Marcos Mobile POS'. The report also shows any stock which hasn't been allocated to a location.
The file reports the quantity of stock at each location. A stock input, depending on the cause of input selected will add or remove stock from this quantity and will not override it.
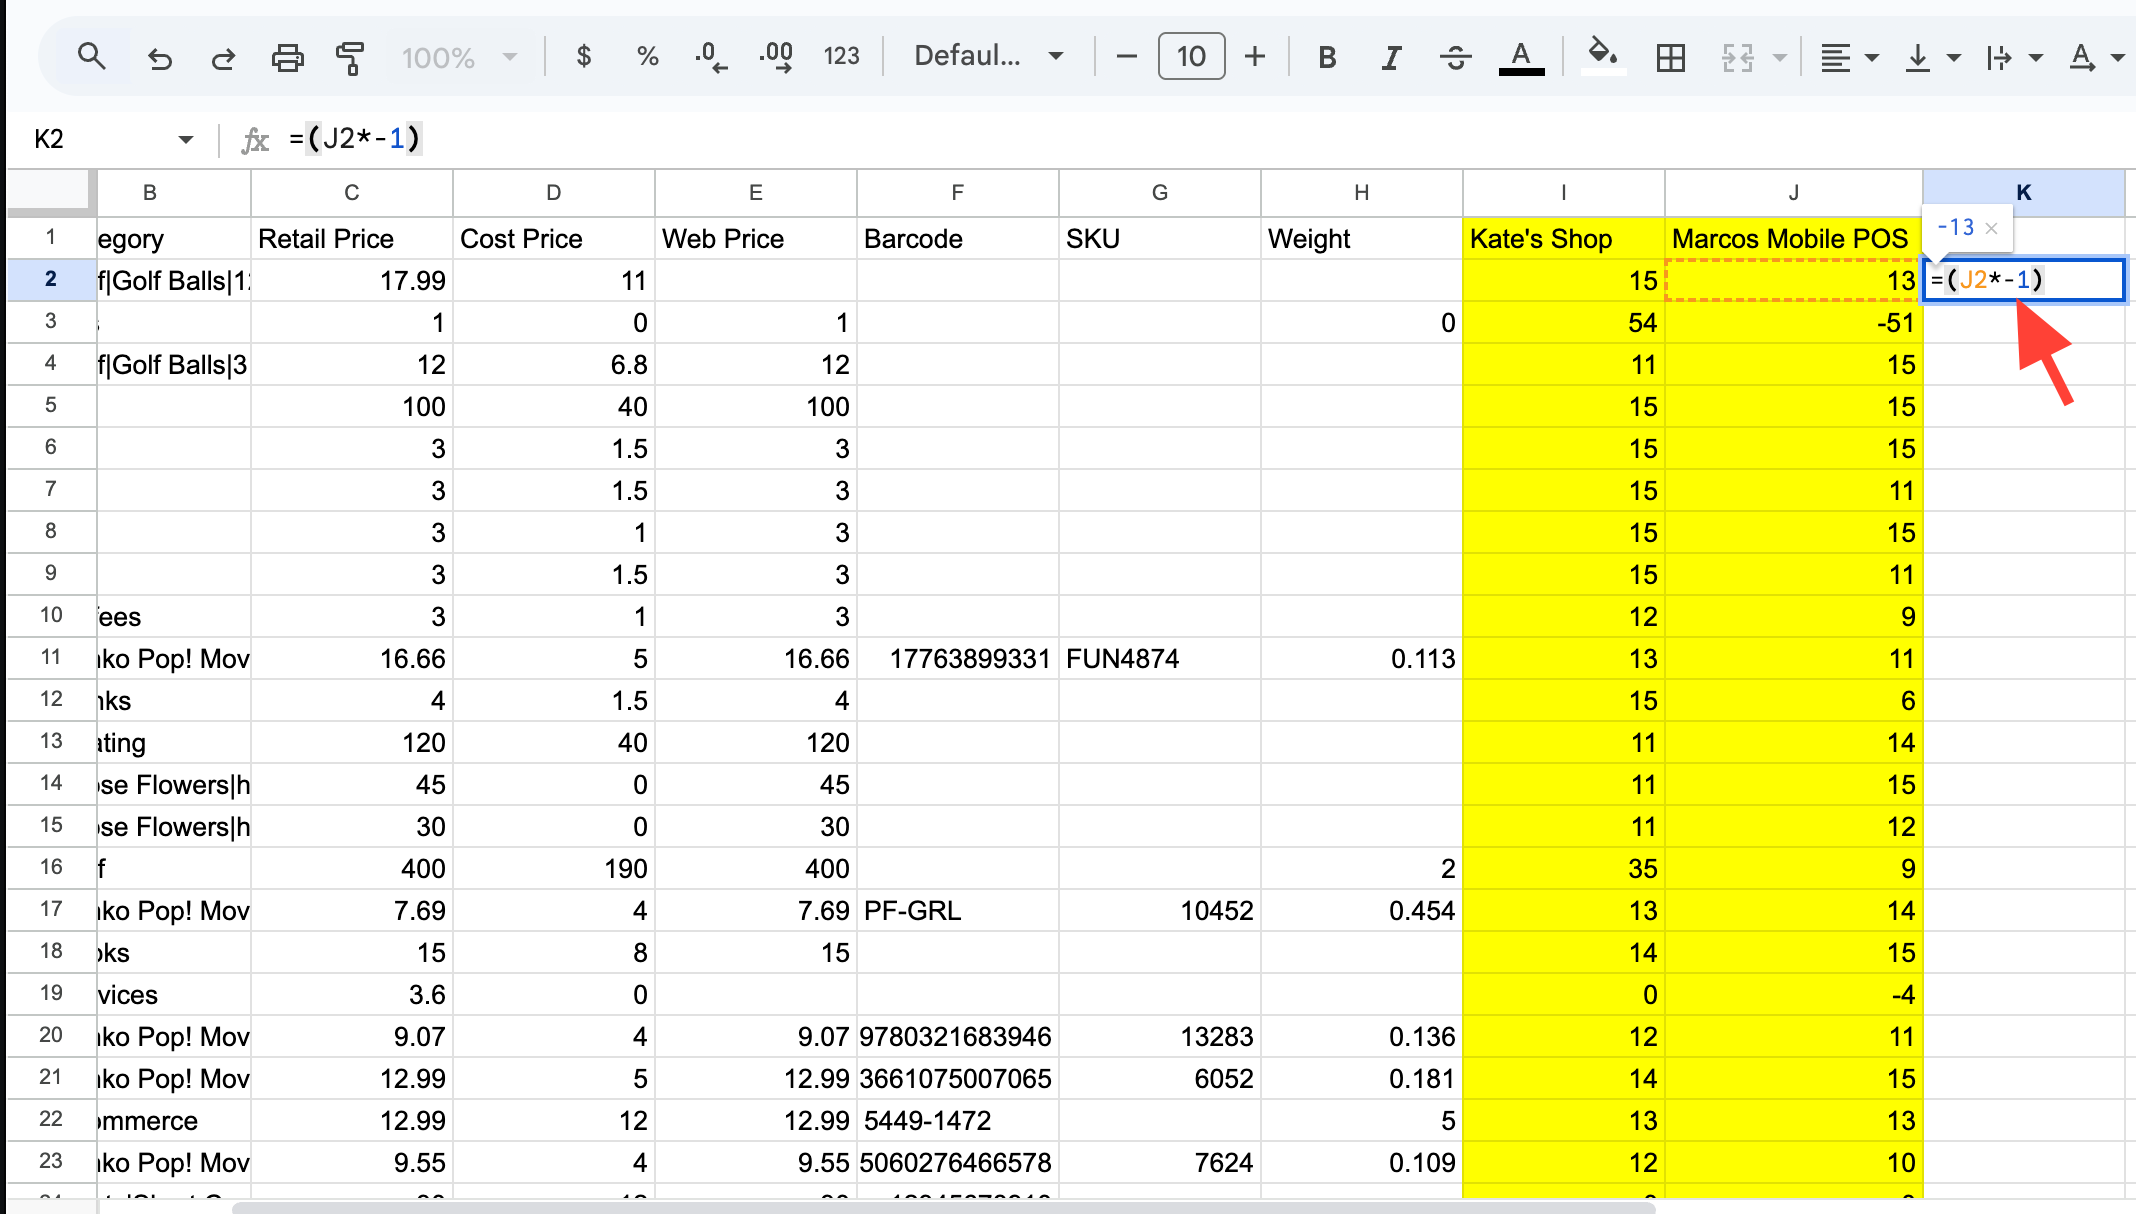
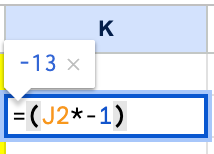
If you want the stock at a particular location set to zero this is done by creating an input file with the inverse values from the stock level report. In the example above if we wanted to create a file to set the stock quantities at 'Marcos Mobile POS' to zero this can be done by inserting a column to the right of column 'J' and in the second cell type the formula =(J2*-1) as shown below.
The letter in this formula must correlate to the letter of the column that your desired location is in.
If you hover the cursor over the bottom right corner of the cell with the formula the cursor will take on the appearance of a cross which you can drag to the bottom of the sheet replicating the formula and it's result for each product in your list.
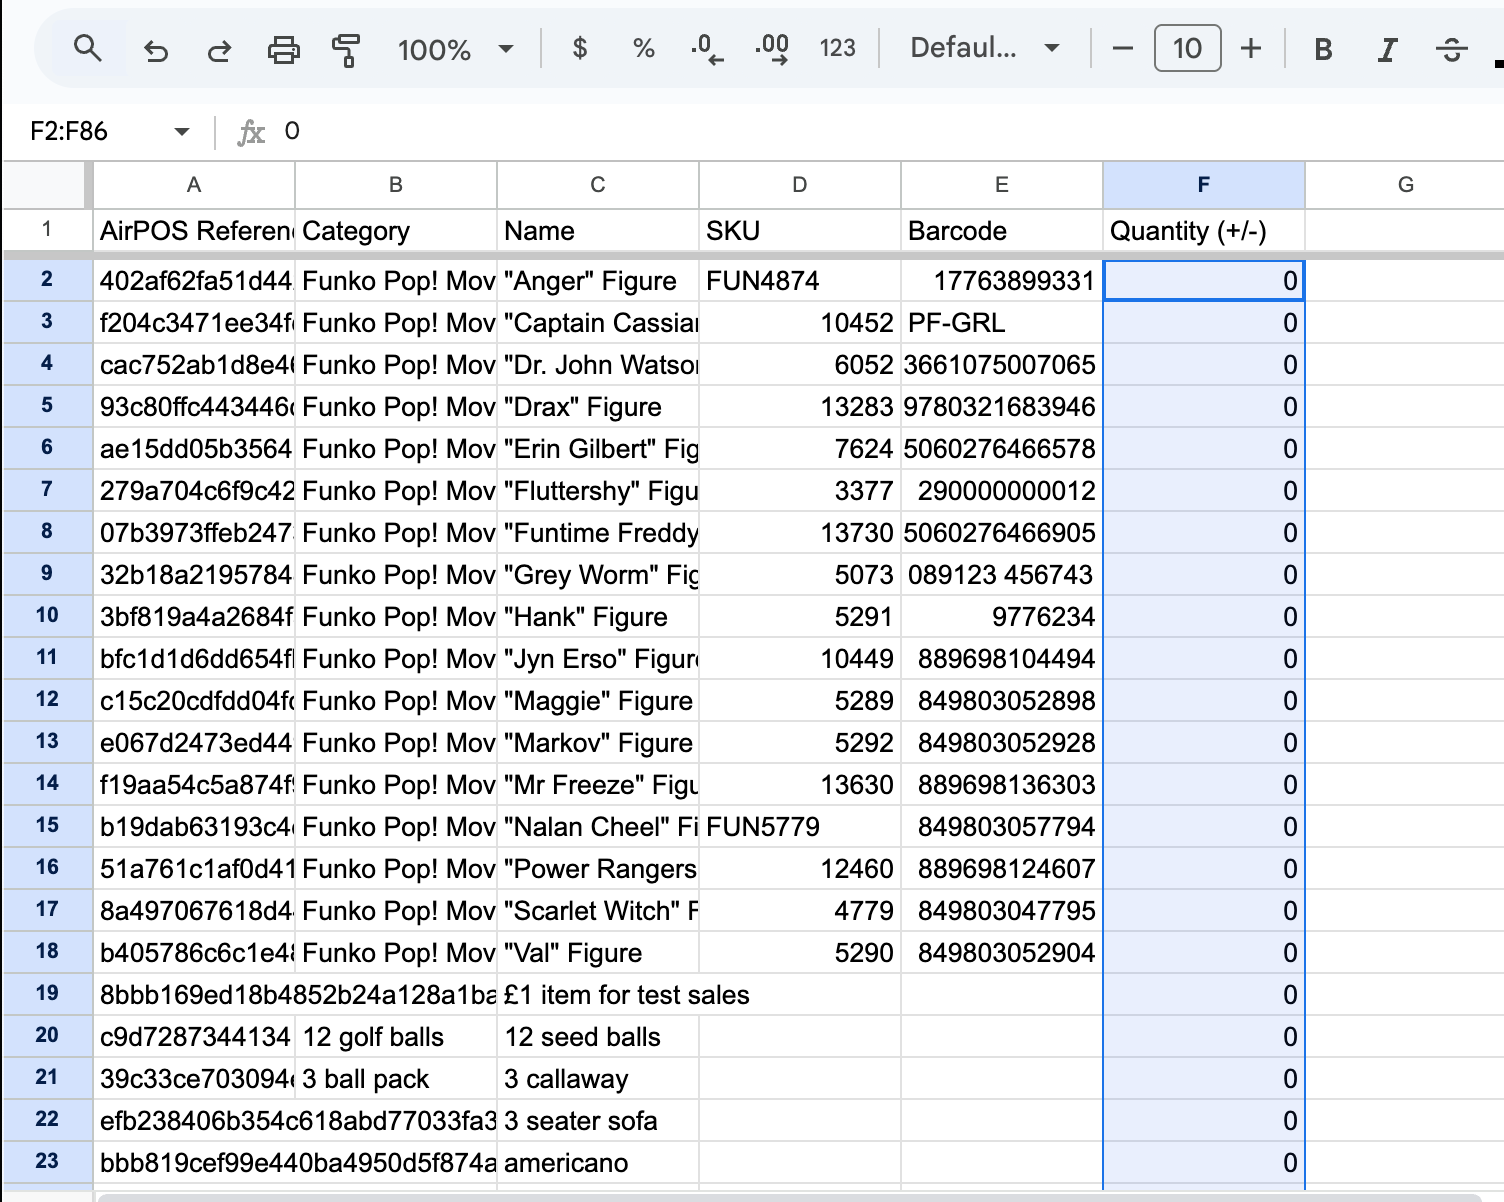
Once you've completed the column you can copy the values and paste them into a stock input file.
If you wish to learn more about how to preform a stock input please follow the link below for more information:

To ensure you copy the correct details across to your new file please select all of the cells in the file that you are pasting into and right click. A popup like the image below will appear. Select the option to 'Paste Special' and then select 'Values only'
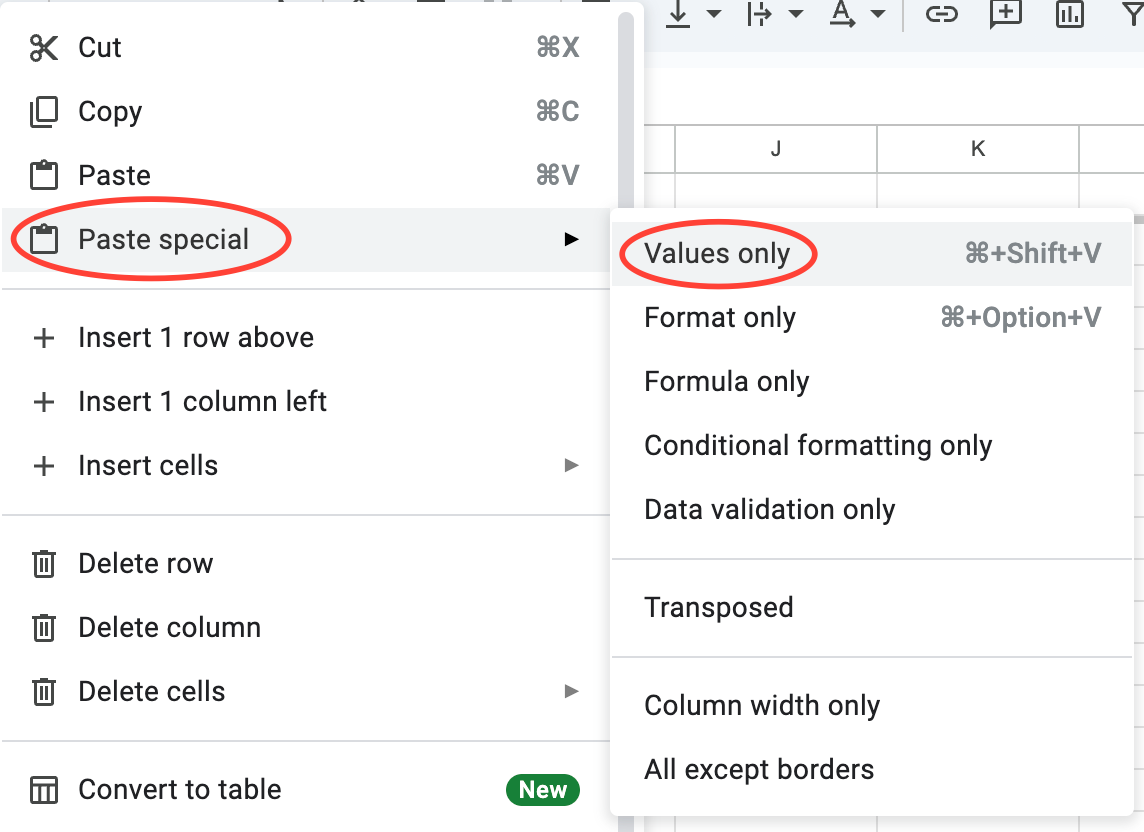
Press 'OK' and the file column will be populated with the inverse values of your stock level report ready to upload.
NB: Please note that if you have products with the same name but in different categories you'll need to ensure that the stock adjustment is being applied to the correct product. The 'Category' column in the stock level report will help to distinguish products with the same name.
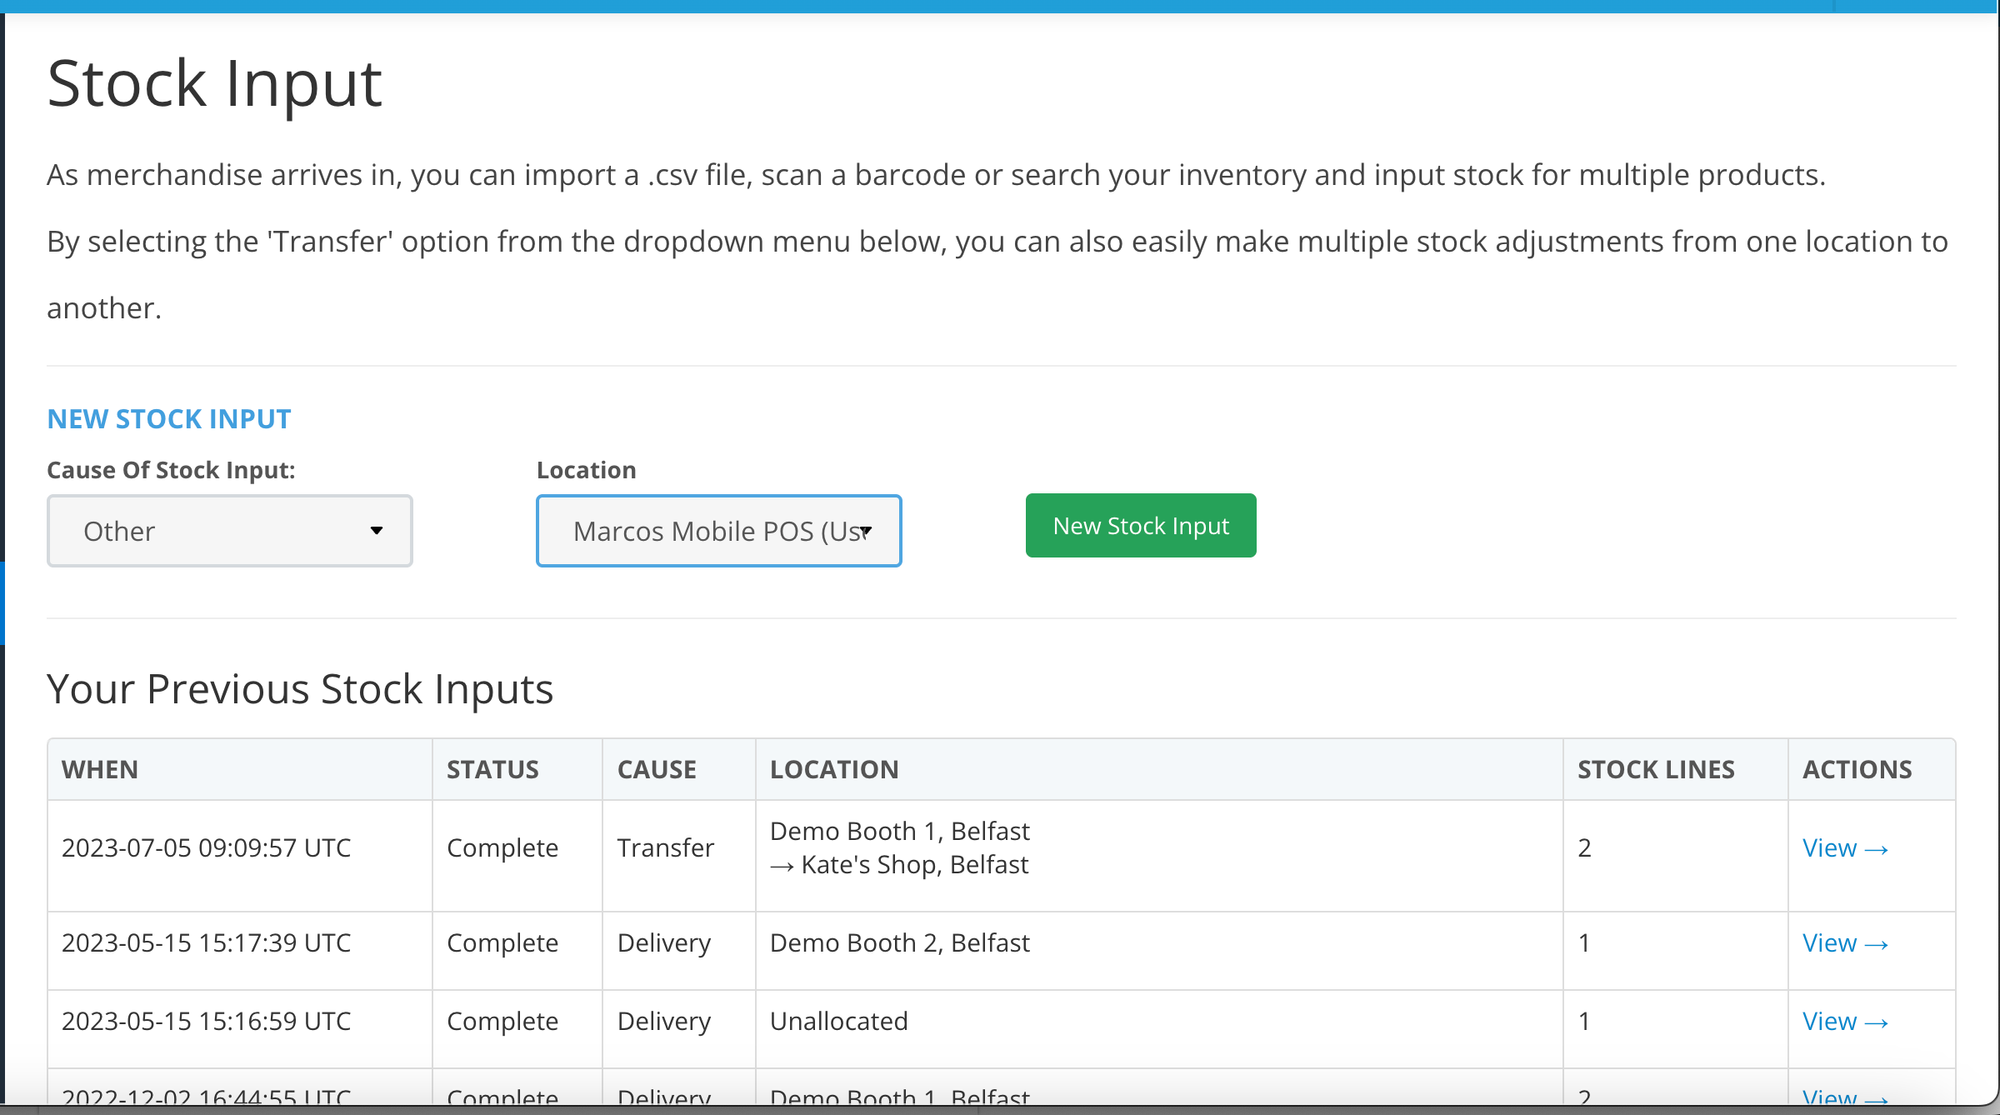
When your file is ready to upload go to the 'Stock Input' screen which is found by clicking or tapping on 'Inventory' from the navigation menu in the Backoffice and selecting 'Stock Input'.
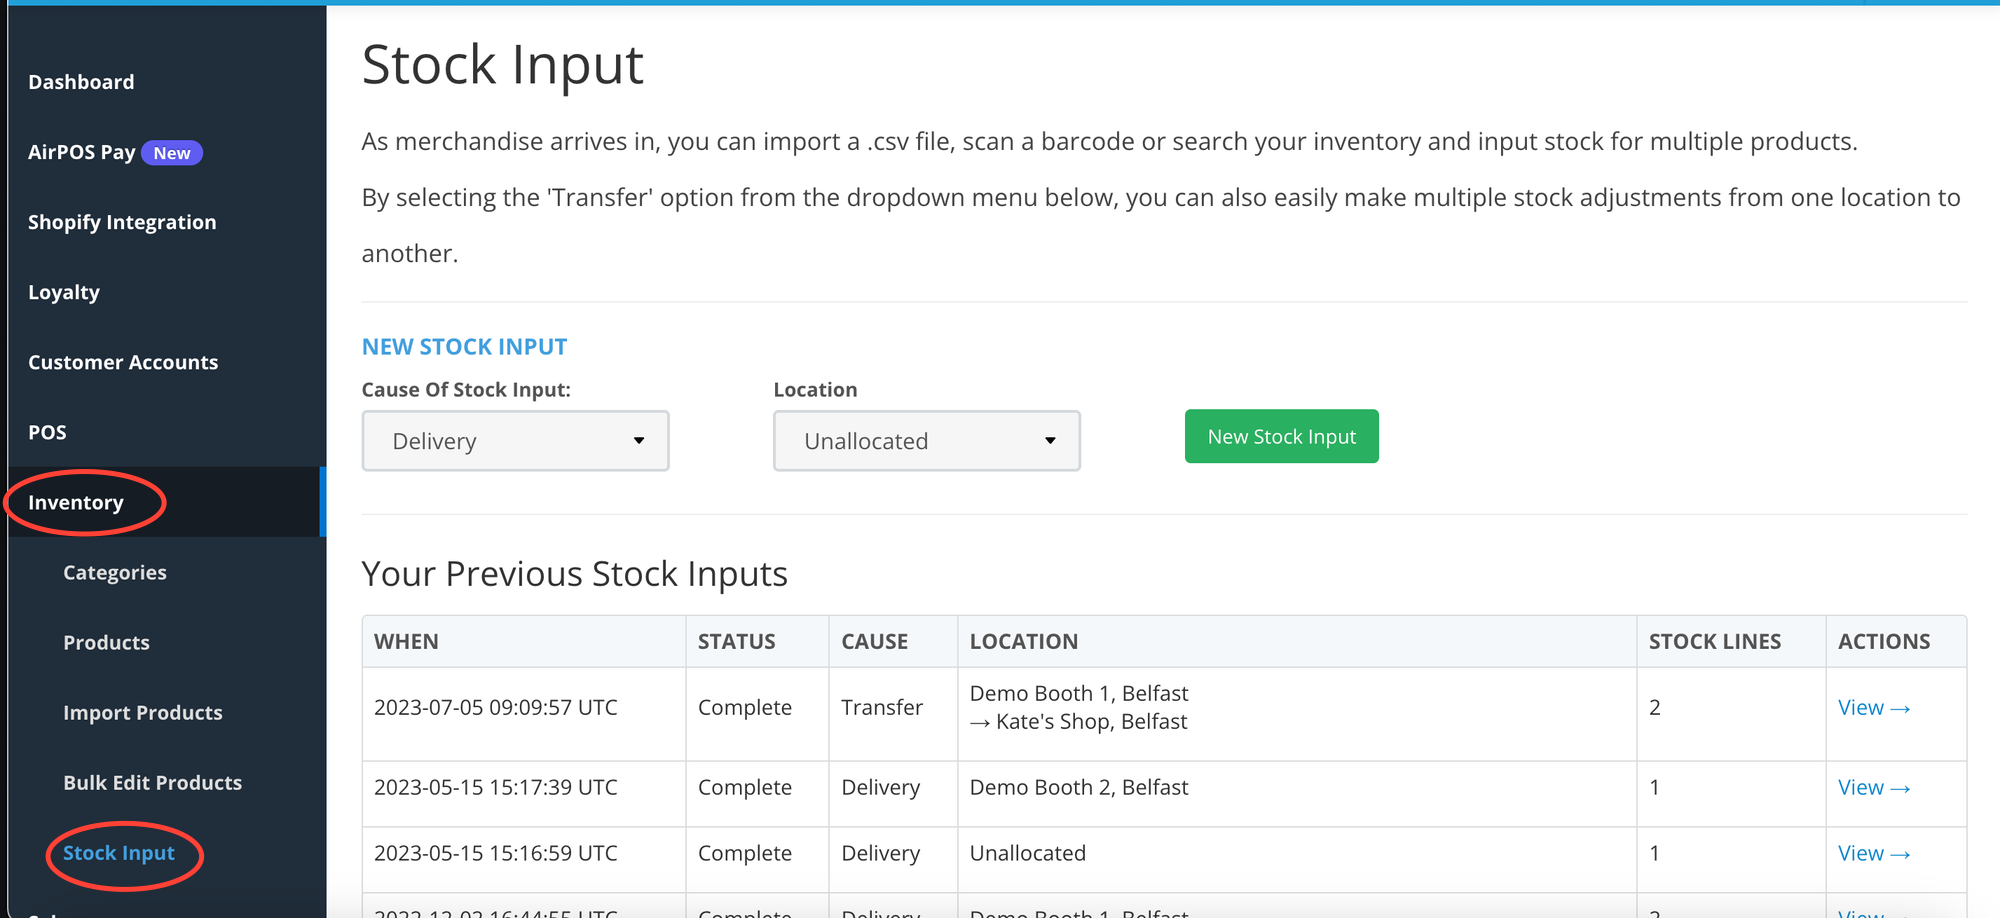
In the 'Cause of Stock Input:' box select 'Other' from the drop down list as this allows for negative values and select the location in the dropdown list of your locations that you want the adjustment applied to.
In theory, the value of stock for each item is the product of the quantity in column 'J' and the cost price of the product in column 'D'. AirPOS doesn't provide you with an overall stock value as it can't take into consideration such things as depreciation. If using the stock level report to calculate stock value you should consider what to do about minus stock quantities.
How do I contact AirPOS Support?
You can reach our support chat by clicking on the small blue box located in the bottom left corner of your screen.

Alternatively, you can email us at Support@airpos.co.uk