
Connecting the Star TSP650II Bluetooth Printer on iPad
The first step is to pair the printer with your iPad.
Press the home button on your iPad and then locate your Settings icon on the iPad home screen.
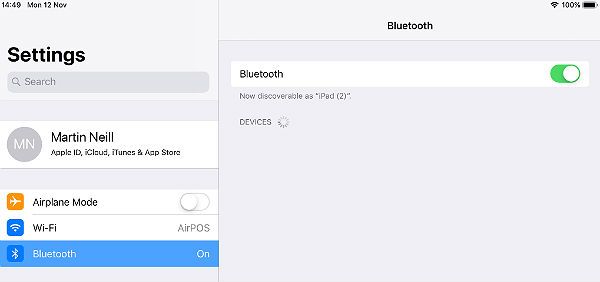
On the iPad tap the Settings icon and then tap ‘Bluetooth’ on the top left of your screen. The iPad will begin scanning for all Bluetooth devices within range.
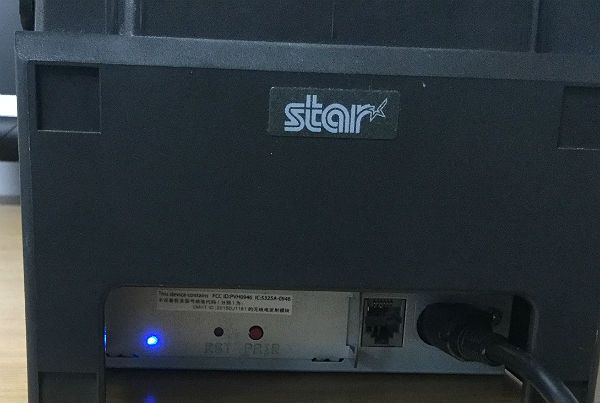
At the back of the printer press and hold in the 'PAIR' button until the green light blinks.
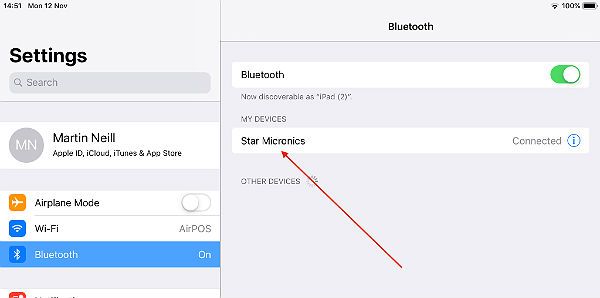
When you see your printer listed among available devices (it should be called Star Micronics) select it and your tablet will pair with it (if prompted for a PIN the default PIN IS 1234). Once connected the Bluetooth settings will say 'Connected' beside Star Micronics.
The light at the back of the printer will turn solid blue when the printer is connected to an iPad.
If after tapping on the Star Micronics listing in the Bluetooth devices your iPad tells you that pairing has been unsuccessful you may need to reset the printer to ensure that it is not connected to any previous device. To do this turn off the printer and push a small pin or paperclip into the 'RST' button at the back of the printer as you switch it back on.
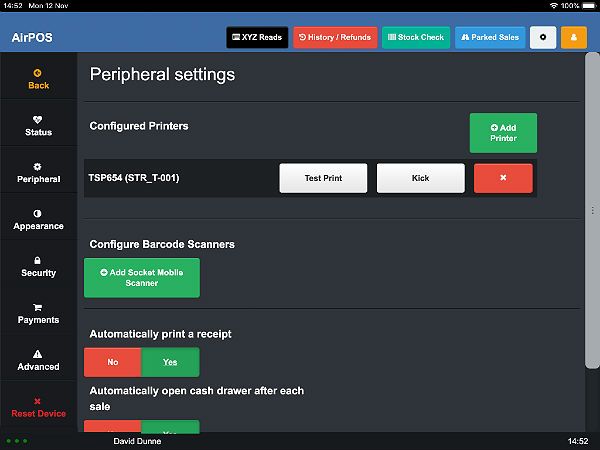
3) Setting Up Your Star TSP650 Inside the AirPOS POS App
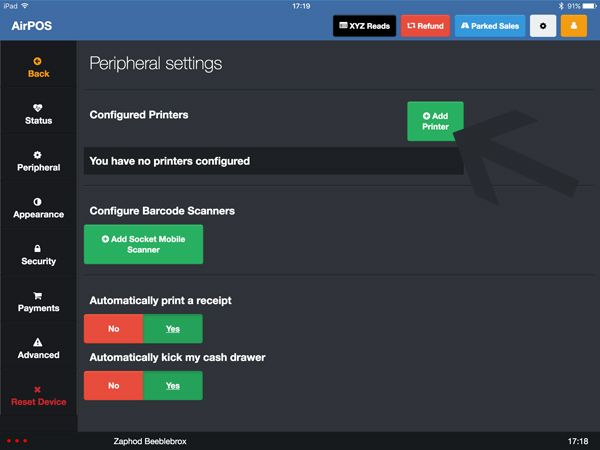
Now that the printer is paired with your iPad it just needs to be configured within AirPOS. Go into your settings in the AirPOS POS app by clicking on the grey cogwheel icon at the top right of the screen. Select ‘Peripherals’ from the left navigation panel and you will see the peripherals settings screen. Next, tap on the green ‘Add Printer’ button beside configured printers.
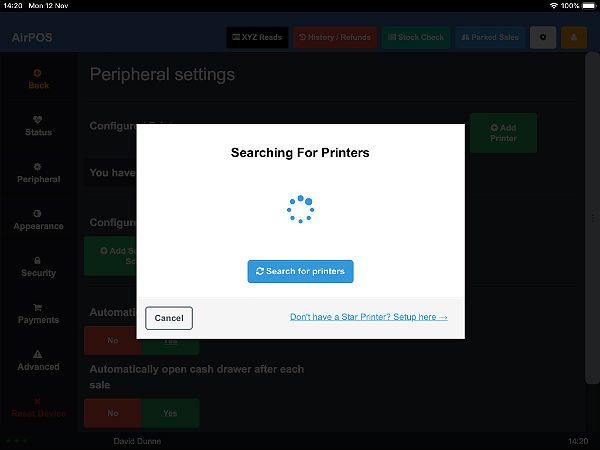
You'll see a screen like that below as AirPOS searches for all available nearby Star printers.
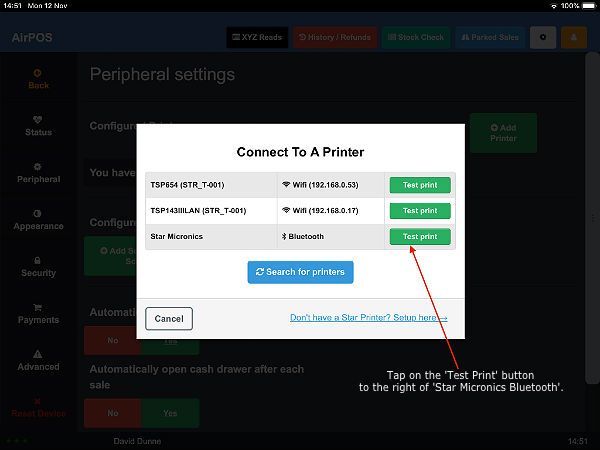
After a few moments any available Star printers will be listed. Tap on the 'Test Print' button to the right of 'Star Micronics Bluetooth'.
Next, tap on the green 'Use this printer' button below the image of a test print as shown below.
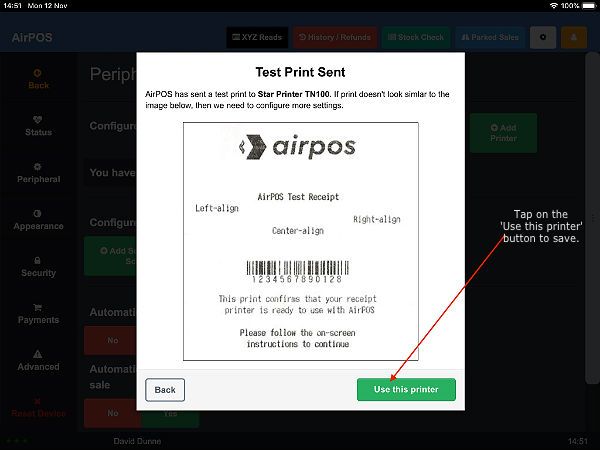
That is your printer configured to use with AirPOS on your iPad. To test that the printer has been successfully configured, you can now press the Test Print button. AirPOS should print a test receipt from the printer.
NOTES
- There are known Bluetooth connectivity issues when running the Spotify App with AirPOS. Attached Bluetooth peripherals (Card Readers, Printers, Barcode Scanners, etc) may regularly drop connection resulting in receipts not printing, drawers not kicking and aborted card transactions.
- If there is a red error light then please check that the paper has been loaded correctly in the printer.
- If the blue LED light is on and solid (not blinking) then the Auto-connect setting may be switched on in the printer. If Auto-connect is on the printer will always try to reconnect automatically to the last iOS device it was paired with. The printer can only connect to one iOS device at a time and so we need to reset Auto-connect. To turn off the Auto-connect feature, with the printer on, take a pin or similar sharp object and insert it into the reset hole at the back of the printer, beside the blue LED pair light.