
How to Create Categories and Subcategories for Your Products in the Backoffice
Creating Categories.
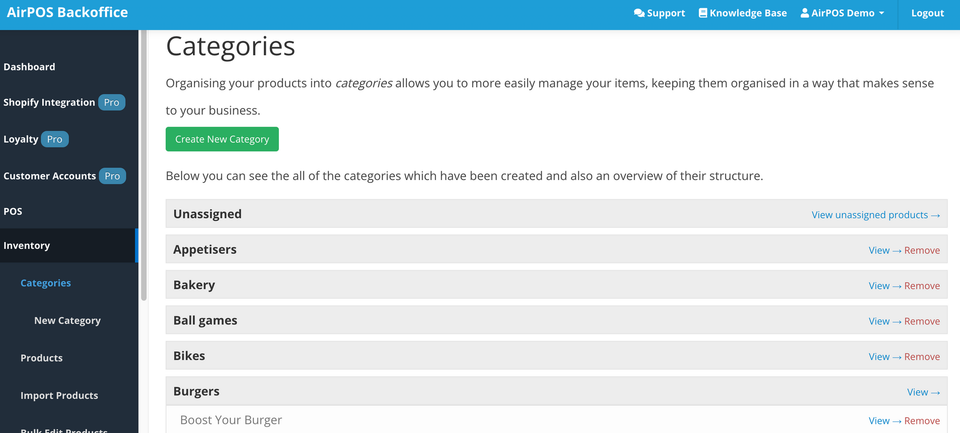
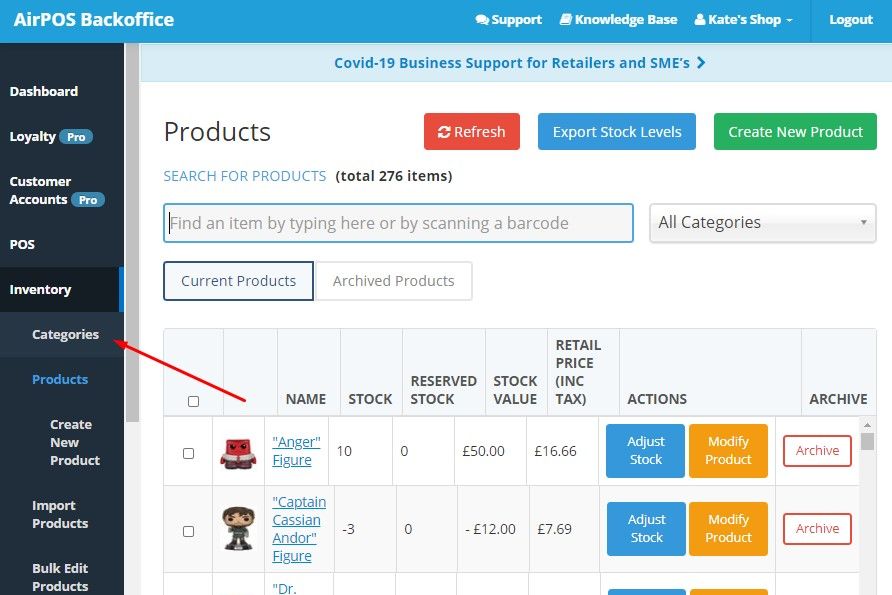
Your categories will appear on the POS screen and your items will be located within those. If an item is unassigned to a category it will only be visible after a product search. Your categories are therefore important and you should give some thought as to how you wish to categorise your inventory. You can create categories and subcategories in the backoffice by clicking on the 'Categories' tab under 'Inventory' in the left margin of the backoffice as shown below.
Product catalogs are not only a great way of organising your products for use in the AirPOS online back office, they are also the first step towards building your AirPOS web store. Creating product catalogs in AirPOS is simple but is also an important task to get right when building your AirPOS installation.
AirPOS employs an open approach to creating product catalogs in that it is possible to create an unlimited amount of categories and subcategories in your inventory.
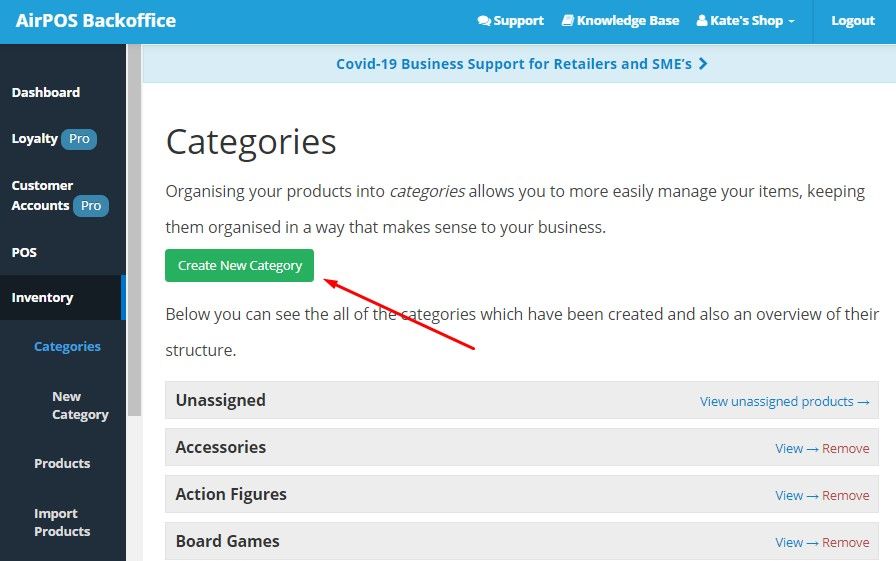
To create a new category just tap on the green button as shown below.
A form will be presented in which you give the category a name and an optional description. If you want this new category to be a subcategory of an existing category that you've already created just click in the 'Parent Category' box and select the parent category from the dropdown list. In the example below we've created a 'Furniture' subcategory of the 'garden accessories' category.
When creating a new item, after you've entered the product information such as name, cost price, retail price and tax rate and before you tap on the 'Create Item' button you'll be prompted to categorise the new item. Click in the 'Select an Existing Category' box and select the category or subcategory that you want the item to belong to. An item can be in multiple categories as shown below.

You can also create categories and subcategories using the batch importer template. In the category field the parent category is separated from the subcategory by the pipe symbol ( | ). So shirts as a subcategory of clothing would be written as "Clothing|Shirts" in the category column.
When you've completed your spreadsheet save it as a .CSV file and use that file to upload your inventory. The above example when uploaded will look like the following image in your backoffice.

You can also assign items to multiple categories in the batch import template by separating the categories with the caret symbol ( ^ ) in the category column of the file. For example you may have an item that you want to appear in your 'Action Figures' category as well as in your 'Sundry' category. The entry in the category column would look like the following. "Action Figures^Sundry".