Connecting the Star TSP143IIIU USB Receipt Printer on iPad

How to Connect the Star TSP143IIIU USB Receipt Printer on iPad.
**We strongly recommend a brand new dedicated Apple lightning cable that is not also used for charging iPhones or other iPads.**
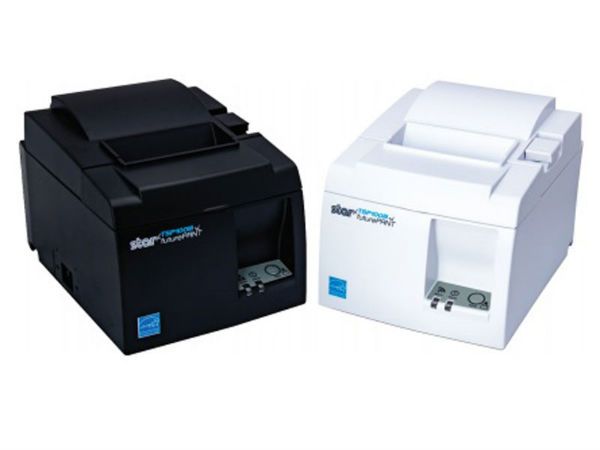
Star Micronics have introduced the TSP100IIIU USB Printer which is able to be connected directly to an iPad using the Apple Lightning Cable. This allows direct communication between the iPad and the printer while simultaneously charging. At the back of the printer there are three ports as shown below.
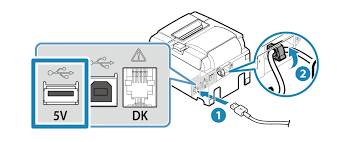
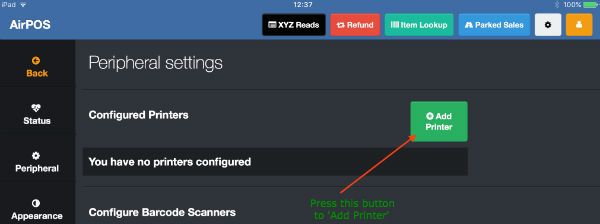
Plug the lightning cable into the iPad and the USB end into the left port ( 1 above ). Make sure that the charging symbol at the top right of your iPad is green signifying that the printer is connected. The next step is to configure the printer in AirPOS. Open the AirPOS application and tap on the settings cogwheel at the top of the screen. Select 'Peripherals' from the left margin. Press the 'Add Printer' button in your peripheral settings as shown below.
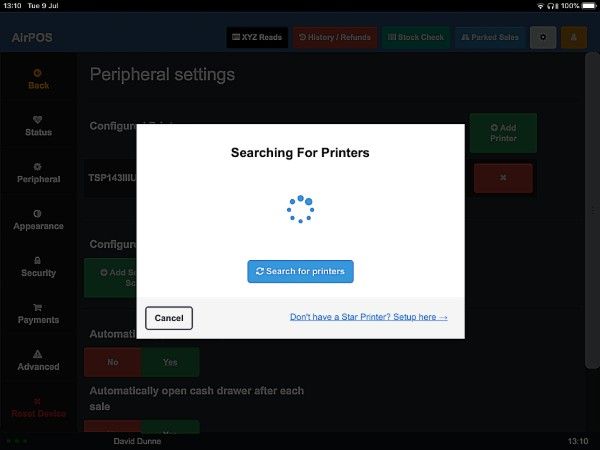
In the next screen you'll see a popup to say that AirPOS is 'Searching'.
After a few moments you'll see your printer listed as 'TSP143IIIU GY' with a USB symbol to the right of it. Tap on the 'Test print' button.

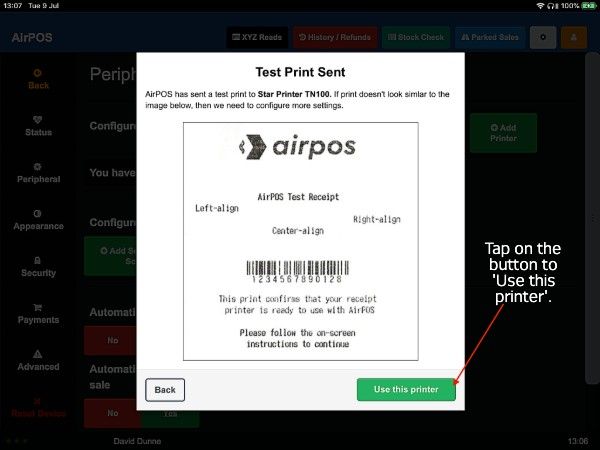
You'll see an image of the test print with a button to 'Use this printer'. Press that button to save the printer in AirPOS and that's the setup complete.