Connecting the Star TSP143IIIU USB Printer with your Android Tablet

Connecting the Printer.
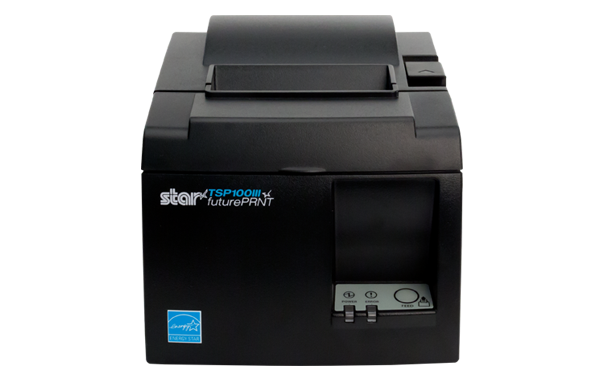
The TSP143IIIU USB Printer from Star Micronics is able to be connected directly to an Android tablet using the USB cable provided with the printer. This allows direct communication between the tablet and the printer.
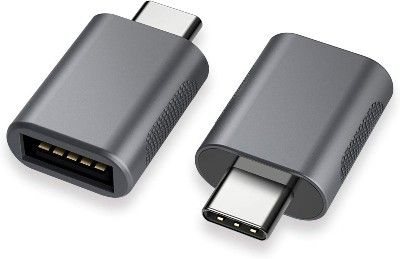
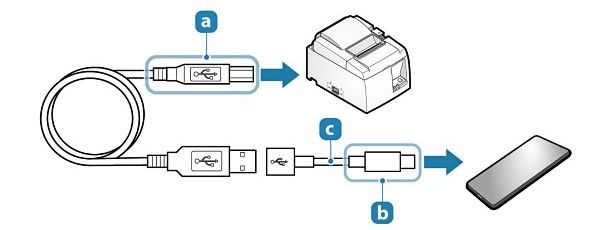
The printer comes with a USB cable (TypeA-TypeB). The Type A end connects to the back of the printer and the TypeB end connects to a micro USB adaptor similar to the image below. The adaptor connects to the micro USB charging port of your tablet....

...unless your tablet is charged with a USB C cable in which case you'll need to use a USB female to USB C male adaptor similar to the image below.
At the back of the printer there are three ports as shown below.
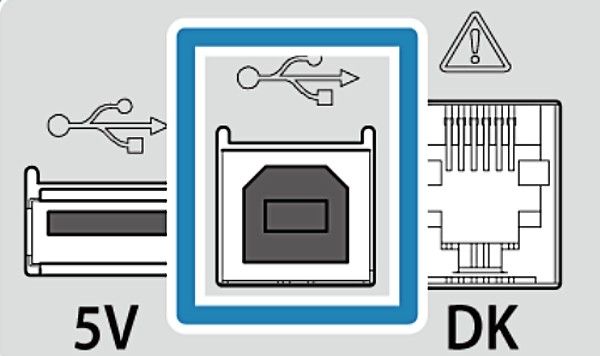
Plug the USB Type A end of the cable into the middle port as highlighted above. The Type B end plugs into the USB adaptor which plugs into the micro USB port of your tablet.
NB: While the printer is connected to the tablet the tablet cannot be charged.
The next step is to configure the printer in AirPOS. Open the AirPOS application. When you plug the printer into the tablet you'll see a popup like that below.
NB: If you plug the printer in prior to installing the application then the USB permissions popup will not appear, therefore on installing the AirPOS app we don't have permission to access the USB device. This is resolved by unplugging the printer from the tablet and re-attaching it.
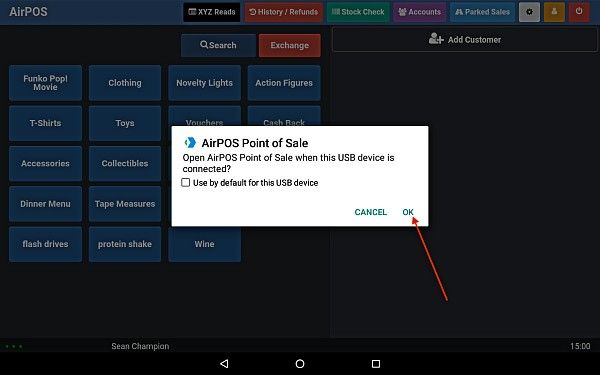
You Must tick the 'Use by default for this USB device' box to always grant Android USB permissions for AirPOS. Tap 'OK'.
Next tap on the settings cogwheel at the top of the screen. You'll see a screen like that below.
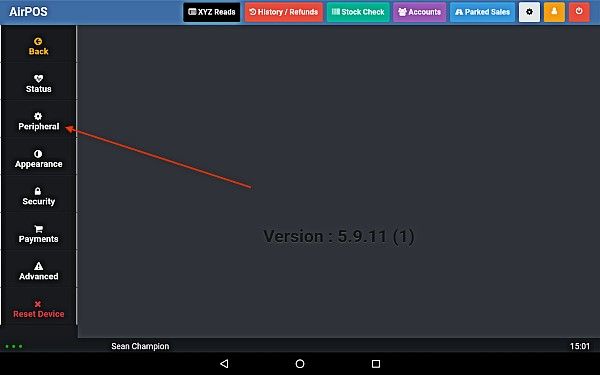
Select 'Peripheral' from the left margin.

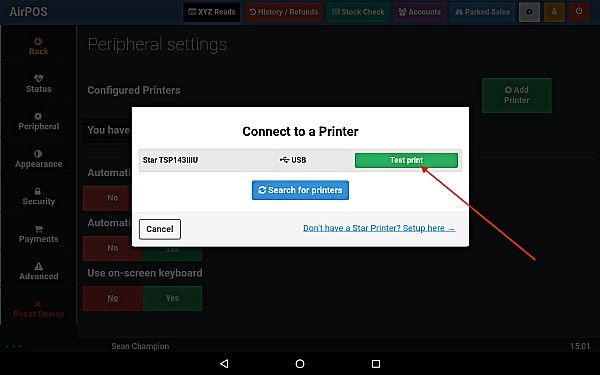
Press the 'Add Printer' button in your peripheral settings as shown above. You'll see a popup to say that AirPOS is 'Searching'.
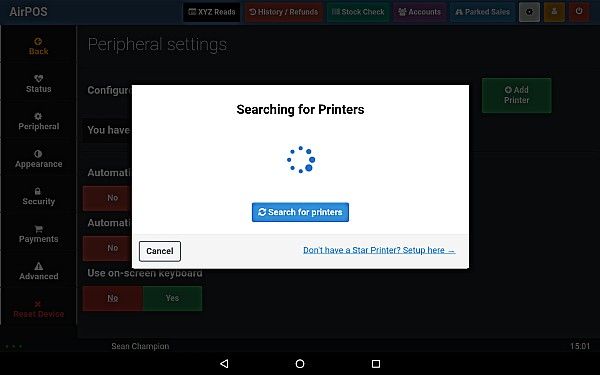
After a few moments you'll see your printer listed as 'TSP143IIIU' with a USB symbol to the right of it. Tap on the 'Test print' button.
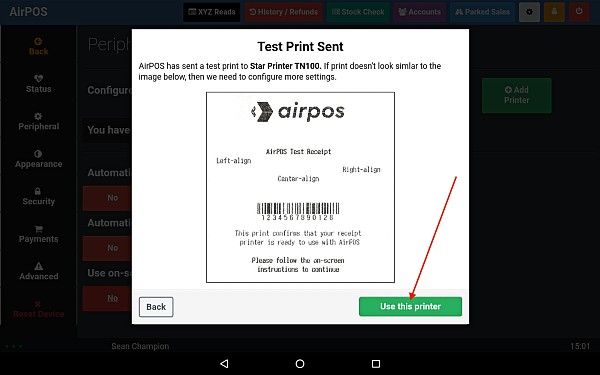
You'll see an image of the test print with a button to 'Use this printer'. Press that button to save the printer in AirPOS and that's the setup complete.
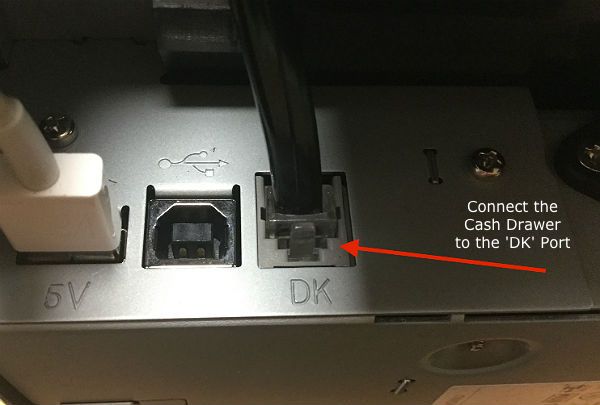
Connecting the Cash Drawer.
Leading from the back of the cash drawer is a cable the end of which looks a bit like a telephone connection or small Ethernet connection. This is known as an RJ11 cable.
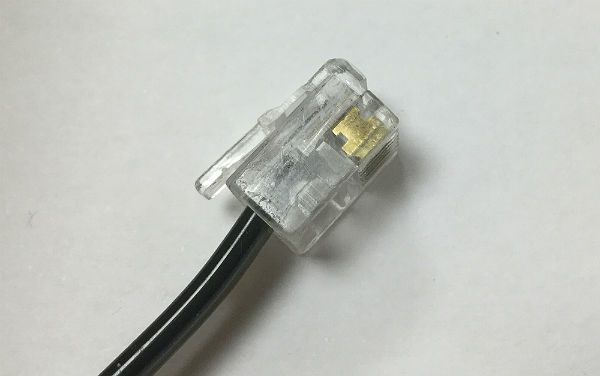
The Cash Drawer is kicked by an electrical impulse from the printer so the cash drawer connects into the printer at the port marked ‘DK’ (Drawer Kick) using this cable which comes out of the back of the cash drawer.