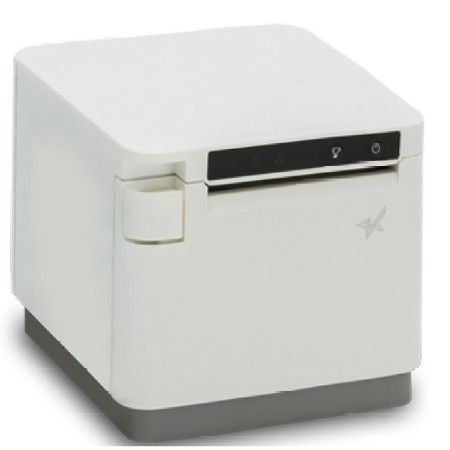
Setting up the Star MC-Print3 Receipt Printer for use with AirPOS on Android

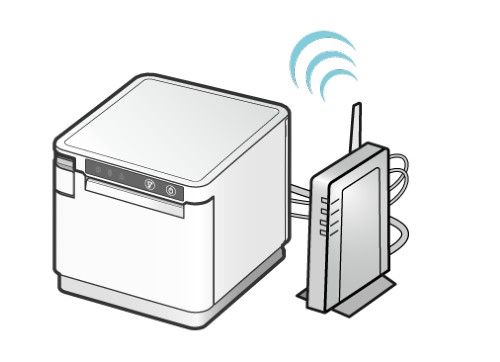
Connect the printer to your router with an ethernet cable and power on the printer. There should be a solid blue light when the printer is switched on and a solid green light when the printer is connected to the router and is online.
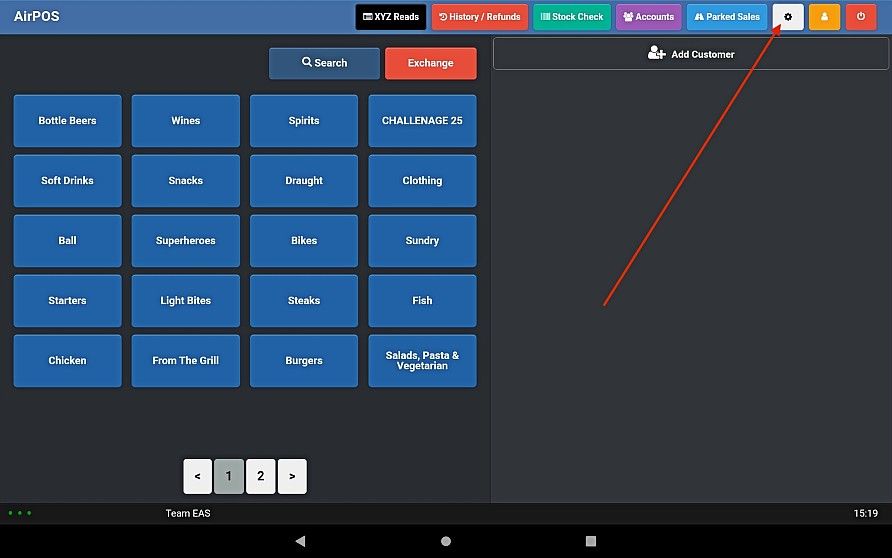
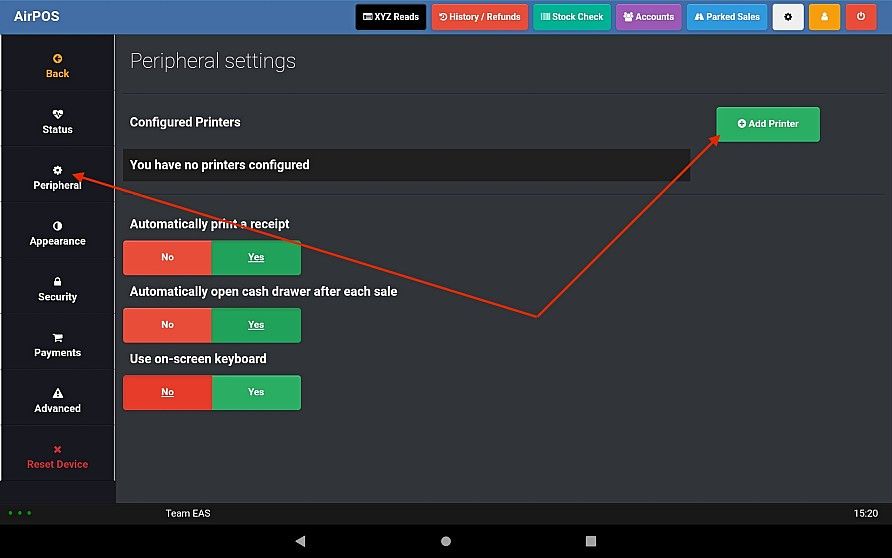
Open the AirPOS application and tap on the settings cogwheel icon at the top of the screen as seen below.
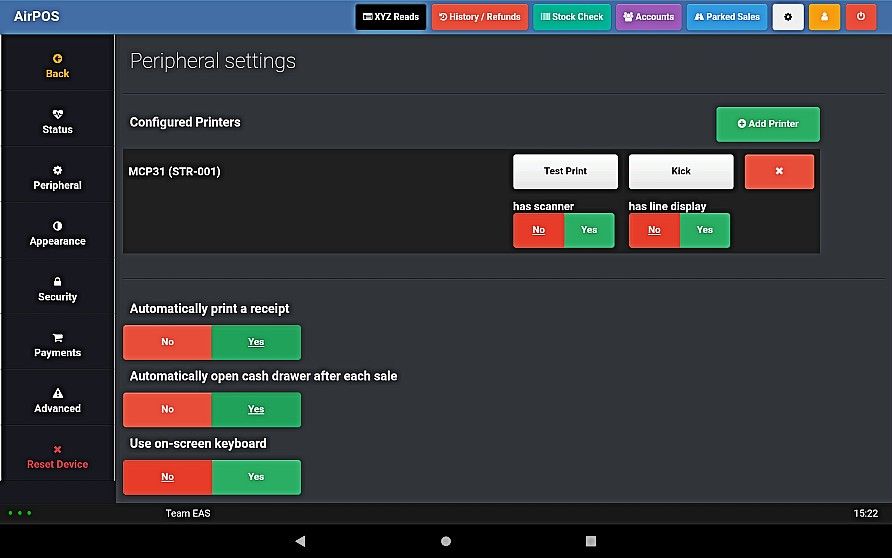
From the menu on the left select 'Peripheral' and press the green 'Add Printer' button icon the 'Configured Printers' screen as seen in the image below.
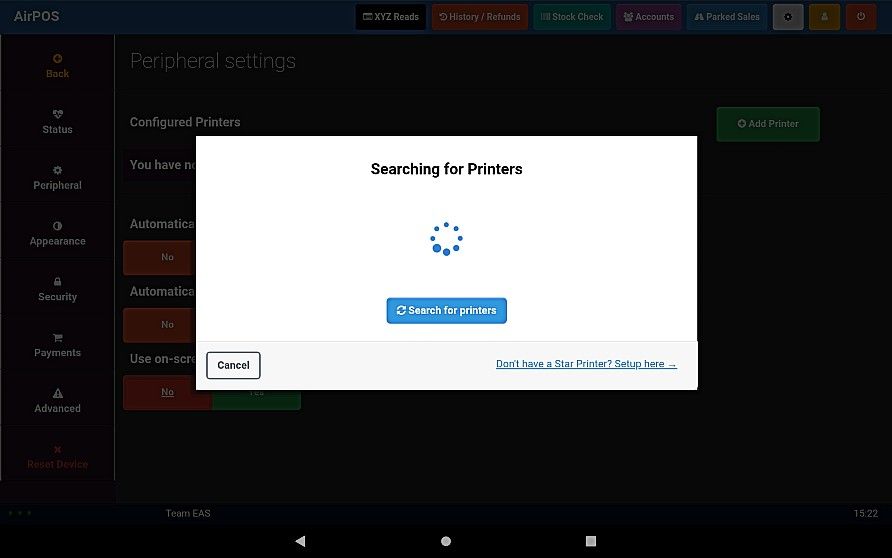
You'll see a screen like that below to show that AirPOS is searching for available Star printers.
After a few moments any available Star printers will be shown in the manner of the image below.
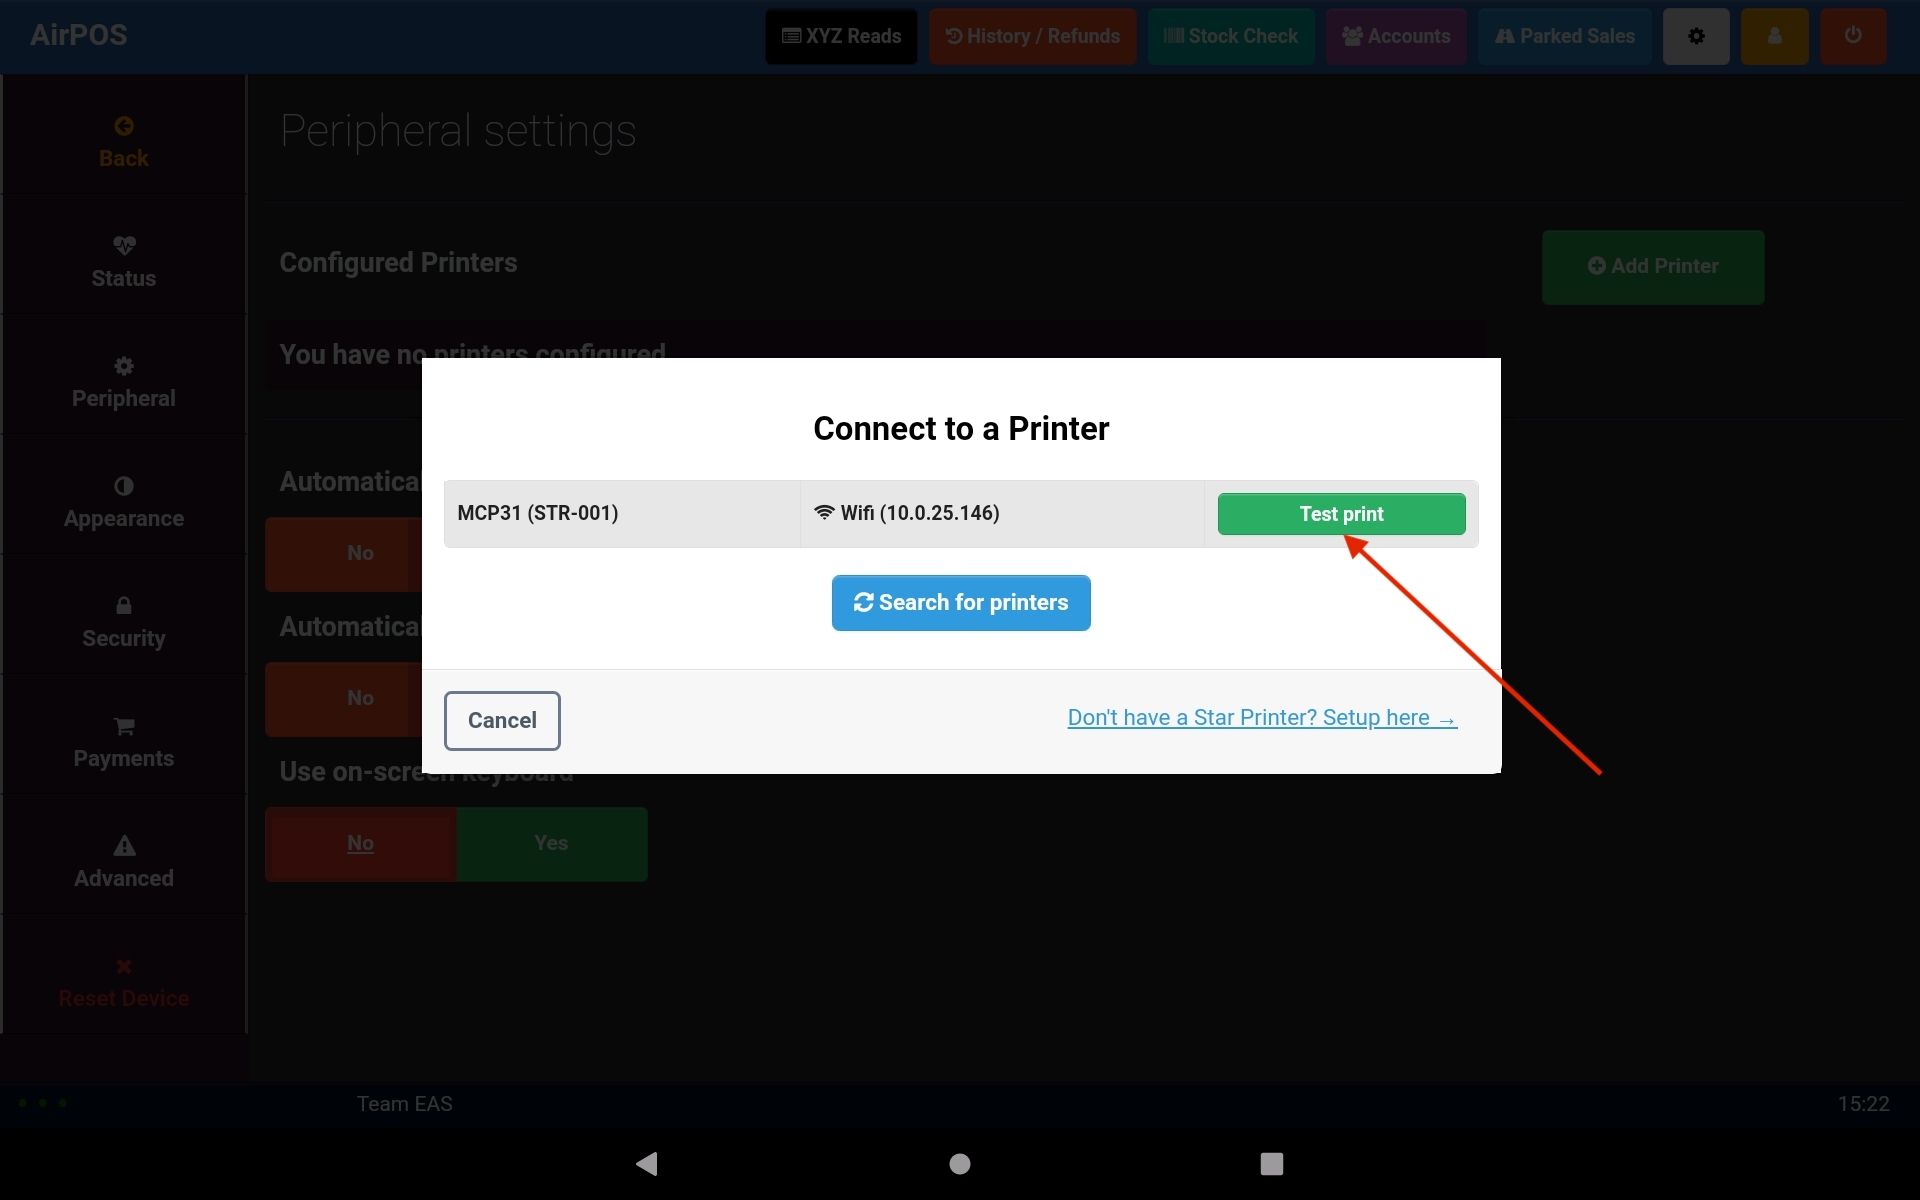
You can see that AirPOS has found one. Tap on the 'Test Print' button beside the printer you want to connect, in this case the MCP31 printer which is shown with it's IP Address. An image of the test print will appear on your screen. If the test print looks similar to the image press the green 'Use this printer' button to save your selections.
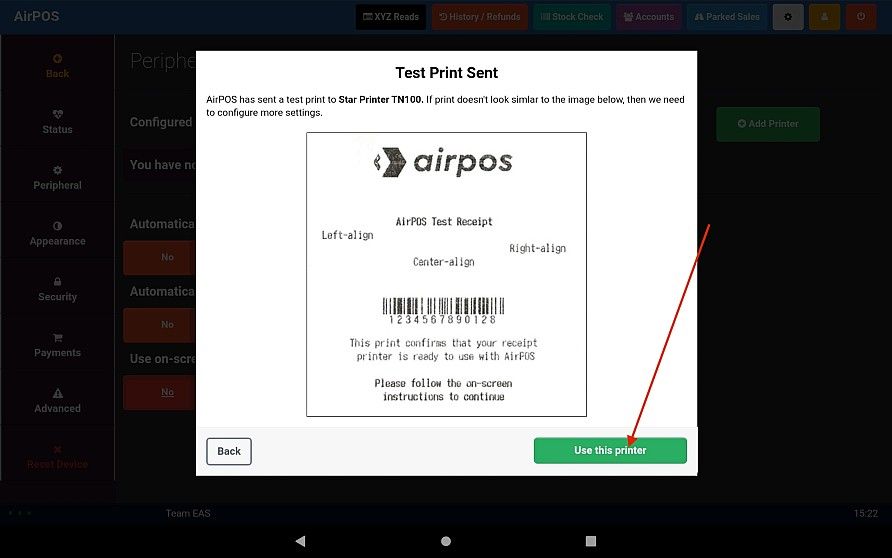
This printer will support the Star Line Display and USB Scanner. When you have pressed the 'Use this printer' button your screen will look like that below in which you can add the line display and the barcode scanner. Just set the settings to 'Yes' for the Star Customer facing Line Display if you use it and for the USB scanner if you use it and that's your printer setup.