How To Adjust A Customers Loyalty Points
The loyalty adjustments feature allows AirPOS retailers to edit their customer's loyalty points.
How To Add Loyalty Points To A Customer
Begin by looking up and adding a customer on the AirPOS point of sale (POS) app. To do this, click the “Add Customer” button at the top of the right hand side of the POS screen

You will see the customer search bar

Type a customers' name into the customer search bar then click the “Add to Sale” button for the customer

The customer will be added to the sale

In order to see the customers current loyalty points, add an item to the sale and click “Tender”

This customer currently has 0 loyalty points

To add loyalty points, go to the Customer menu in the backoffice

Search for and select the customer

You will see the customer details which confirms they have 0 loyalty points. Now click “Adjust”

Now you will see the loyalty points adjustment screen, with “ + Add” button selected as default
Enter the number of loyalty points, to be added
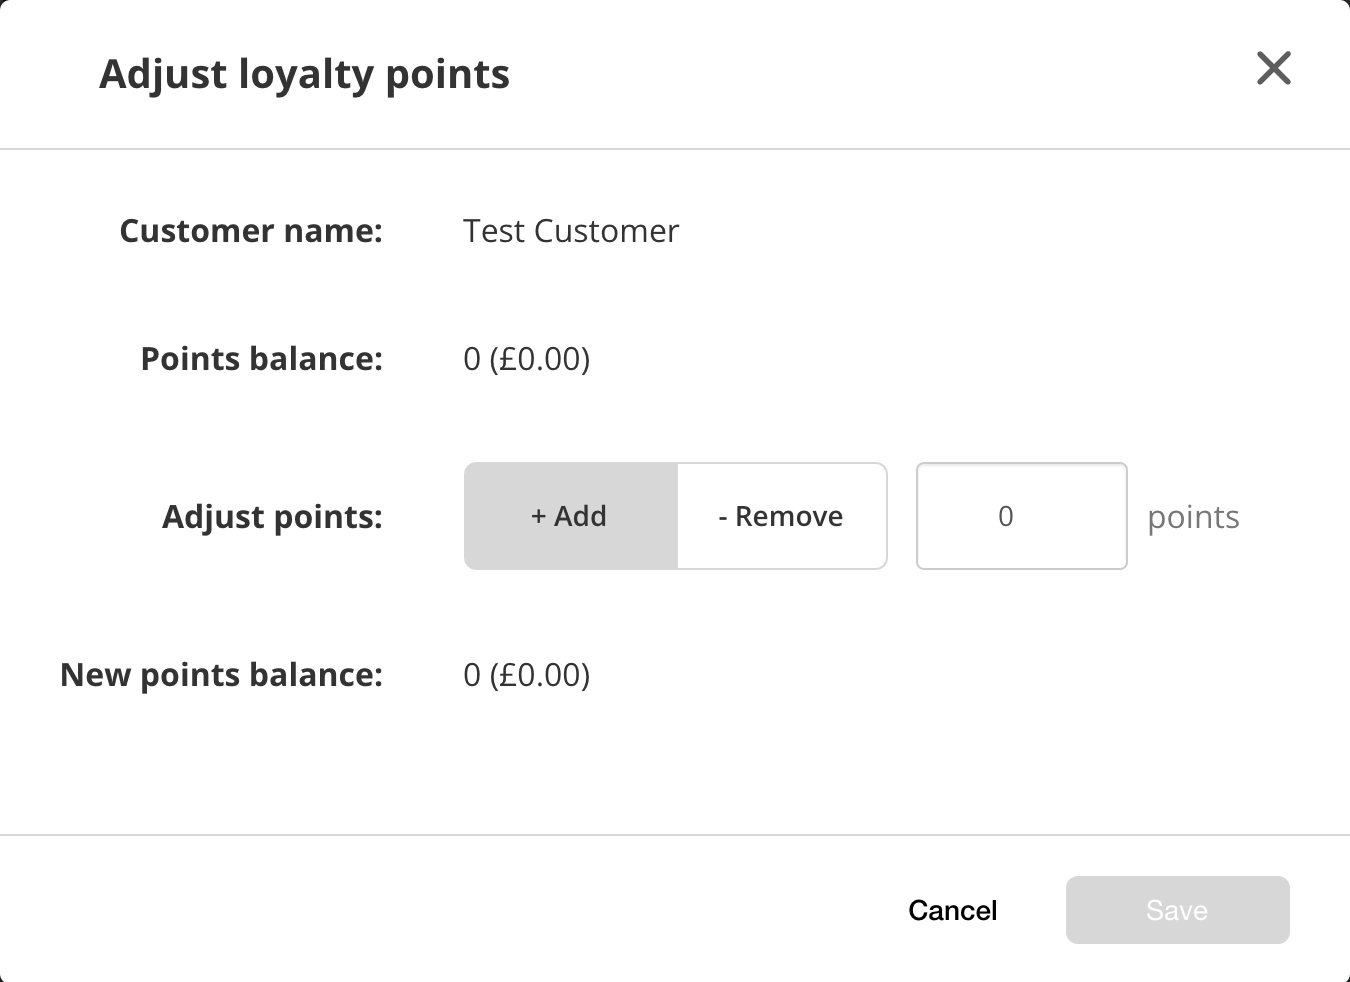
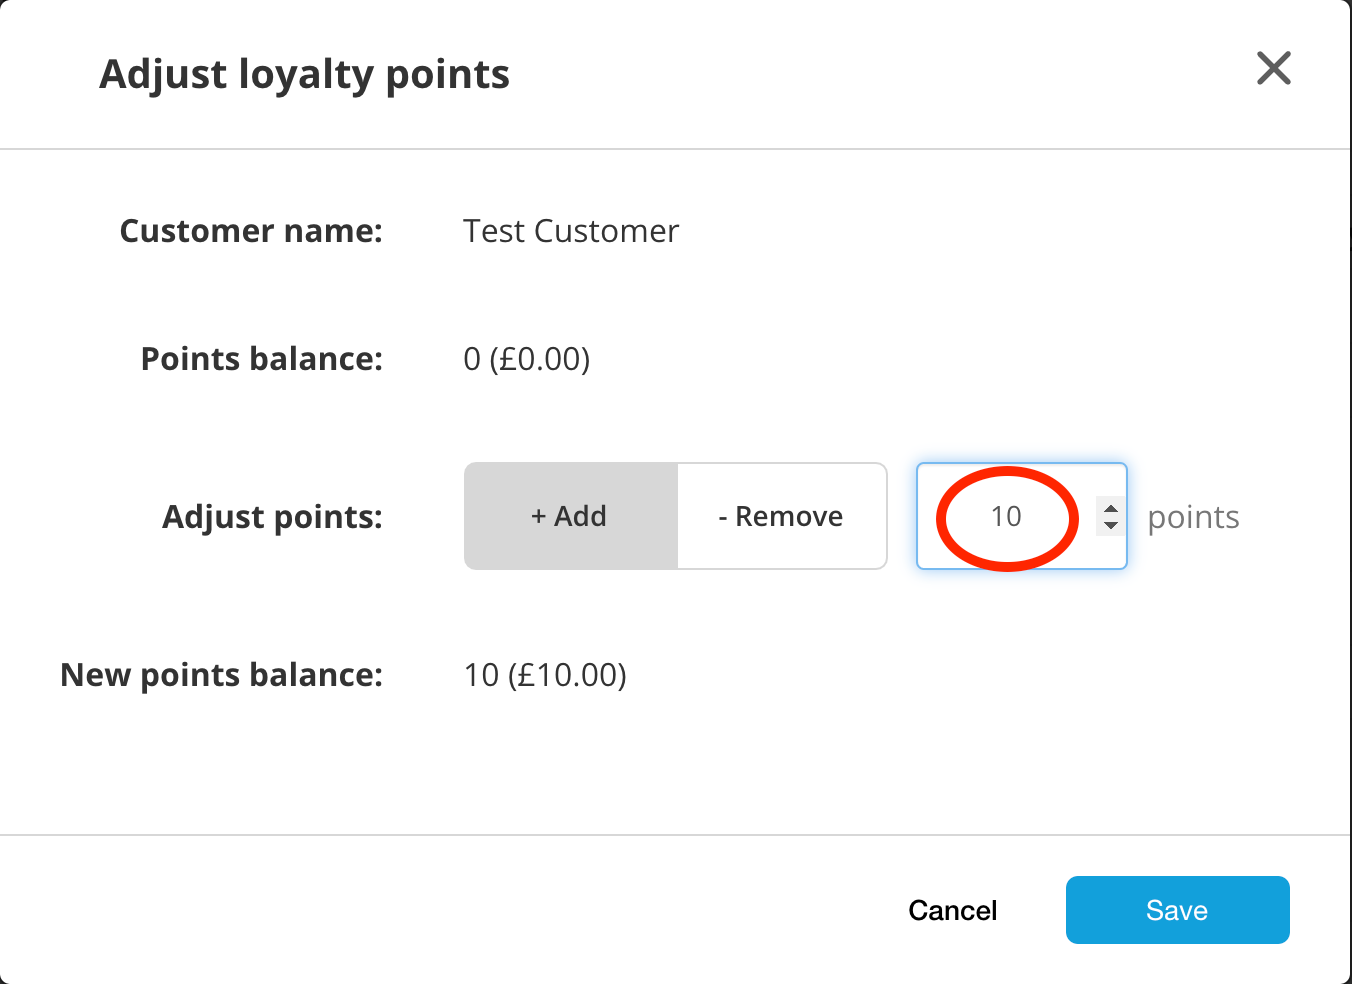
Then click “Save”. The loyalty points adjustment screen closes and you will see confirmation, in the customer details, that the customer now has the extra loyalty points added

If you now return to the POS and repeat the earlier steps to add a customer and an item to the basket, then click “Tender”, you will now see on the tender screen that the customer has the additional loyalty points

How To Remove Loyalty Points From A Customer
Begin by looking up and adding a customer on the POS. To do this, click the “Add Customer” button at the top of the right hand side of the POS screen

You will see the customer search bar

Type a customer name into the customer search bar then click the “Add to Sale” button for the customer

The customer will be added to the basket

In order to see their loyalty points we add an item to the basket and click “Tender”

This customer currently has 10 loyalty points

To remove loyalty points, go to the Customer menu in the backoffice

Search for and select the customer

You will see the customer details which confirms they have 10 loyalty points. Now click “Adjust”

Now you will see the loyalty points adjustment screen, with “ + Add” button selected as default, so click “- Remove”
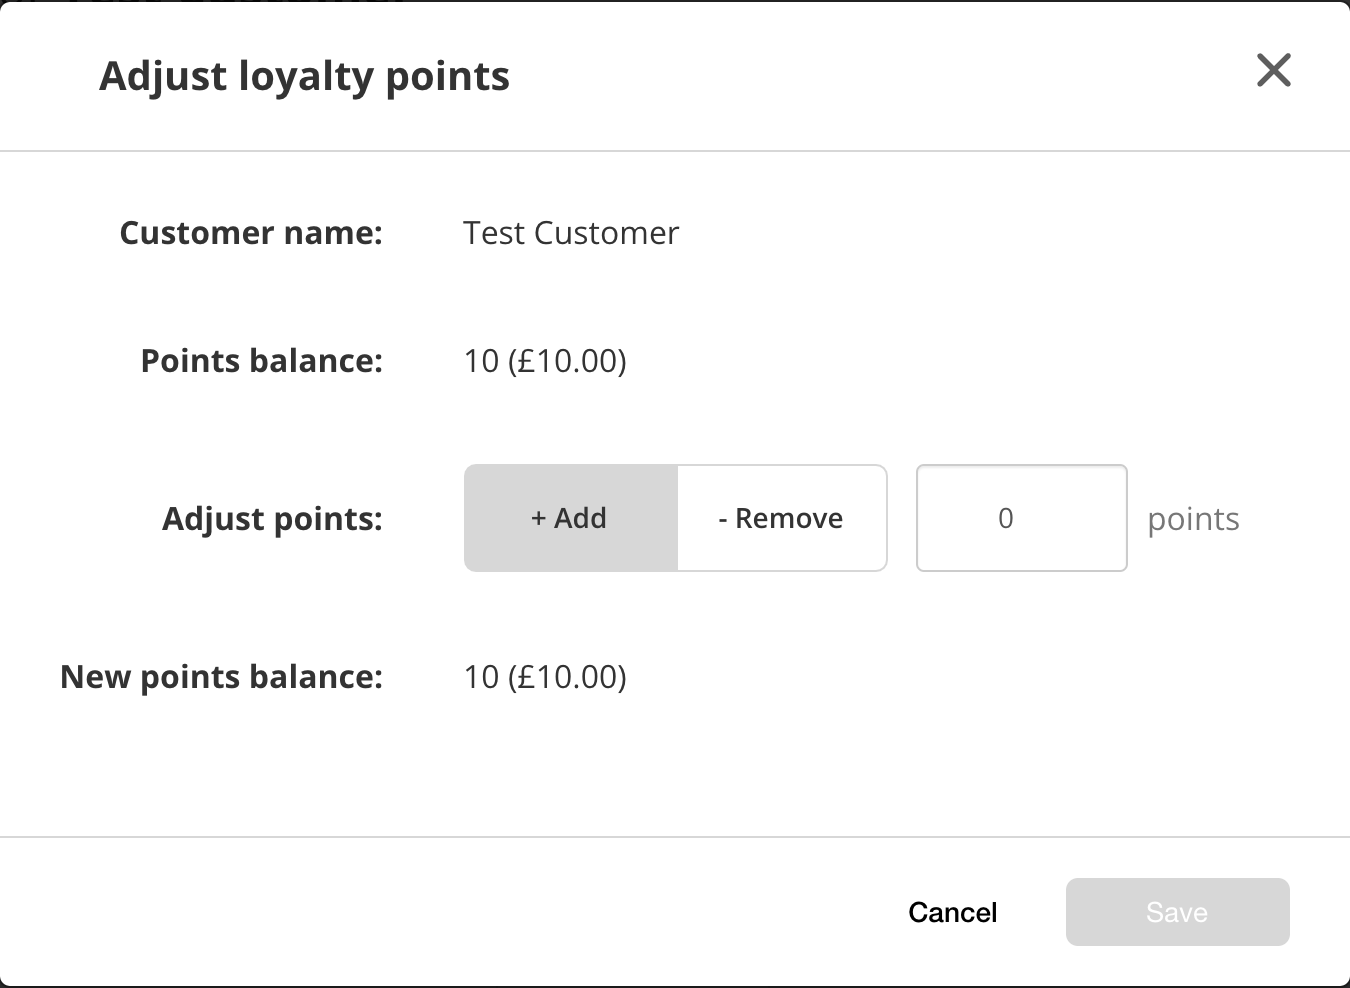
If you try to enter a value higher than the available loyalty points, you will see an error and the "Save" button will be unavailable
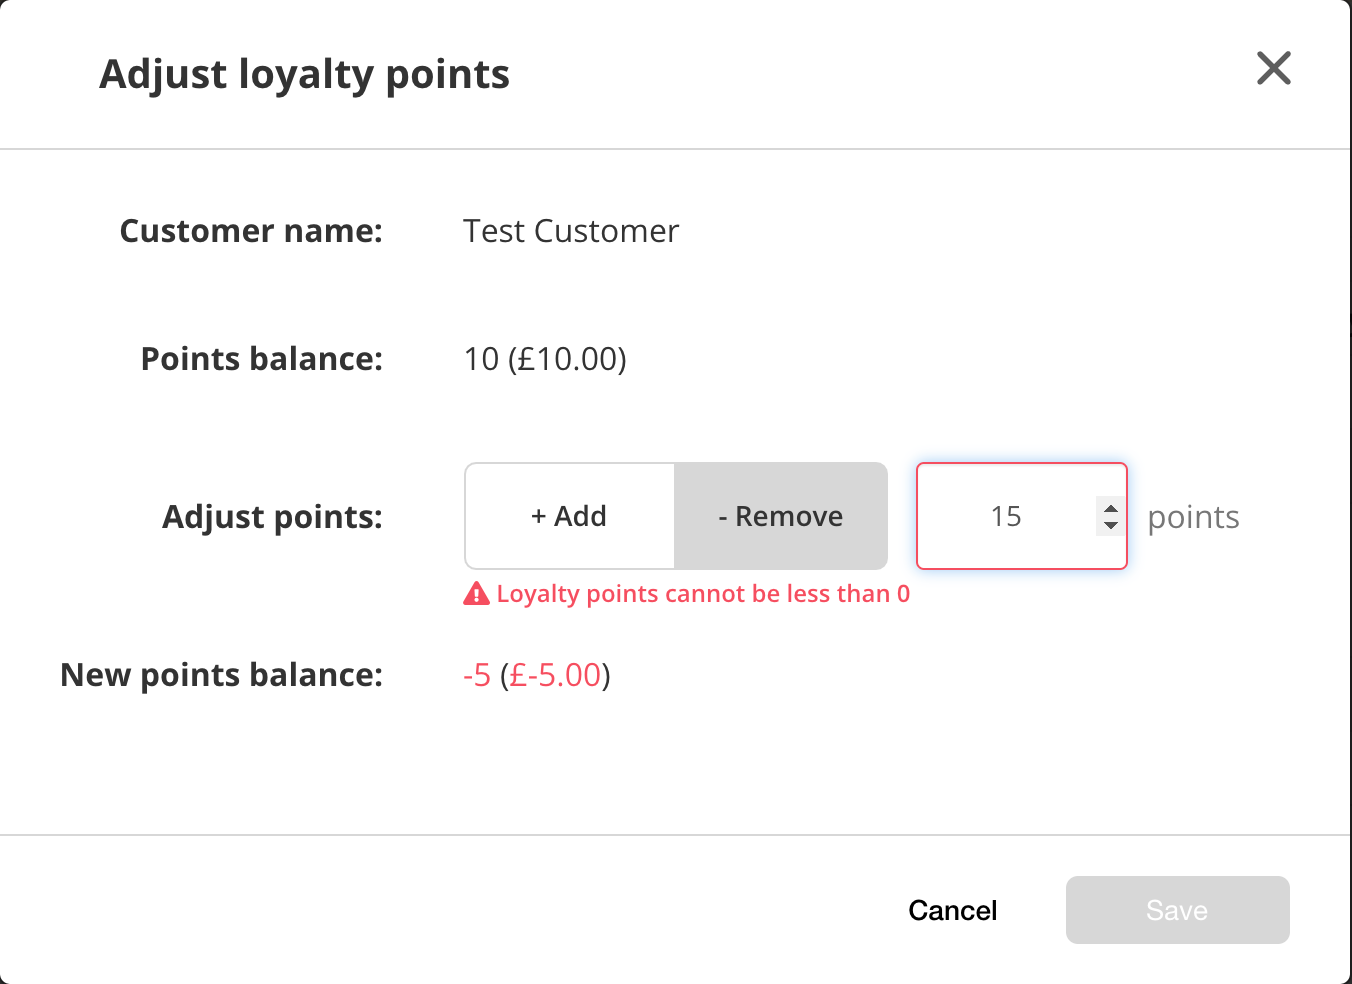
Enter the number of loyalty points to be removed
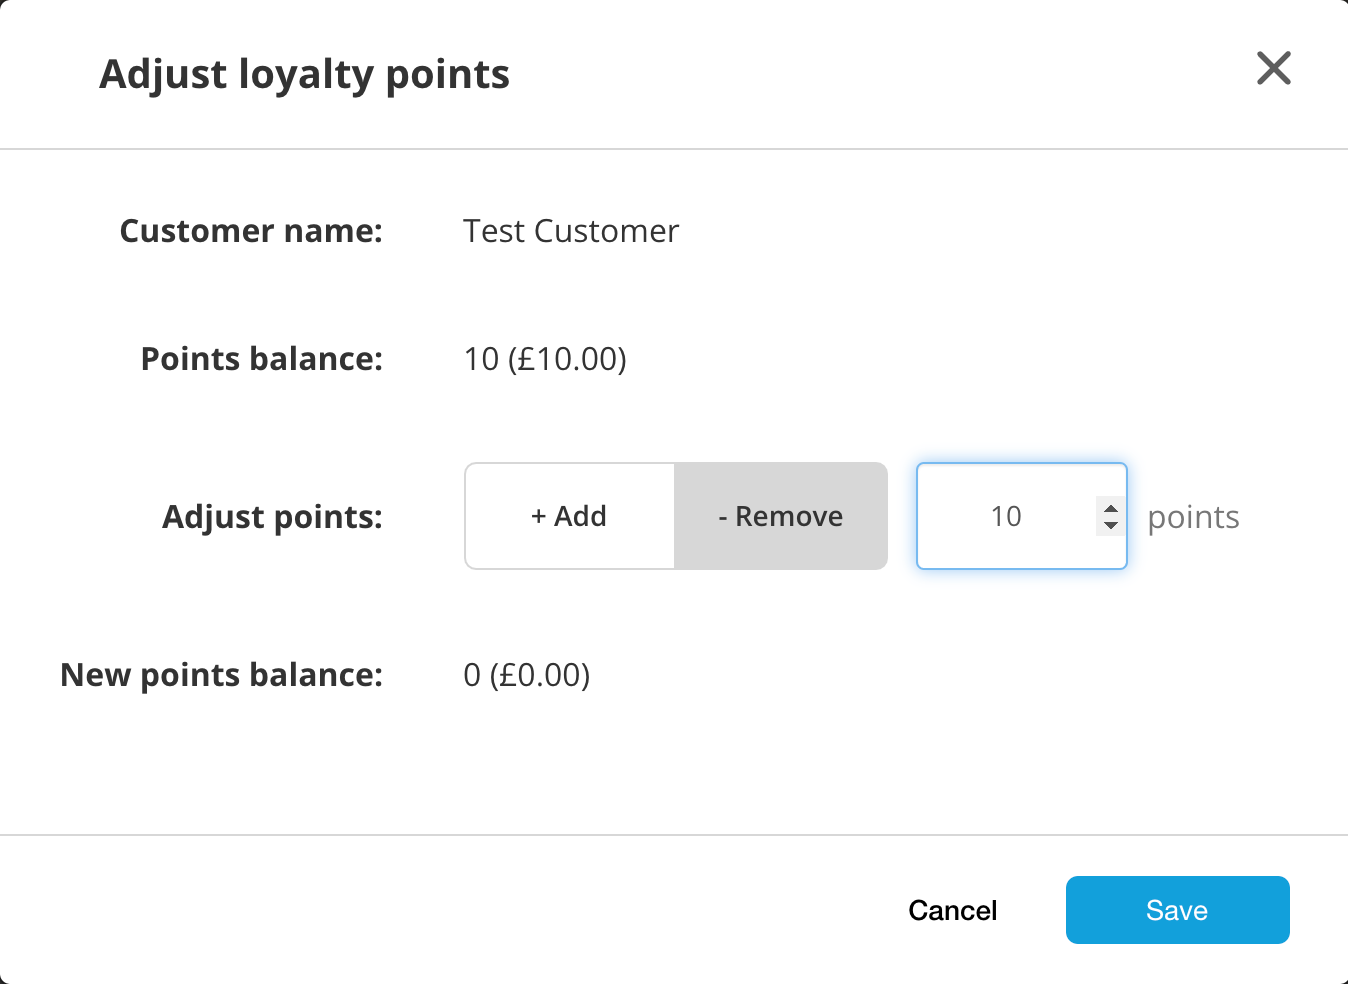
Then click “Save”. The loyalty points adjustment screen closes and you will see confirmation, in the customer details, that the customer has had the specified number of loyalty points deducted

If you now return to the POS and repeat the earlier steps to add a customer and an item to the basket, then click “Tender”, you will again see on the tender screen that the customer has had the specified number of loyalty points deducted

