
Getting Started - Signing up with AirPOS
To sign up for AirPOS is very simple. Go to our website, and on the home page, enter your details (Email Address / Company Name / Password) to begin the onboarding process. Make sure to use an email you have access to, and remember to save your password, you'll need this anytime you want to login to your AirPOS back office.
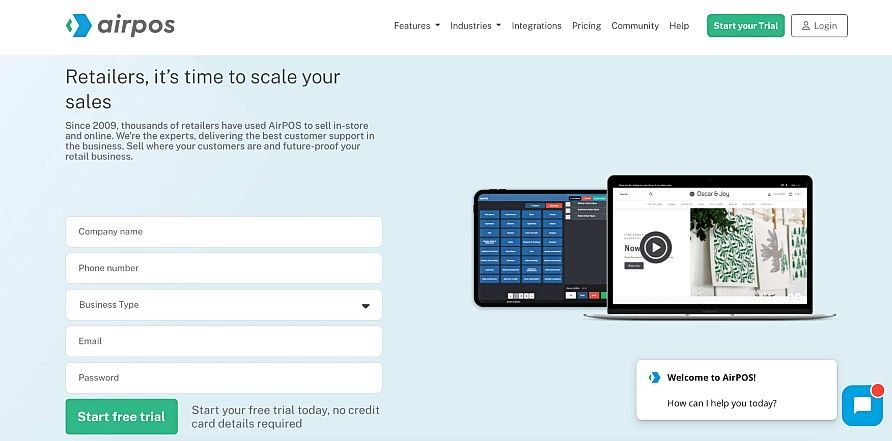
When you sign up you'll automatically be given a 14-day free trial to test our product. We highly suggest setting up a time for a demo with our onboarding team to make sure you can use the product fully and that it fits your business needs.
When you first sign up you'll be taken through a process we call onboarding which basically let's you get started with the basics with our software. The process is fairly simple it consisting of completing the details in the form below.
General Details
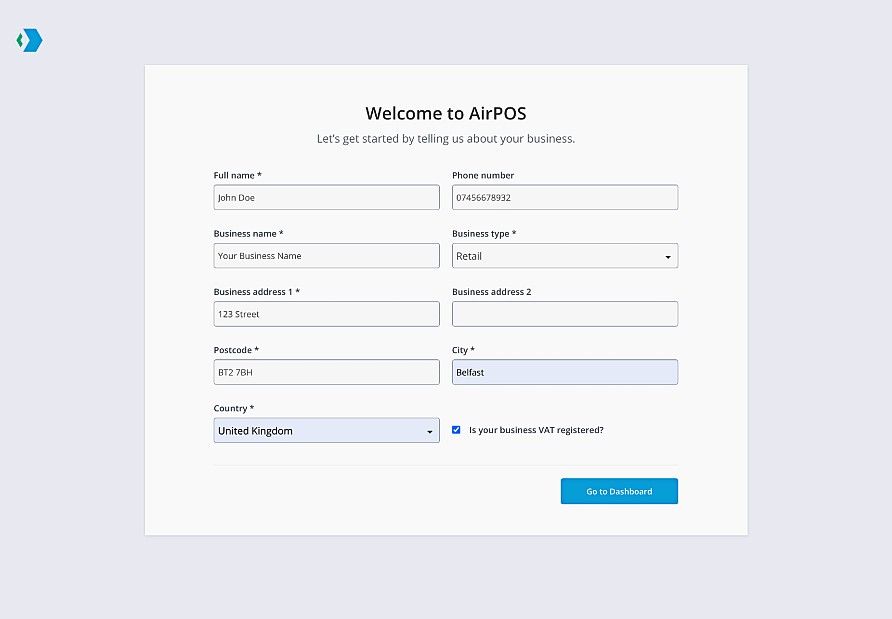
This will include your full name,
- Add your phone number
- Your business name,
- Your business type (if your business type is not listed in the dropdown select one that is close to what you do),
- Your business address,
- Postcode
- City,
- Select your country (where your business is located).
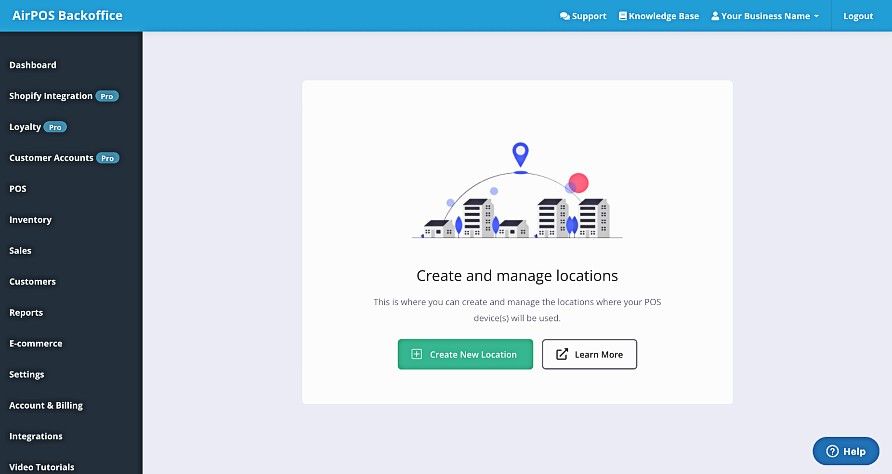
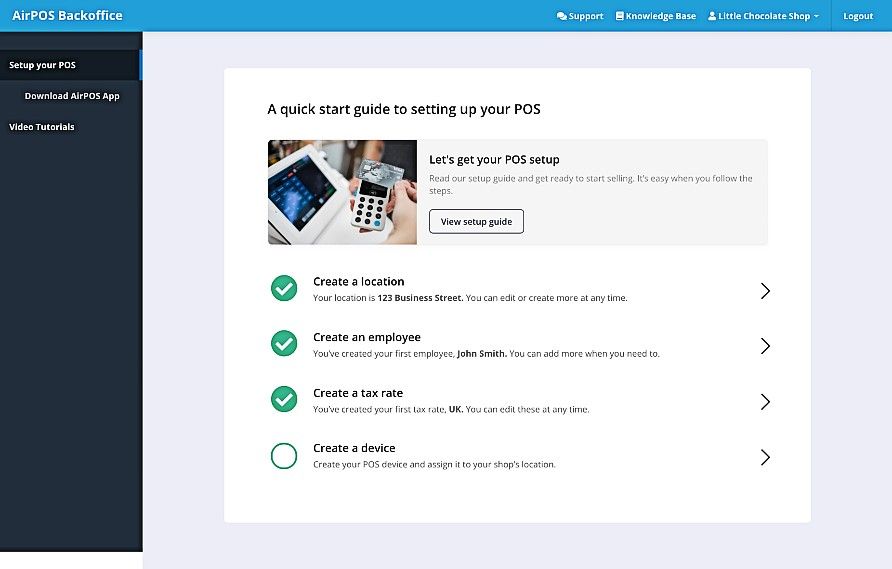
You'll then be brought to a quick start guide to setting up your POS with four simple setup tasks, the first of which will be your location.

Click or tap on the 'Create a location' link above and the screen will change.
if you press the 'Create New Location' button it's a matter then of typing the location of your location. If you have already named your business in the 'General Details' section then just enter the first line of the street address in the name field otherwise the business name will appear twice on your receipts.

When the location is created you'll see a notification popup.
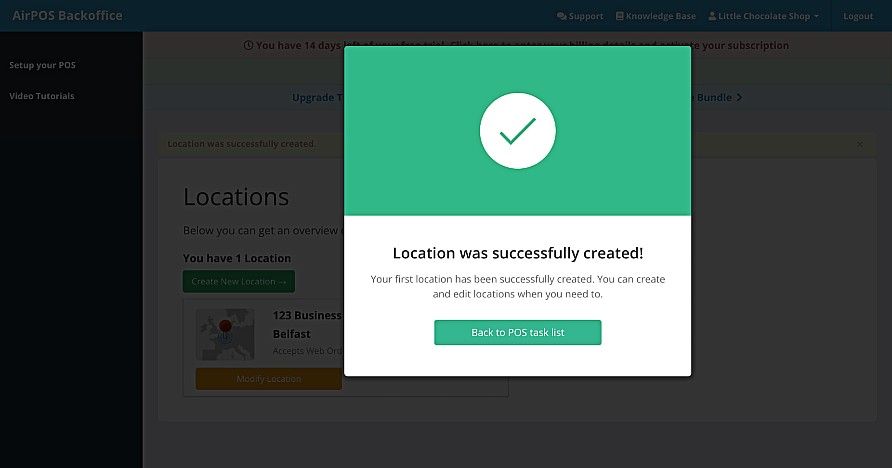
Press the 'Back to POS task list' button and you will be returned to the quick start screen for the next onboarding task, 'Create an employee'.

Click on the 'Create an employee' link and you'll see the following popup.

When you press the 'Create an Employee' button it's a matter of naming them, giving them a PIN number with which they will log on to the POS with and assign them a role as a supervisor, a manger or a staff member;
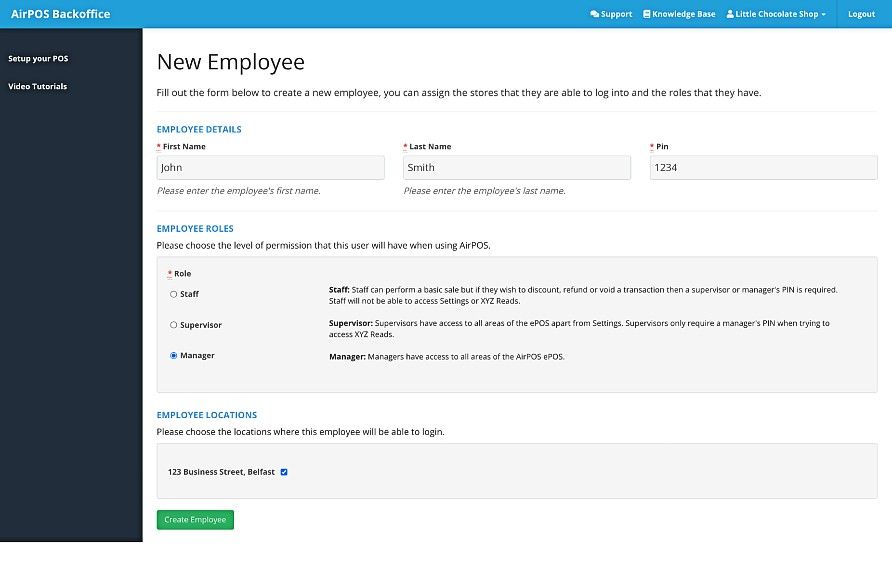
Staff can perform a basic sale but if they wish to discount, refund or void a transaction then a supervisor or manager's PIN is required. Staff will not be able to access Settings or XYZ Reads.
Supervisors have access to all areas of the ePOS apart from Settings. Supervisors only require a manager's PIN when trying to access XYZ Reads.
Managers have access to all areas of the AirPOS ePOS.
When you have created your first employee the popup will change to say that the employee has been created.

Press the 'Back to POS task list' button.
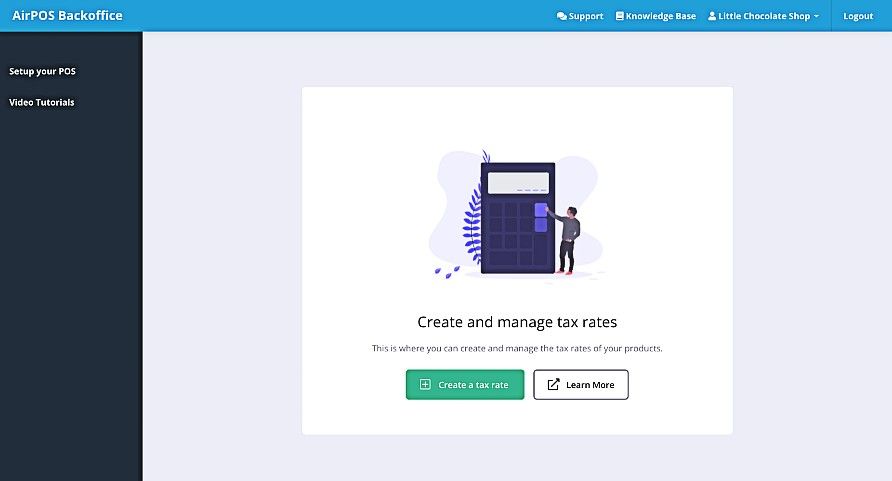
The next task is to create a VAT or tax rate for your products. Tap or click on the link to 'Create a tax rate'.

You'll see a popup similar to that below.
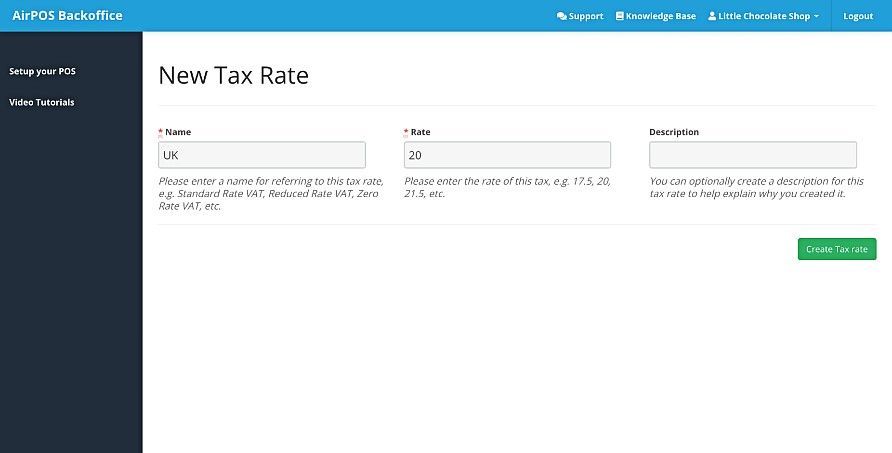
Press the 'Create a tax rate' button and then name the tax rate and set the rate. For example 'UK' at 20%.
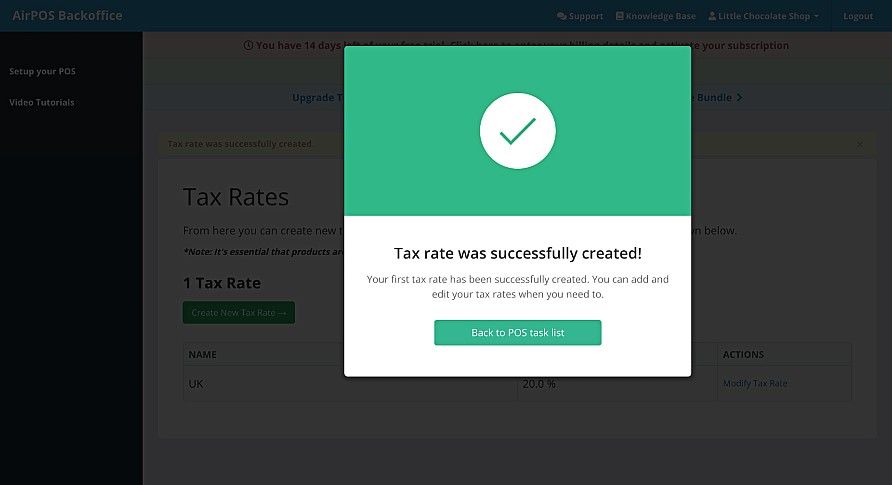
When the tax rate has been created the popup will change to inform you and prompt you to return to the POS task list.
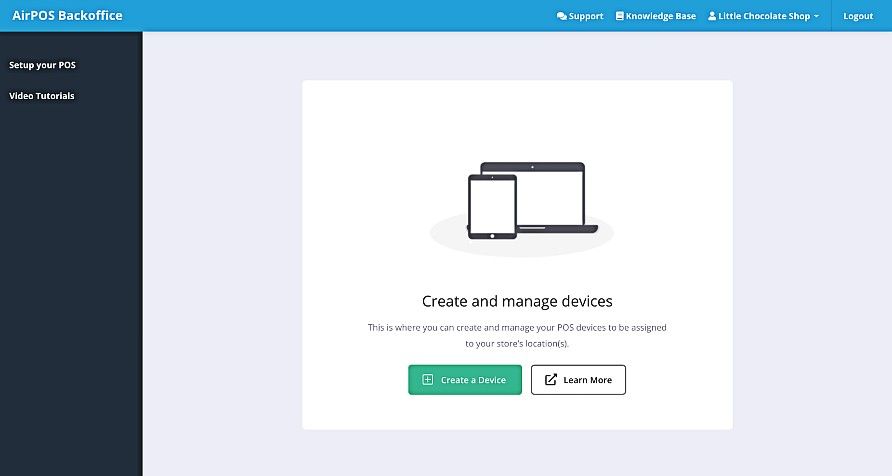
The last POS setup task is to name the device on which the POS will run and assign it to a location. Tapo on the 'Create a device' link as seen below.
You'll see a popup to 'Create and manage devices. Press the green 'Create a Device' button.
Name the device such as for example 'Shop POS' or 'Downstairs POS' and press the 'Create' button.
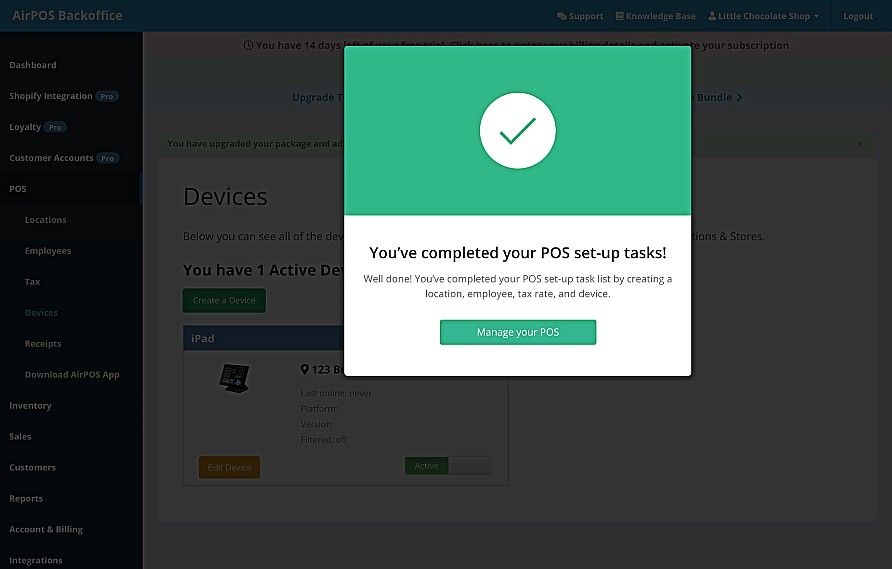
The screen will change to say that the device was successfully created and prompt you to return to the POS page.
