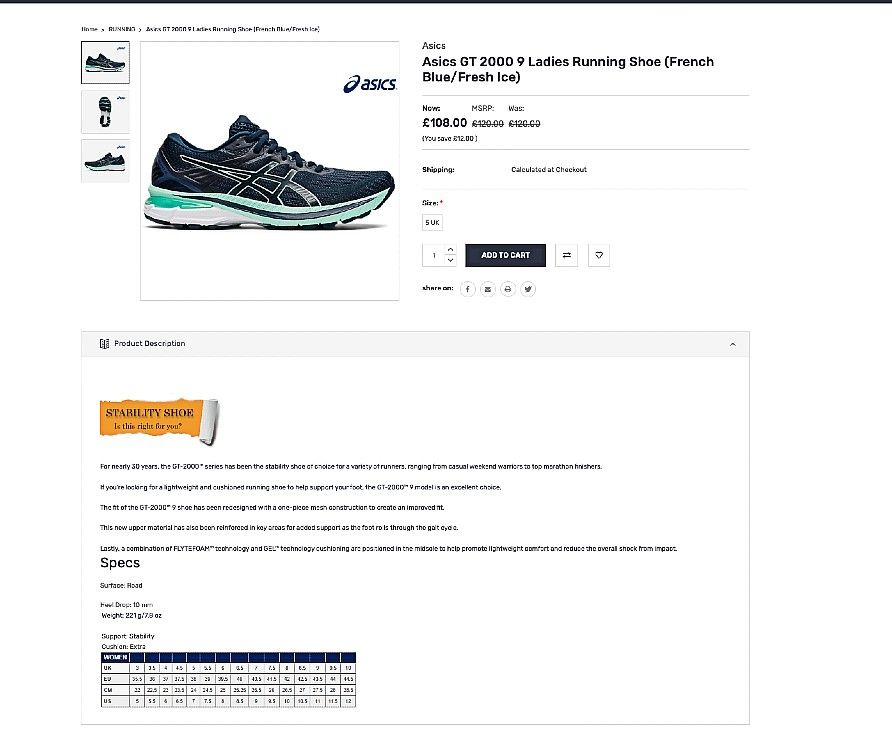
For visitors to your web store the presentation of the product through images and descriptions is very important. Visitors need to see an image and read a description before they commit themselves to making a purchase.
If you have a Shopify webstore which is linked to your AirPOS account there is now a rich text editor you can use to enhance your product descriptions, add a product logo, edit the font of the text and add a sizing table for the convenience of online browsers.
Locate a product that you sell online from the inventory screen of the AirPOS backoffice.

Click on the 'Modify Product' button to the right of the product name and scroll down the edit screen to the product description field and you will see that it now has a toolbar to change the font size, family, colour etc. You can make text bold, italic, change the colour and alignment and add images and tables.
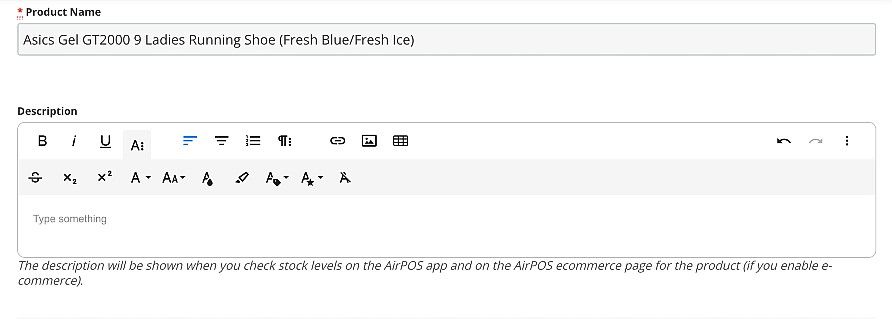
You may want to start your product description with a brand logo or some type of image. Click on the image icon in the top right of the toolbar.
Drag an image into the box or click in the box and select an image from your computer and click on the 'Open' button.
Use the alignment tool to position your logo and then position the cursor on the corners of the blue square surrounding the image to drag and size it. When you have the desired position and size click somewhere outside of the box.
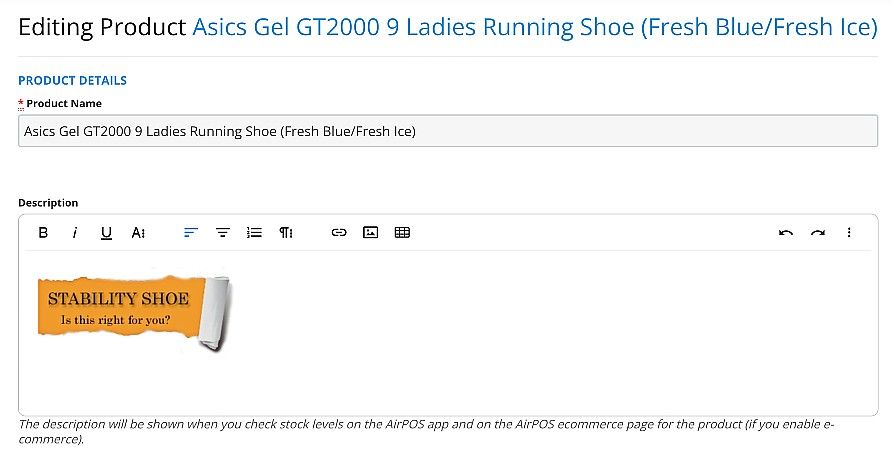
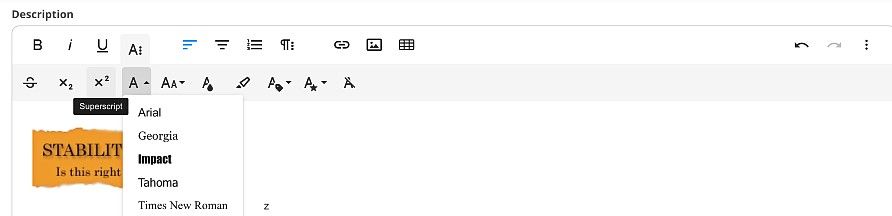
Now use the text editing tools at the top of the product description box to add your text. If you hover over each tool a short description of it's function will be displayed. You'll want to choose the font family and size before you add text. When added you can select text and embolden it or make it italic.
When you have added your text click away from it to see what it looks like.

As this product is a running shoe it has a number of size variants. You may want to add a sizing table for the convenience of your site visitors. To do this click on the table icon on the right of the tool bar.
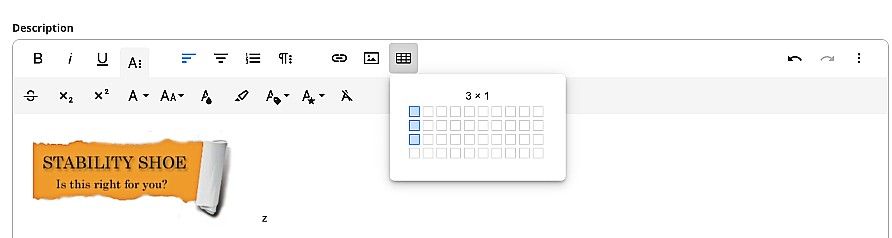
Using the cursor drag the table until you get the number of rows and columns you need and when you have inserted the table you can click in it to view more tools to add a header, footer or other attributes. Hover the cursor over the tools to see a description of their function
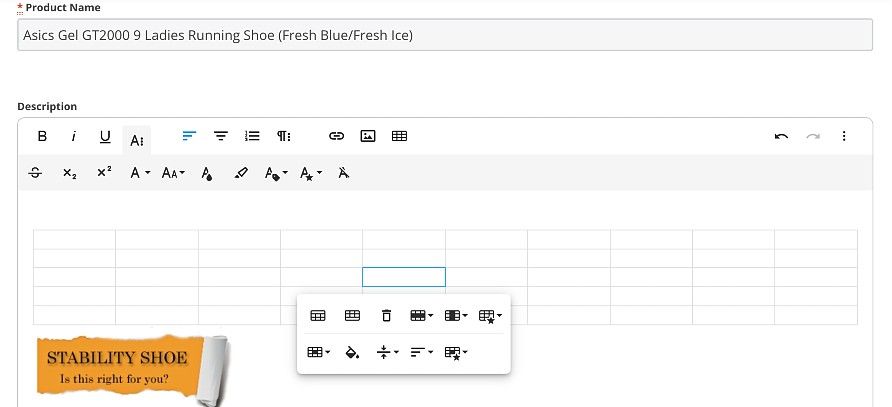
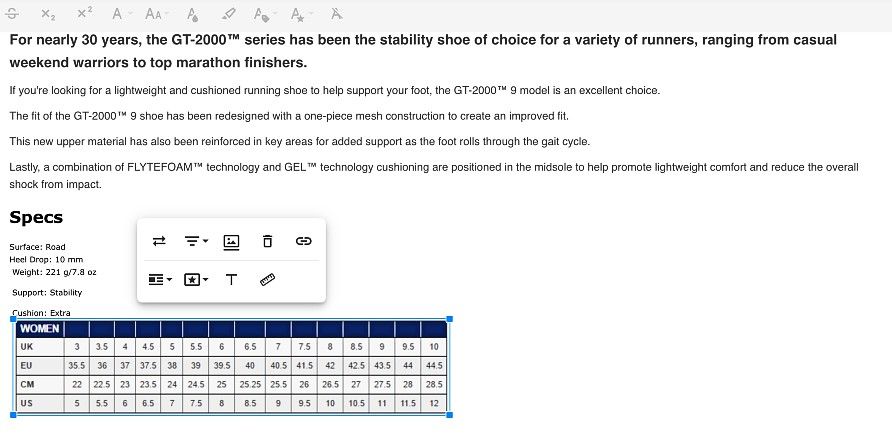
Once you have inserted and formatted your table you can enter the required data in the table cells.
Many manufacturers will provide a sizing table and it may be simpler to screenshot the table and insert it as an image resizing and positioning as required in the same manner described previously.
Once you have added all the components of your product description click on the screen away from the description field and review your work.
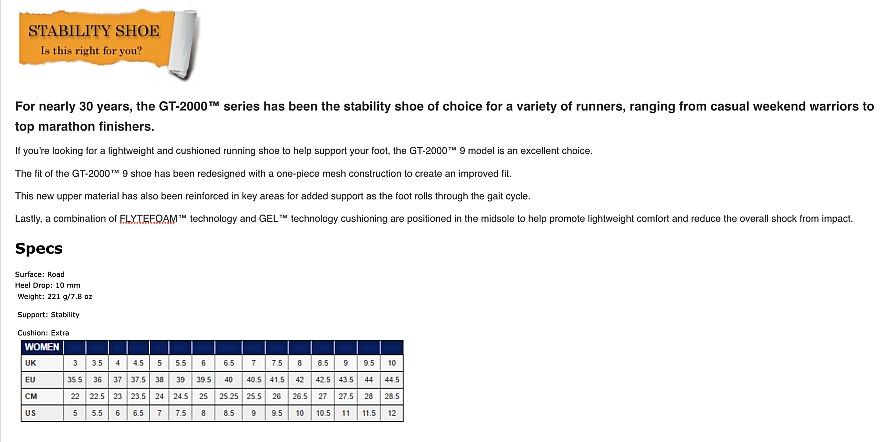
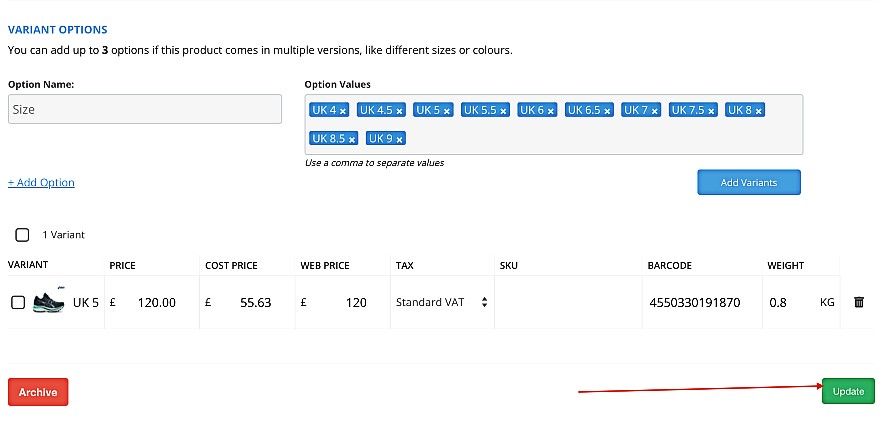
If you are satisfied then scroll down the product editing screen and press the 'Update' button.
Once the AirPOS backoffice synchronises with Shopify you'll be able to review the product online.